Ключевые особенности:
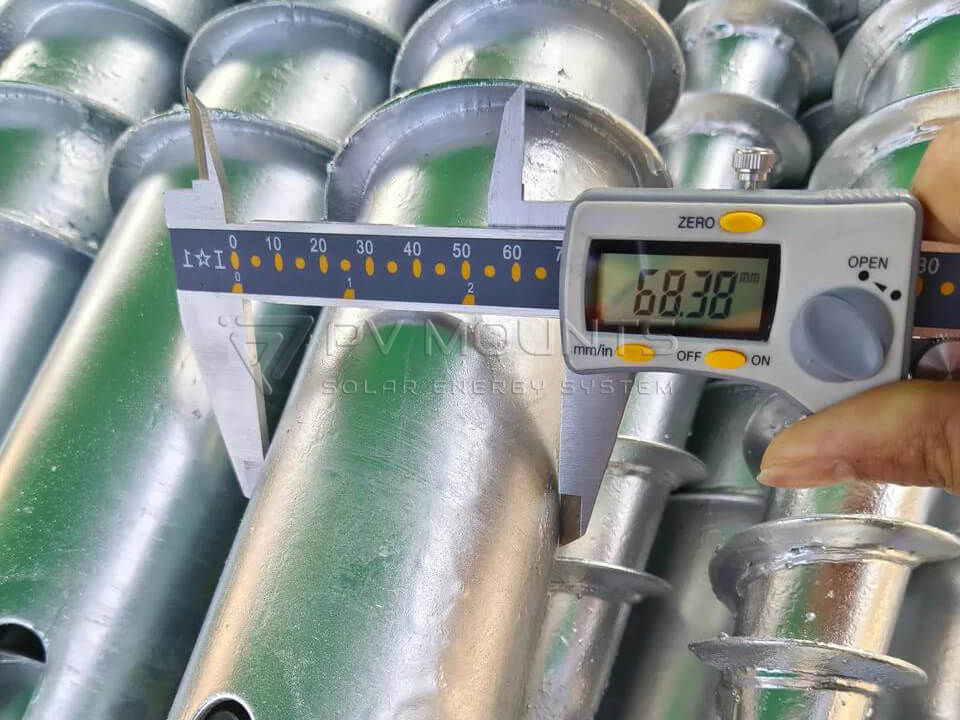
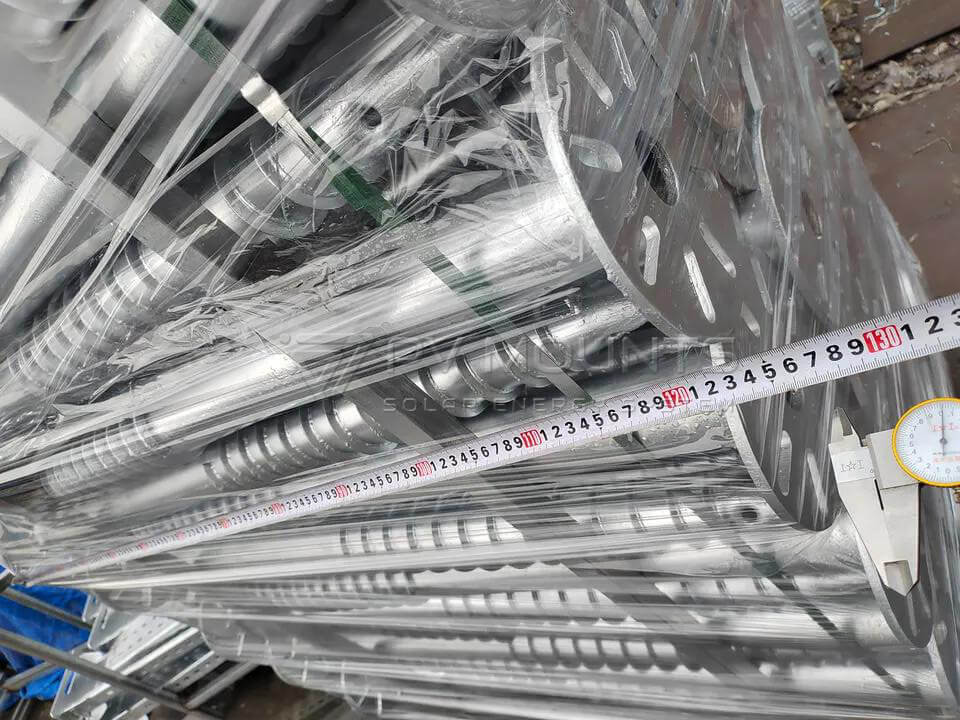
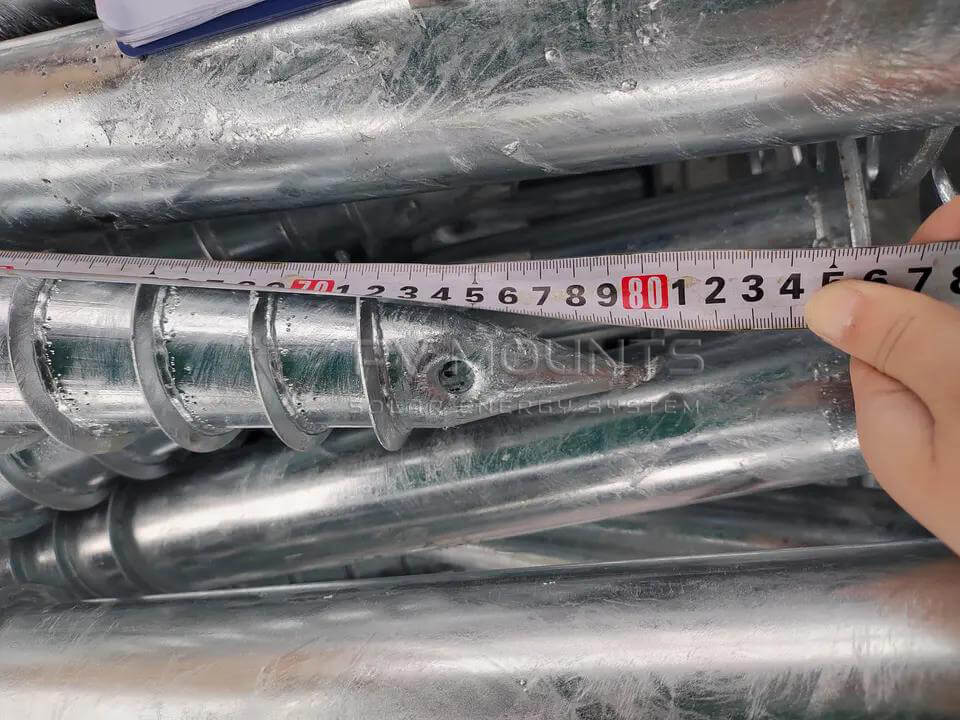
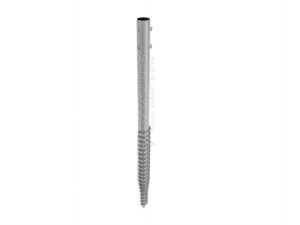
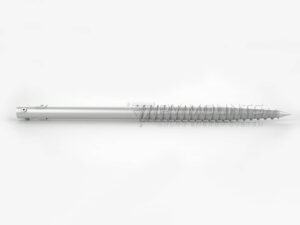
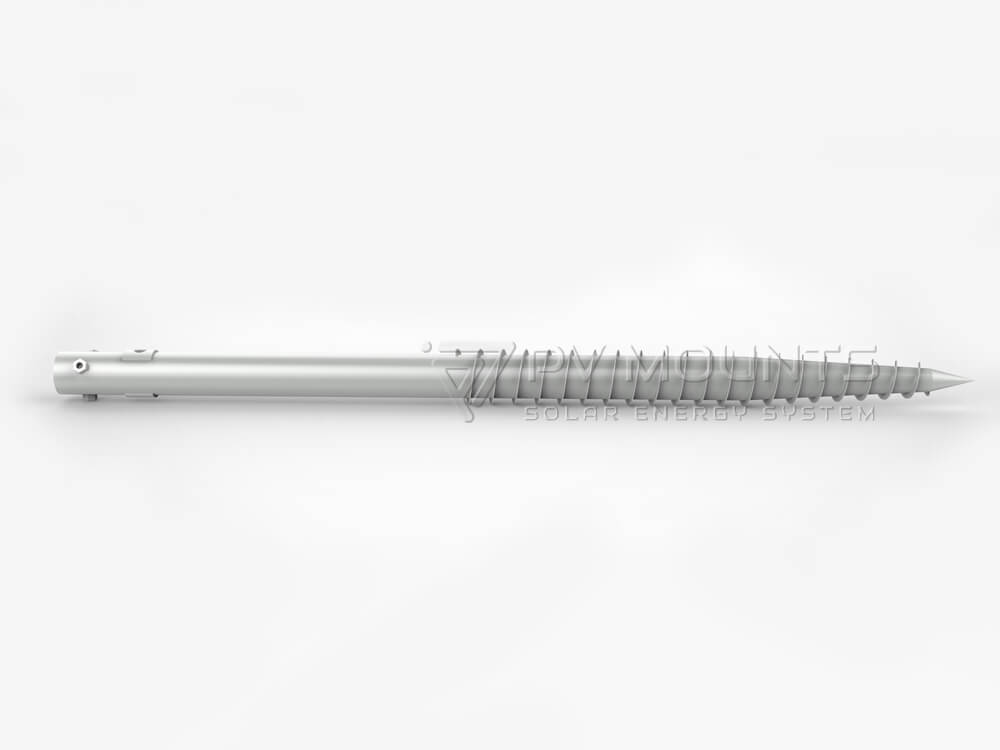
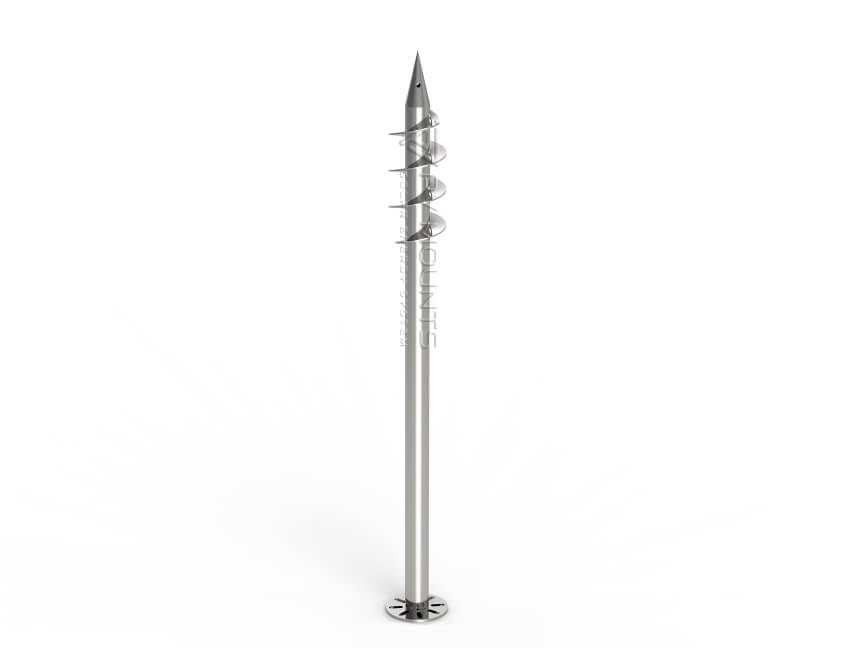
- Разнообразные варианты длины: Выбирайте из множества вариантов длины винтов от 600 мм до 3500 мм, что обеспечивает совместимость с проектами любого размера.
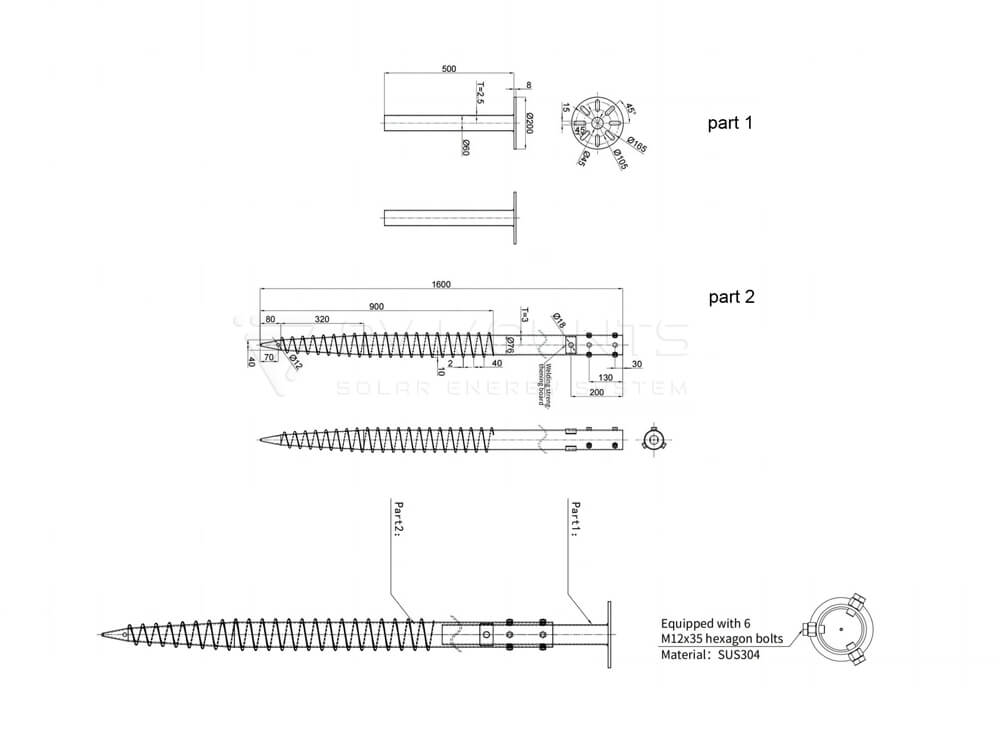
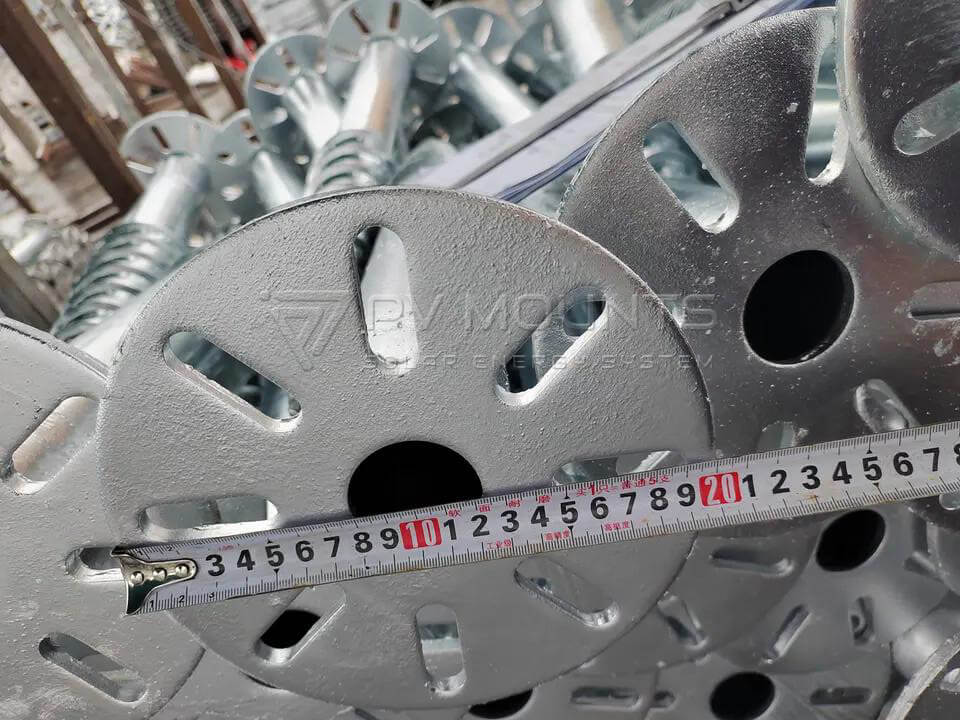
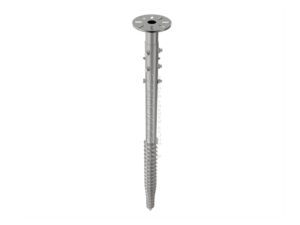
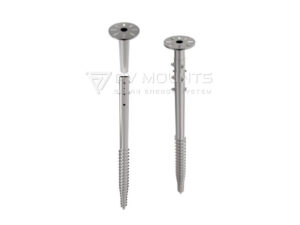
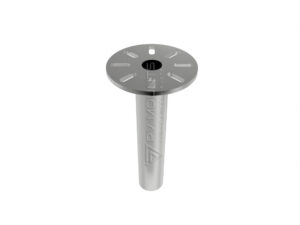
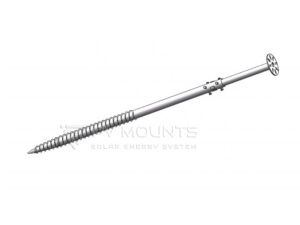
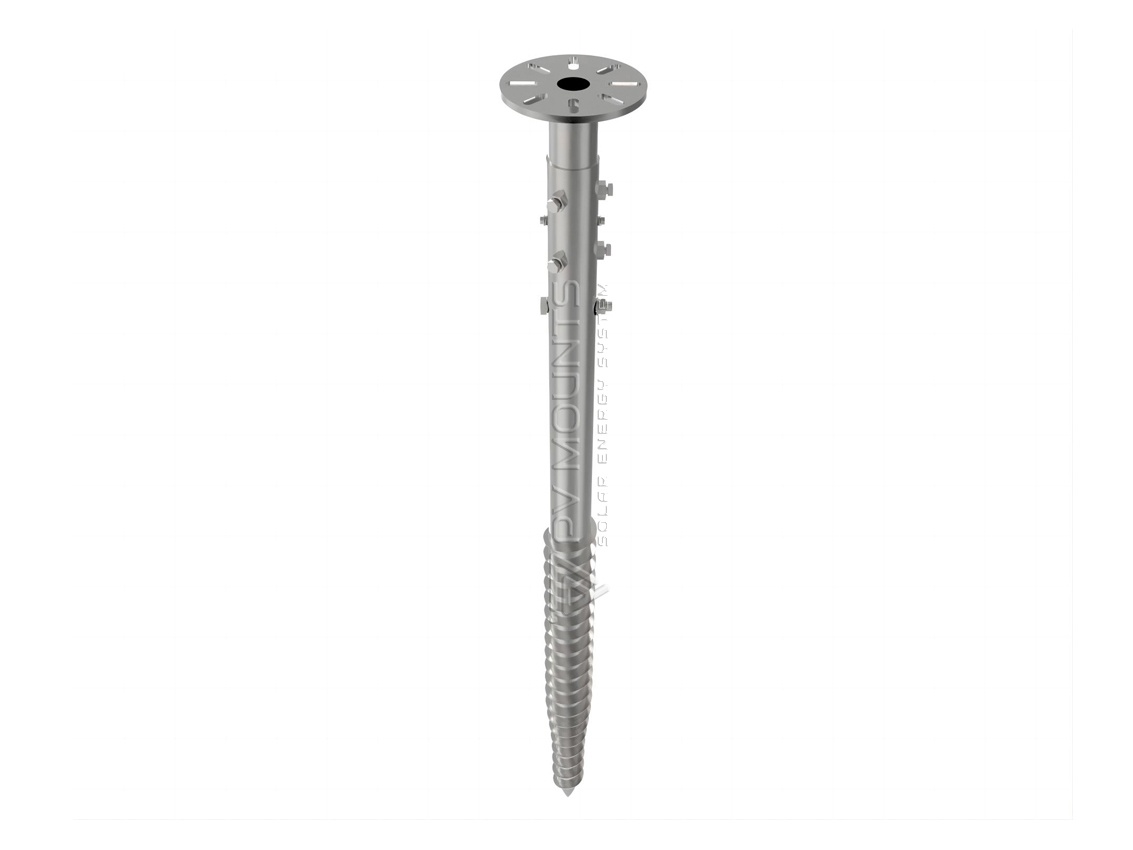
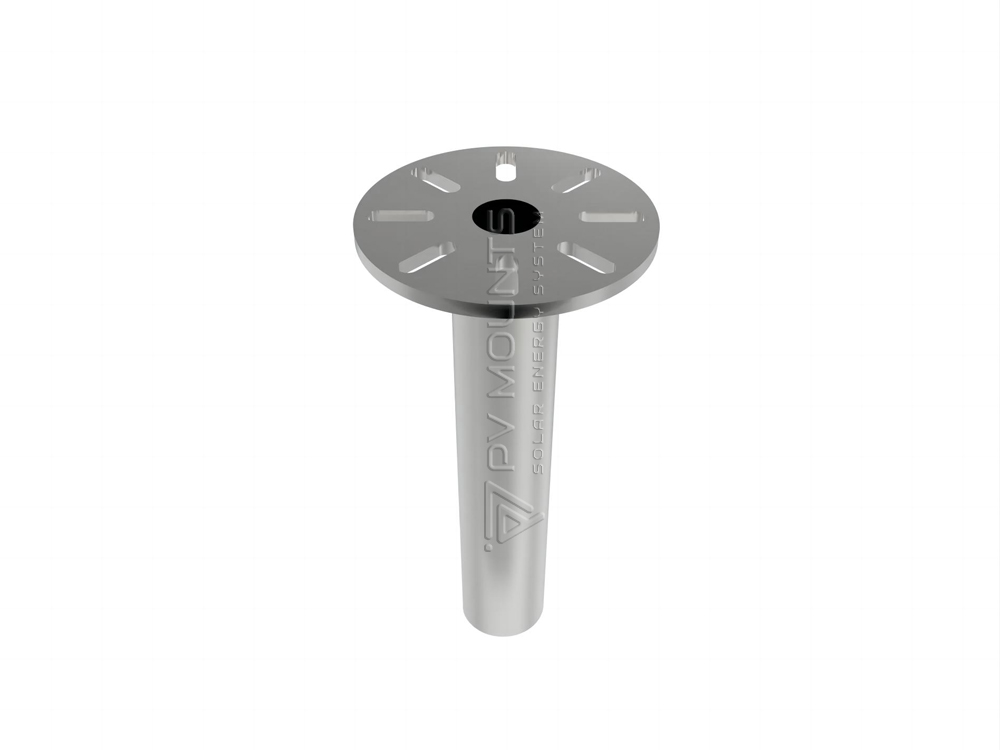
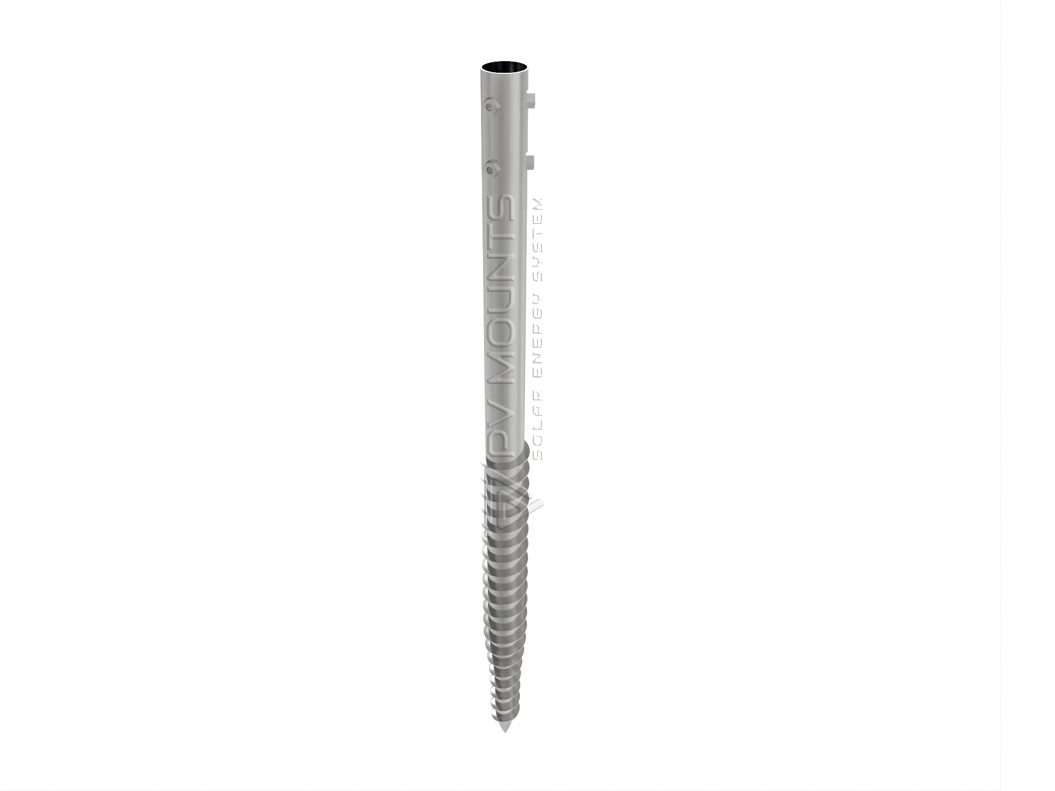
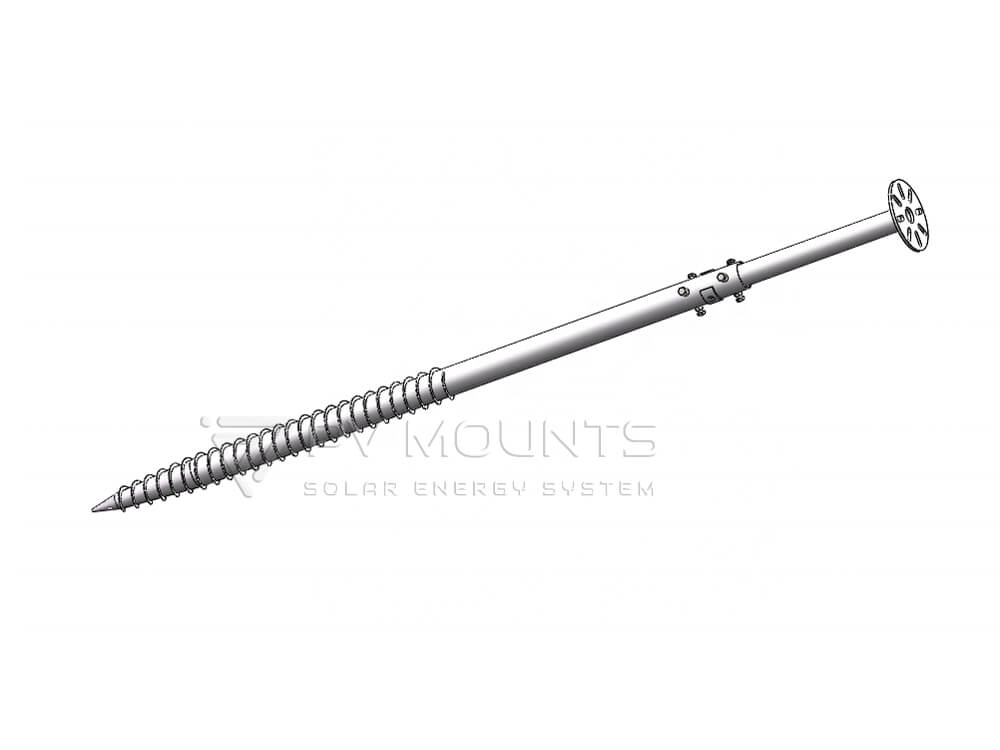
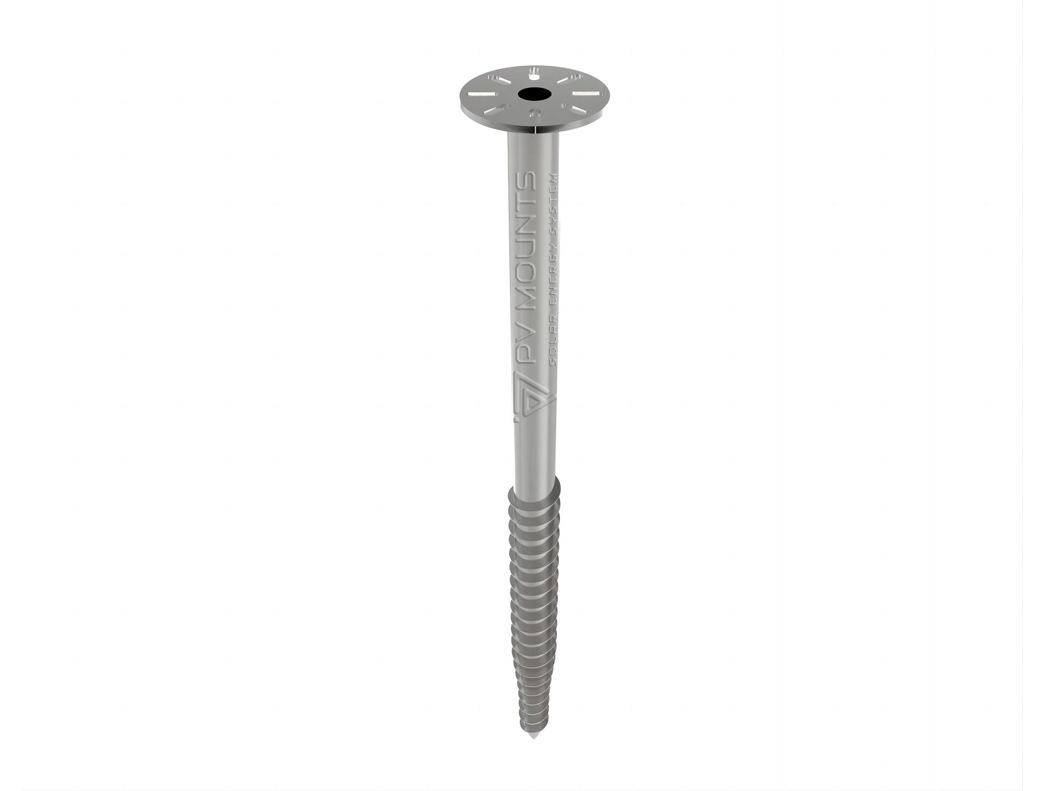
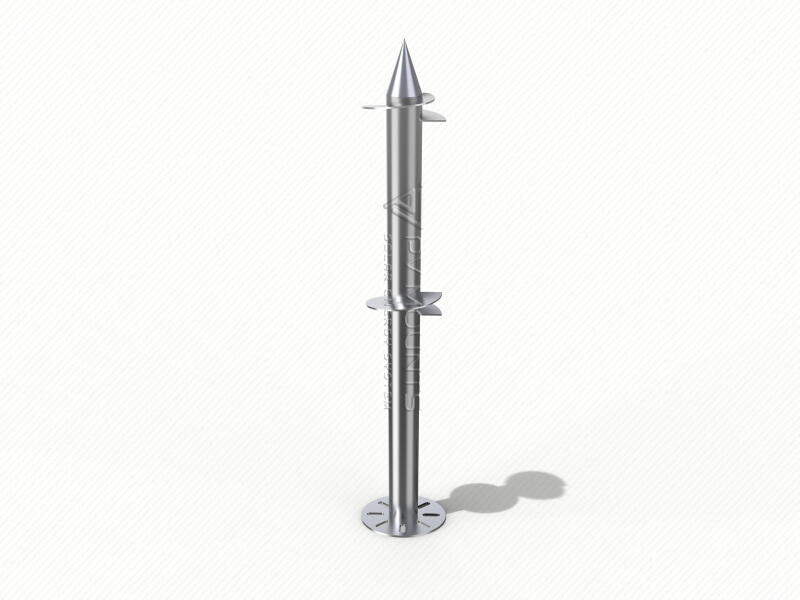
- Технология регулируемого фланца: Уникальный нефиксируемый фланец позволяет точно регулировать высоту, обеспечивая идеально горизонтальное основание для солнечных панелей.
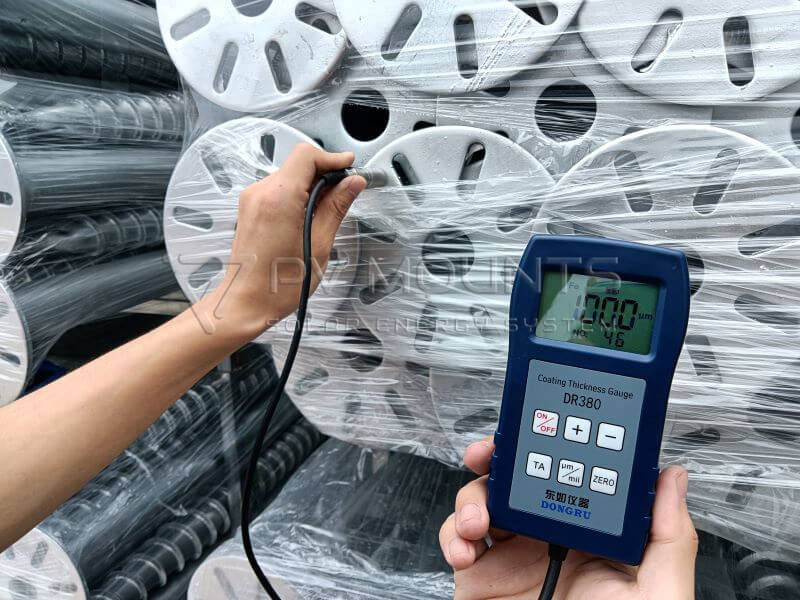
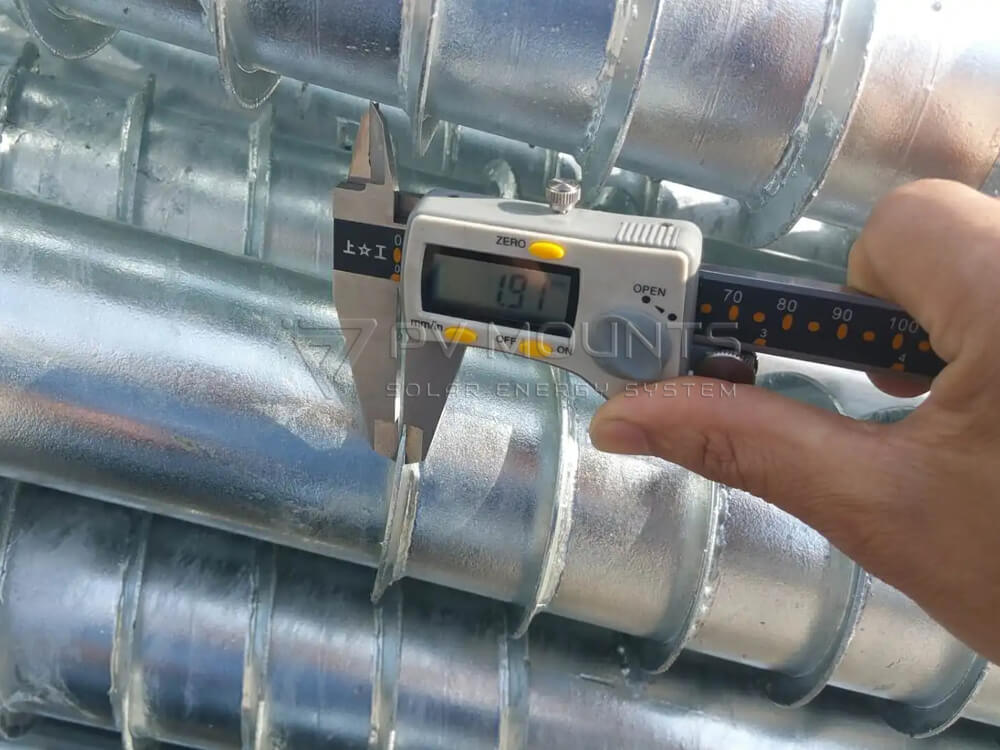
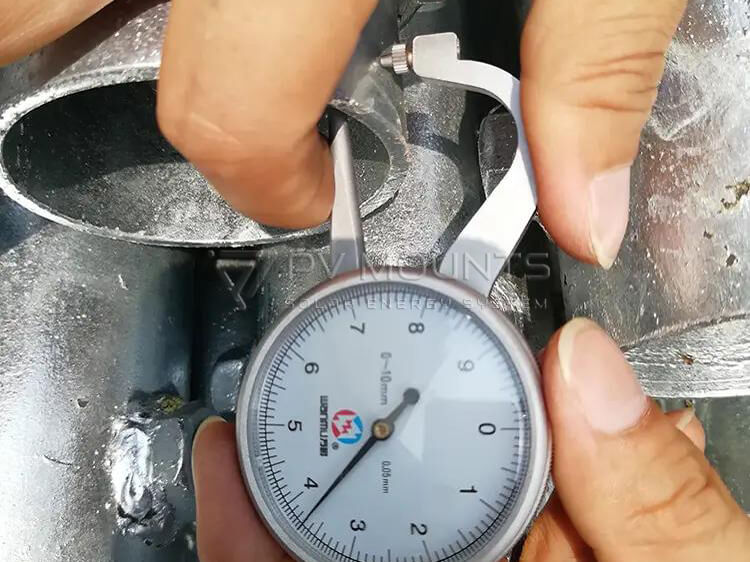
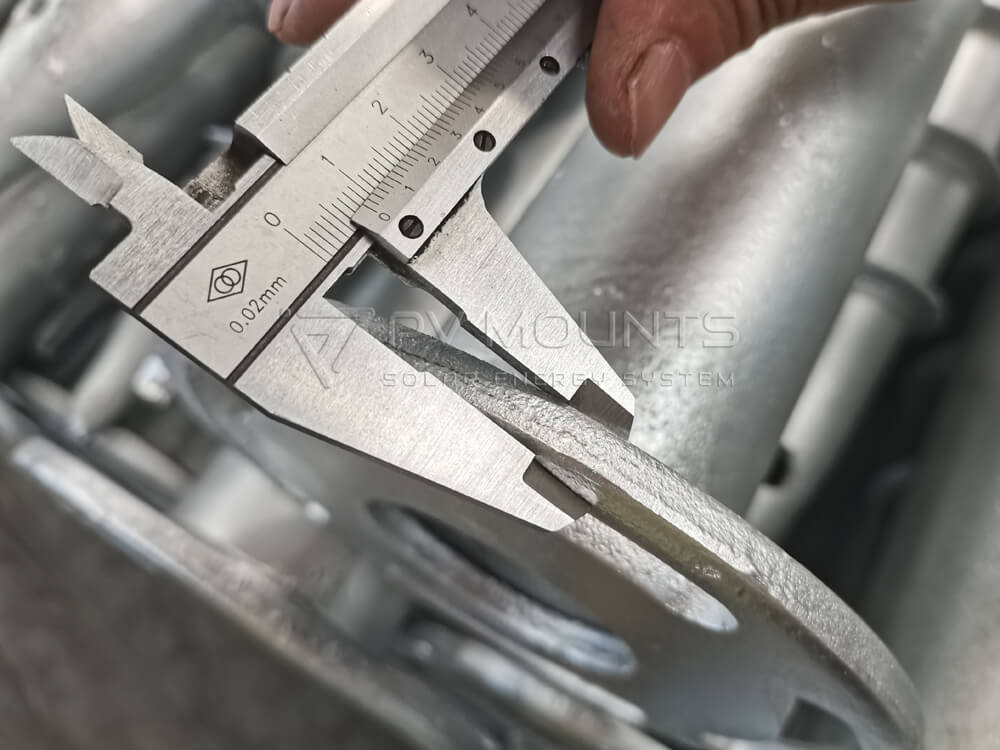
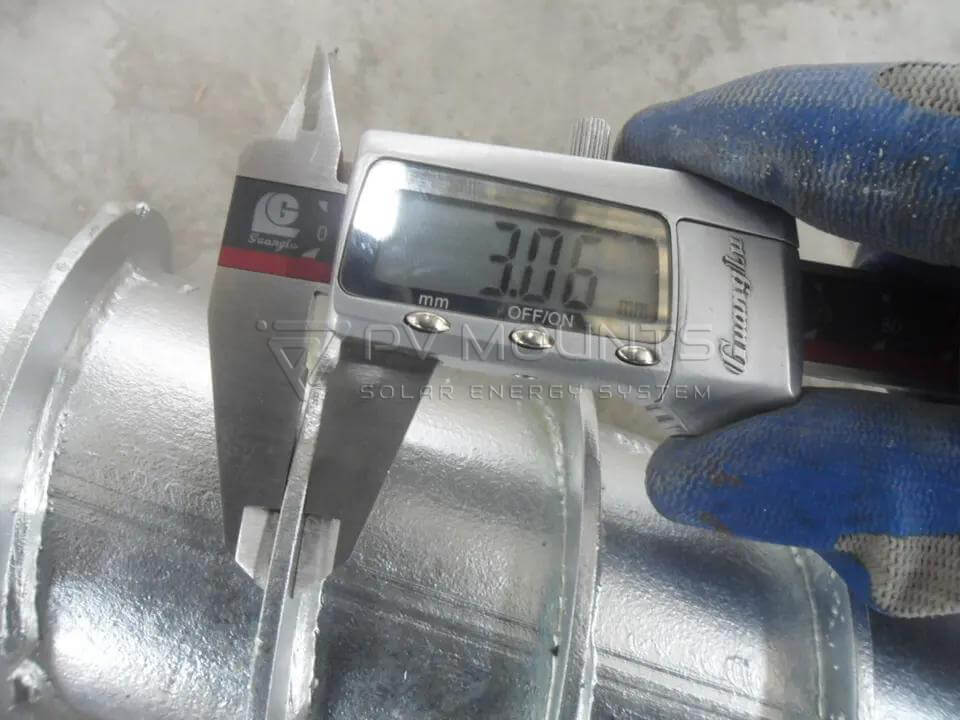
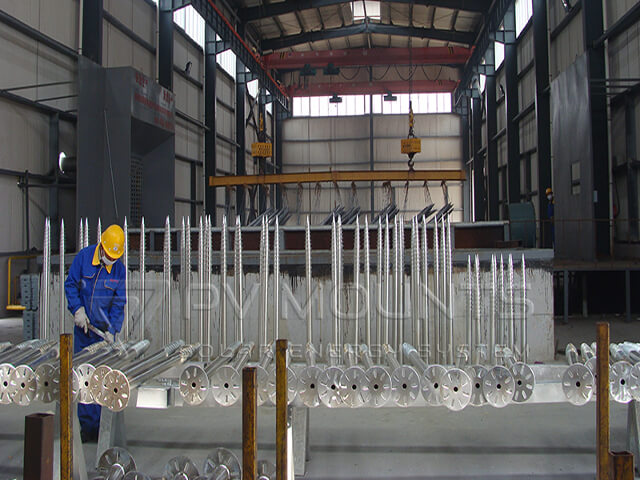
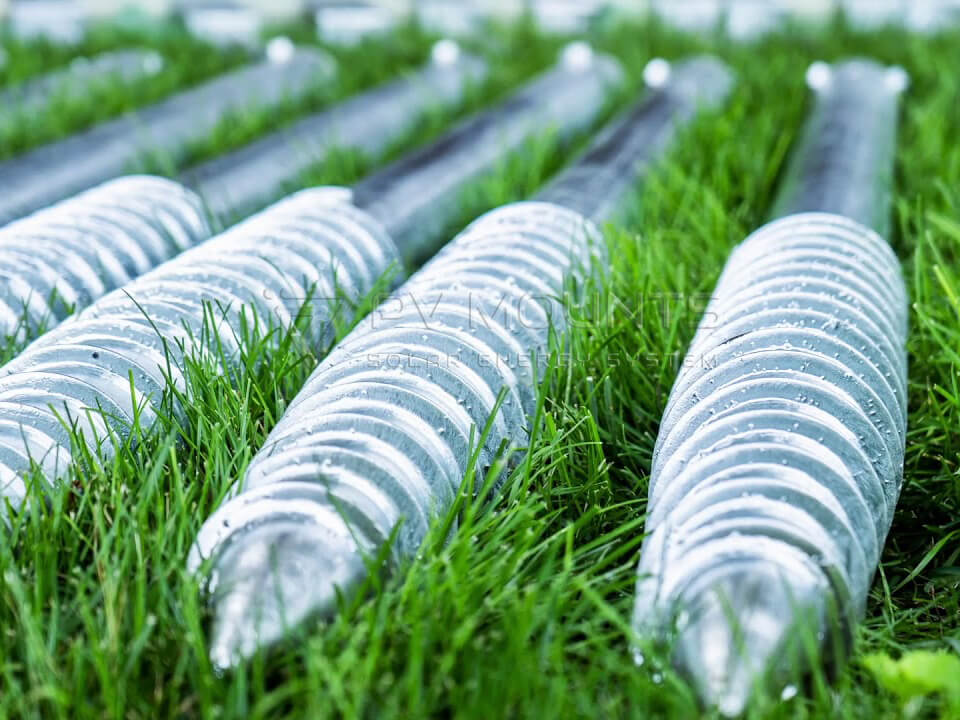
- Превосходство материала: Изготовлен из стандартной углеродистой стали Q235 и покрыт горячей оцинковкой, что обеспечивает превосходную коррозионную стойкость и долговечность более 15 лет.
- Простота установки: Предназначен для простой и быстрой установки, что сокращает трудозатраты и повышает эффективность монтажа.
Преимущества:
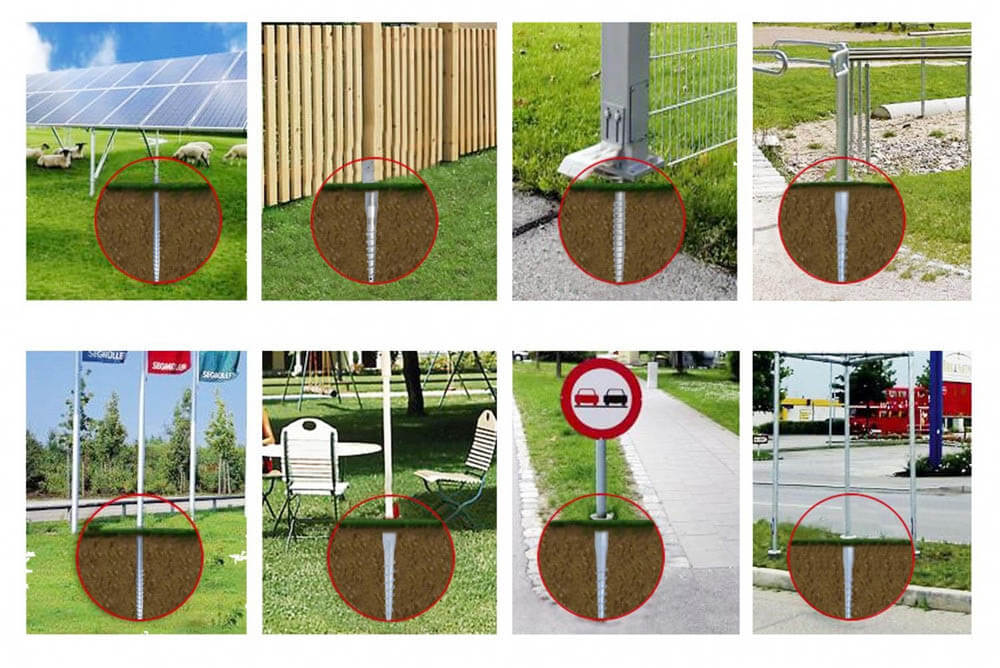
- Вседорожная совместимость: Разработан для надежного закрепления в различных типах грунта, включая песчаные, мягкие и горные.
- Многоразовые и экологичные: Они не только долговечны, но и легко разбираются и используются повторно, поддерживая экологичные методы строительства.
- Экономичность: Предлагает значительную экономию на установке и обслуживании, что делает его идеальным выбором для оптовиков и клиентов B2B, которые ищут качество и выгоду.
Воспользуйтесь опытом компании PV Mounts, чтобы обеспечить прочность ваших солнечных панелей независимо от обстановки. Регулируемая винтовая свая для солнечных батарей PVM-GS-04B идеально подходит для динамичных условий и является надежным, универсальным и долговечным фундаментом для солнечных батарей.
Мы предлагаем нашим клиентам руководство по установке с инструкциями и изображениями, а также видео. Некоторые из комплектов компонентов предварительно собраны для быстрой и простой установки в ваших проектах.
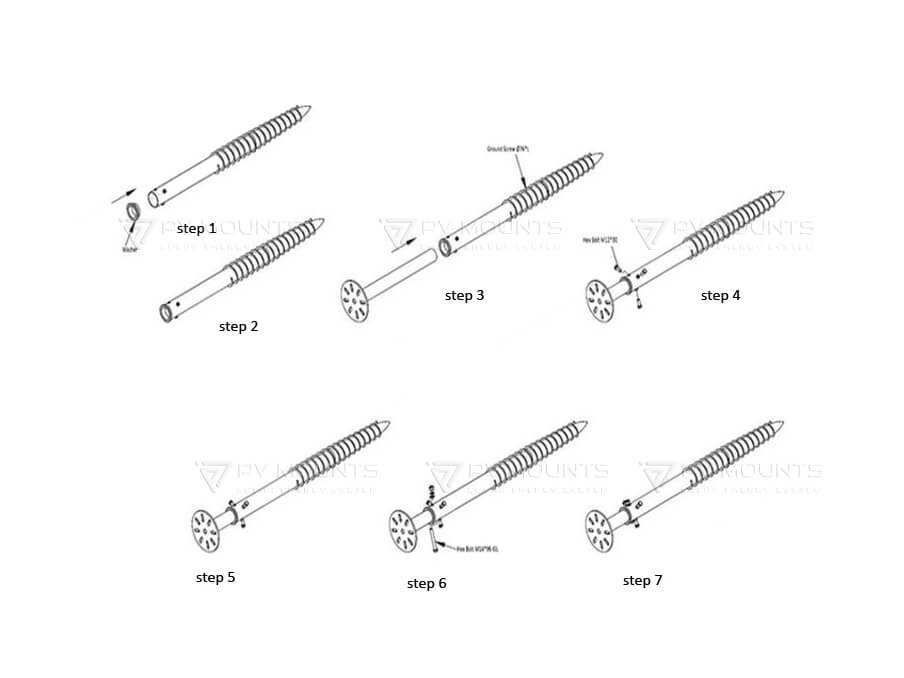
Installing adjustable ground screws for solar mounting involves several steps. Here’s a general guide for the installation process:
1. Site Preparation
- Choose the Installation Site: Select a flat area where the solar panels will be mounted. Ensure the ground is suitable for the installation of ground screws (soft soil, sandy, or desert terrain works best).
- Mark the Locations: Use measuring tools to mark the positions where the ground screws will be installed. These positions should align with the required layout for the solar panels.
2. Tools and Materials Needed
- Adjustable ground screws with flanges
- Wrench or impact driver
- Measuring tape
- Leveling tool (e.g., laser level or spirit level)
- Steel flange and mounting nuts (if necessary)
3. Install Ground Screws
- Align the First Screw: Position the first ground screw at the marked location.
- Insert the Screw: Use an impact driver or a manual wrench to drive the ground screw into the ground. Ensure it goes deep enough for a strong foundation (usually to a depth of 600-3500 mm depending on the screw size).
- Adjust the Height: The key feature of the adjustable ground screws is the ability to fine-tune the height. Loosen the flange and adjust the height of the screw according to the solar panel mounting requirements.
- Fix the Flange: Once the desired height is achieved, tighten the three nuts to firmly secure the flange to the screw pole.
4. Check for Horizontal Alignment
- Use a Level: After securing the flange, check that the ground screw is perfectly level. This ensures that all other screws will align correctly and that the solar panels will be installed on a flat, stable surface.
- Adjust if Necessary: If needed, make further adjustments to the height of the screw or use different flange sizes to ensure perfect alignment.
5. Repeat for Other Ground Screws
- Install Additional Screws: Repeat the process for the remaining ground screws, ensuring all screws are level and evenly spaced according to the solar panel installation layout.
- Double-Check Alignment: Continuously verify that all screws are aligned horizontally, adjusting as necessary.
6. Mount the Solar Panels
- Once the ground screws are properly installed and secured, proceed with mounting the solar panels onto the ground screws using appropriate brackets and mounting hardware.
7. Final Inspection
- Check Stability: After all screws are installed, double-check each screw’s stability and ensure the entire system is secure.
- Final Leveling: Confirm the solar panel foundation is stable, leveled, and ready for panel installation.
By following these steps, the adjustable ground screw installation will provide a stable and reliable foundation for your solar panel mounting system.
PV Mounts является универсальным производителем солнечных монтажных систем. Мы можем производить различные компоненты для монтажа солнечных панелей, включая:
- Рельсы
- Крючки
- L-Feet
- Винты заземления
- Зажимы для стоячих швов
- Mid Clamp & End Clamp
- Заземляющий наконечник
- Grounding Clip
- Cable Clip
- и многое другое