How to Choose the Right Solar Roof Rail for Your Installation
Índice
1.Introduction – Why Solar Roof Rails Matter
In every solar rooftop installation, rieles de montaje serve as the main structural backbone that supports the solar panels. The quality and type of rail directly affect the system’s safety, load resistance, installation speed, and long-term performance.
Whether you’re installing on tile, metal, or shingle roofs, selecting the right solar roof rail ensures your PV system remains durable, corrosion-resistant, and perfectly aligned.
2.What Is a Solar Roof Mounting Rail?
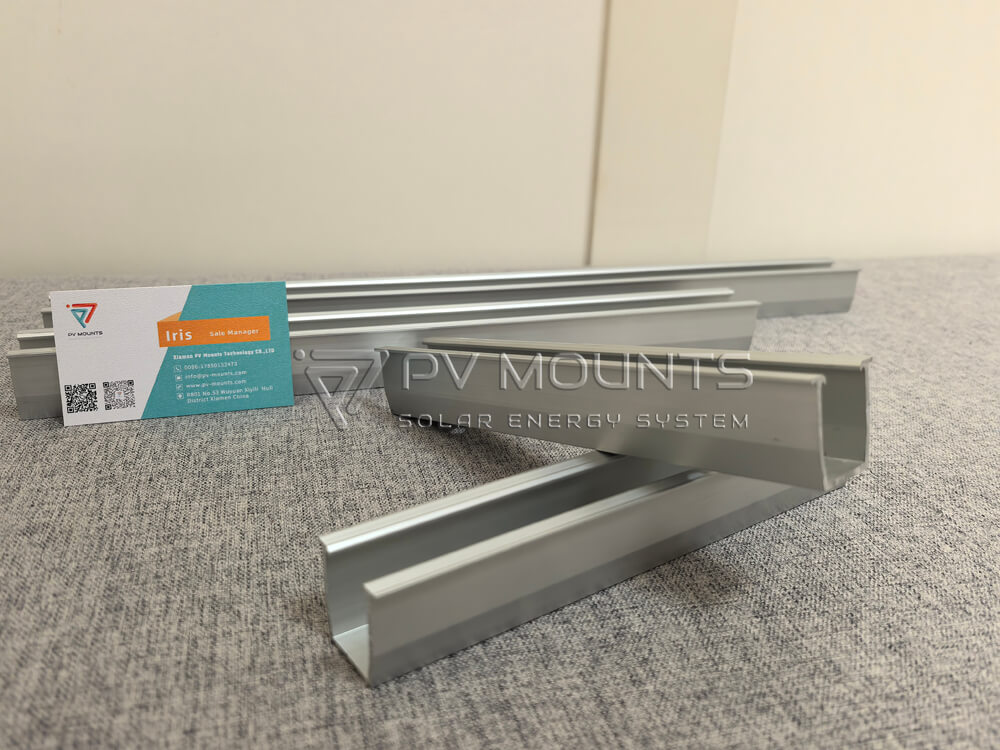
A solar mounting rail (also known as a roof rail o aluminum extrusion rail) is a long aluminum profile designed to hold solar panels securely in place.
Typically, the rail is fixed to the roof using L-feet, roof hooks, or brackets, and connected with mid clamps and end clamps to lock the modules.
Main functions:
Provide a stable and level foundation for panels
Distribute the load evenly across the roof structure
Enable flexible module spacing and wire routing
Simplify installation and maintenance
3.Common Types of Solar Roof Rails
Tipo
Profile
Typical Roof Use
Ventajas
T-profile rail
“T” shaped extrusion
Metal / corrugated roofs
Lightweight, cost-effective
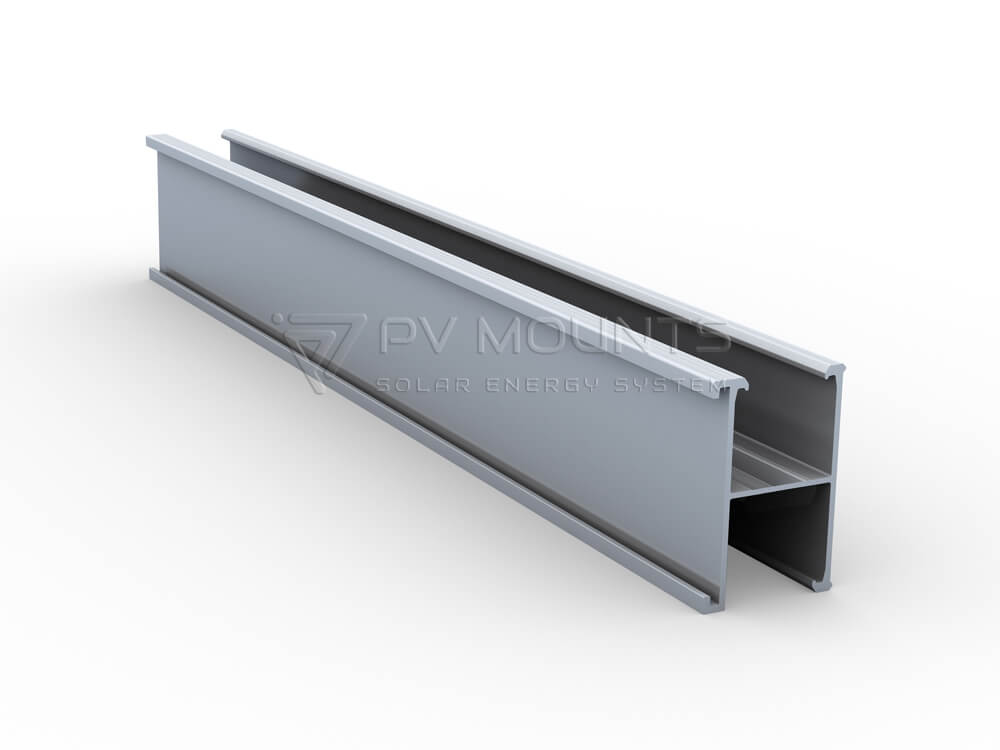
H-profile rail
“H” cross-section
Tile / flat roofs
High rigidity, long-span support
Mini rail
Short low-profile segments
Standing seam / trapezoidal roofs
Rail-free design, fewer parts
Splice rail
Used for connecting sections
Any
Allows longer spans, reduced waste
Pro Tip: PV Mounts recommends H-profile or T-profile rails made from Al6005-T5 anodized aluminum, which balance strength and corrosion resistance.
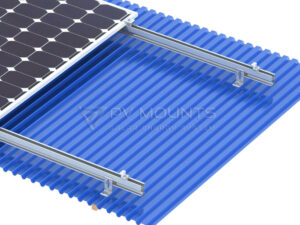
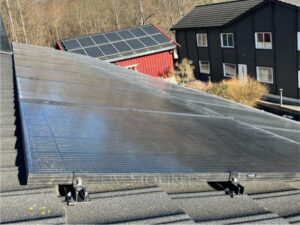
Sistema de montaje solar en L para tejado metálico PVM-LF (1) sistema solar pv
4.Key Factors When Choosing a Roof Rail System
4.1Roof Type Compatibility
Different roofs require different fixing methods:
Tile Roofs: use stainless steel tile hooks + H-rails
Metal Roofs: use L-feet + T-rails or mini rails
Flat Roofs: use ballast or adjustable tilt rails
4.2 Material Quality
High-grade aluminum (Al6005-T5) with anodized surface resists salt corrosion — essential for coastal projects like in Southeast Asia.
4.3 Load Capacity
Check the mechanical strength and test data (wind/snow load). For high wind zones (>50m/s), choose rails with thicker walls or reinforced profiles.
4.4 Ease of Installation
Pre-cut rails and compatible rail splice kits reduce onsite cutting and save installation time.
4.5 Compatibility with Other Components
Ensure your rail fits standard mid clamps (40mm / 45mm) and grounding kits. Using a complete mounting system from one supplier ensures perfect fit.
5.Installation Overview
Fix roof hooks or L-feet onto roof beams or purlins.
Place rails and adjust horizontally using level tools.
Connect rails with splice bars for longer rows.
Mount PV modules using mid clamps and end clamps.
Check grounding continuity using grounding lugs or clips.
Inspect spacing and torque before tightening all bolts.
6.Comparing Different Rail Profiles
Parameter
H-Profile Rail
T-Profile Rail
Strength
★★★★☆
★★★☆☆
Peso
Medium
Light
Coste
Slightly higher
Lower
Span Length
1.5–2.2m
1.2–1.8m
Best For
Tile / heavy-duty
Metal / light systems
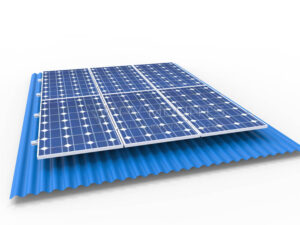
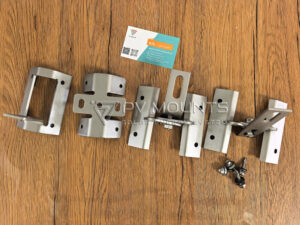
Rieles PVM-Rail-02 para sistema solar fotovoltaico montado en tejado de tejas ganchoGeneral Rails PVM-Rail-01 for solar pv mounted system
👉 Recommendation: For residential tile roofs, use H-rails for higher rigidity. For metal roofs, T-rails o mini rails are more efficient and economical.
7.Quality Standards and Testing
When sourcing rails, always confirm:
Material: Al6005-T5
Surface Treatment: ≥10μm anodized layer (PVM can reach to 15μm anodized)
Salt Spray Test: ≥720h (ASTM B117)
Certification: ISO 9001 / SGS mechanical test reports
PV Mounts performs strict mechanical load testing and corrosion tests to ensure every rail meets international PV mounting standards.
8. When to Replace or Upgrade Solar Rails
Corrosion or discoloration on surface
Loose connections between splice joints
New module sizes (different frame width)
Structural upgrade (higher wind zones)
Regular inspection ensures the mounting system’s long-term reliability and reduces maintenance costs.
9. Why Choose PV Mounts Roof Rail Systems
✅ Full compatibility with PV hooks, clamps, and accessories
✅ Precision extrusion with consistent profiles
✅ Strict QC inspection for every batch
✅ Custom lengths available (2.1m / 3.2m / 4.2m/4.8m etc)
✅ Global supply experience across Asia, Europe, America and the Middle East
10. Conclusión
Choosing the right solar roof mounting rail can make your installation faster, safer, and longer-lasting.
Ready to upgrade your roof mounting system?
📩 Póngase en contacto con Soportes FV today for technical datasheets or free quotation — let’s design your next rooftop PV mounting system together.
📘FAQ – Solar Roof Rail Systems
Q1: What length of rail is commonly used for roof installations? Most residential roofs use 2.1m or 3.2m rails, depending on module layout and spacing.
Q2: Are all rails compatible with any clamp? No. Always match the rail profile with clamp type (T-slot width & depth). PV Mounts rails support most 30–40mm module frames.
Q3: Can aluminum rails be used in coastal areas? Yes. Anodized aluminum (≥10μm) provides excellent corrosion resistance for coastal or humid environments.
Q4: How long can solar roof rails last? Typically 25+ years when properly anodized and installed with stainless steel hardware.
keywords: solar roof rail, roof mounting rail system, solar mounting components, solar roof accessories
Steffan
XIAMEN PV Mounts Technology CO.,LTD is a positive and efficient high-tech solar bracket company committed to support the environment and renewable energy.
info@pv-mounts.com
1.Introduction Metal roofs are one of the most common structures for commercial and industrial buildings, making them ideal for solar panel installations. Choosing the right
1.Introduction Corrugated metal roofs are widely used in industrial and agricultural buildings due to their lightweight structure and cost efficiency. However, installing solar panels on
1.Introduction The mini rail solar mounting system is one of the most efficient and cost-effective solutions for installing solar panels on metal roofs. It’s short
Fixed and adjustable trapezoid metal roof hooks are two common solutions for solar mounting on metal sheet roofs. Fixed metal rof hooks offer faster installation