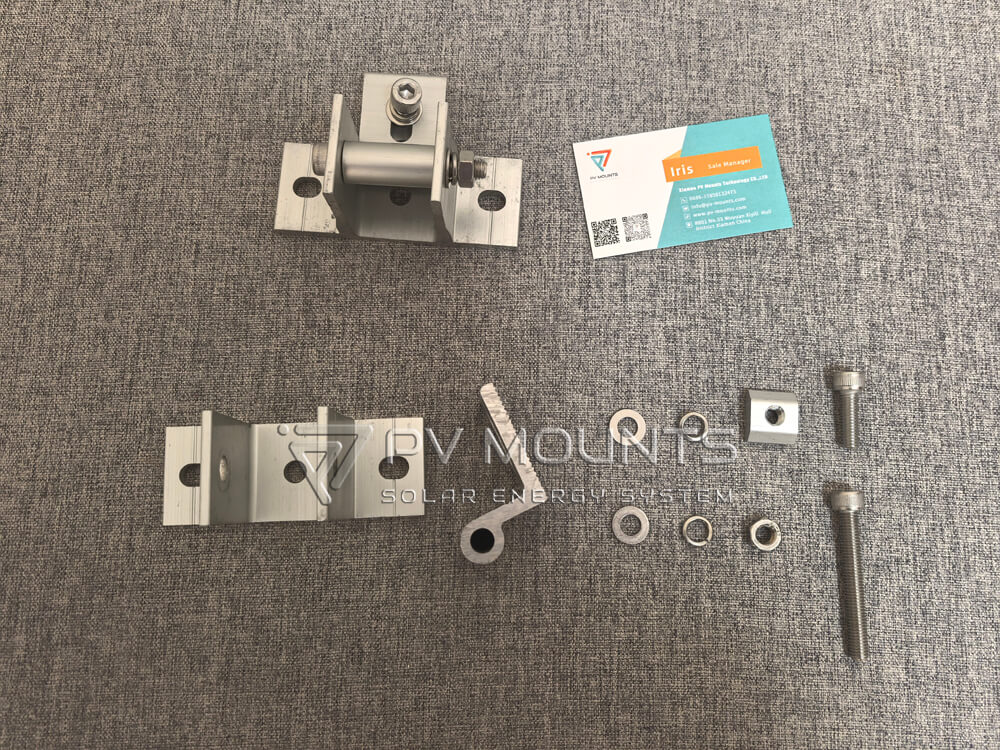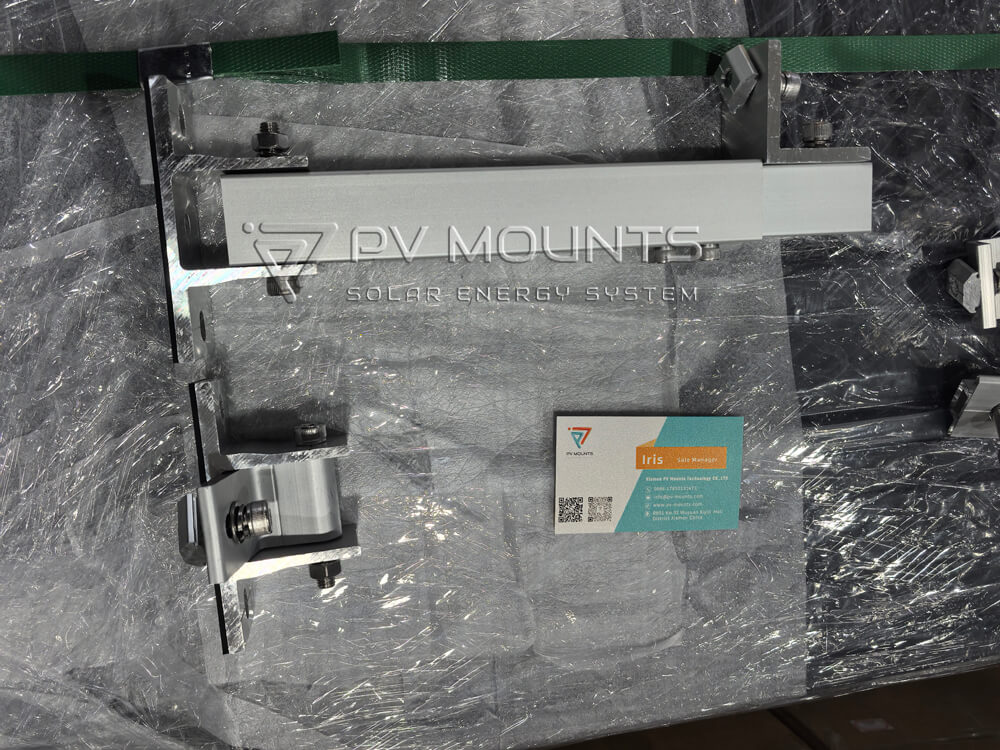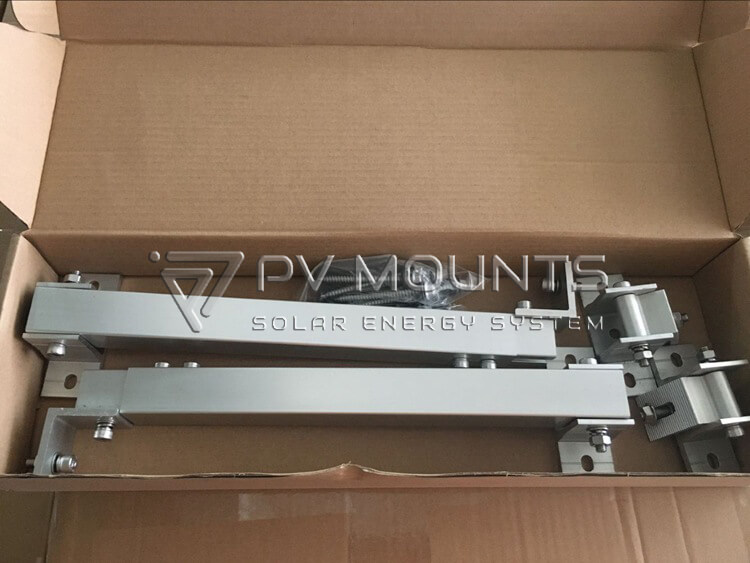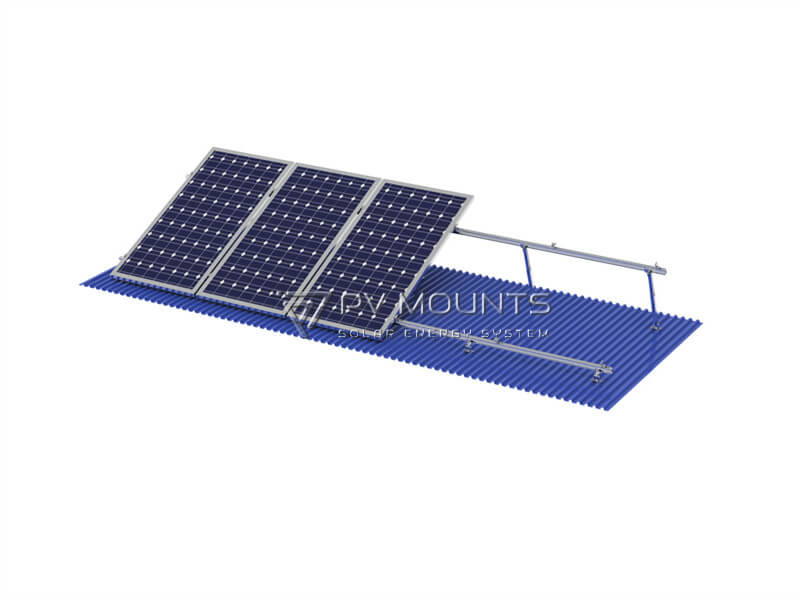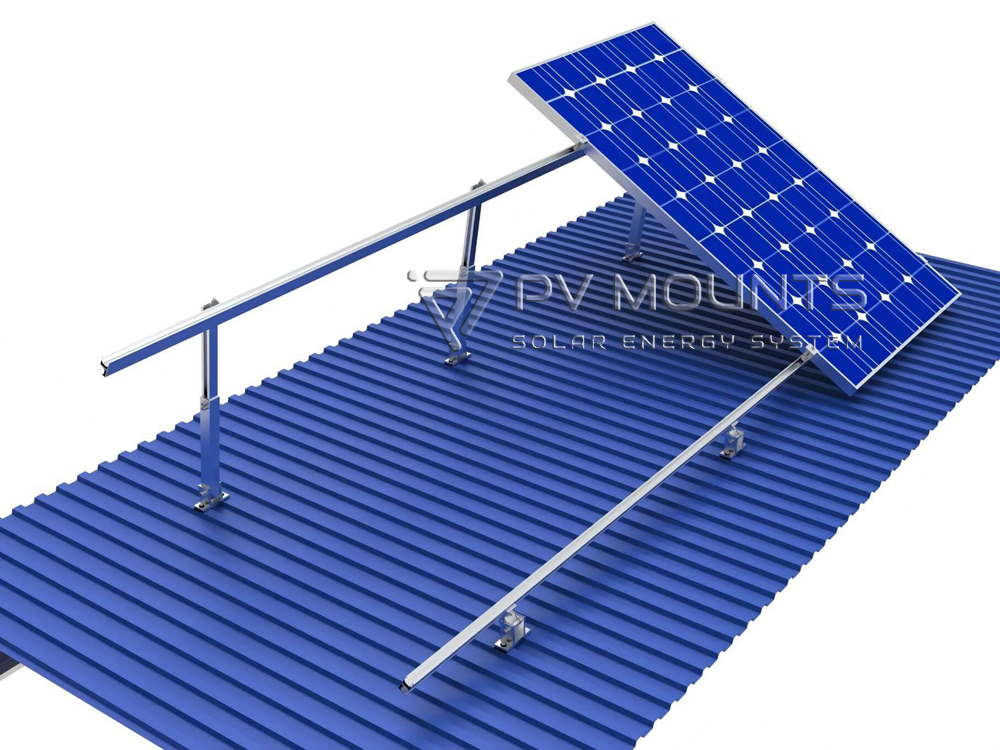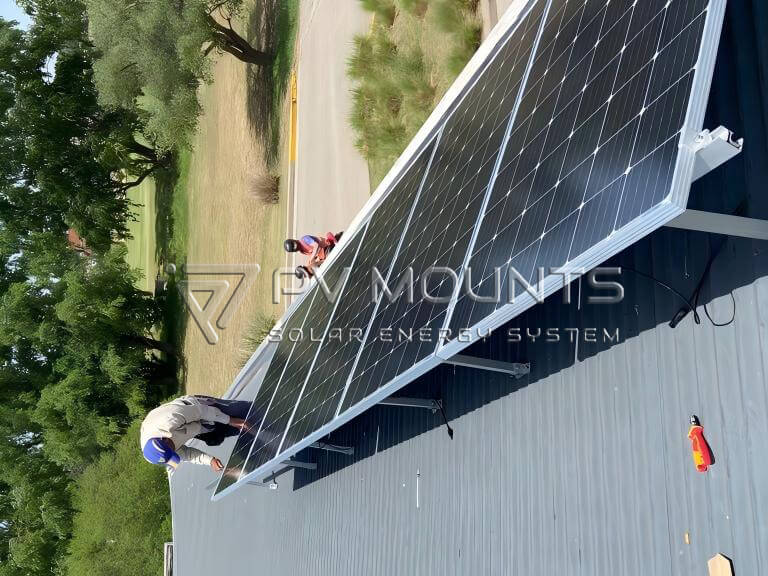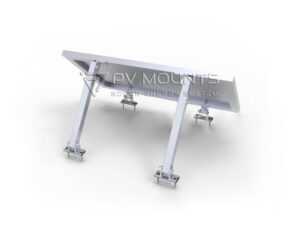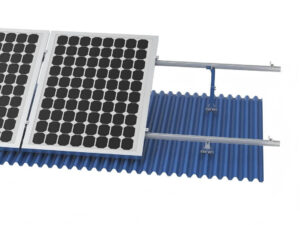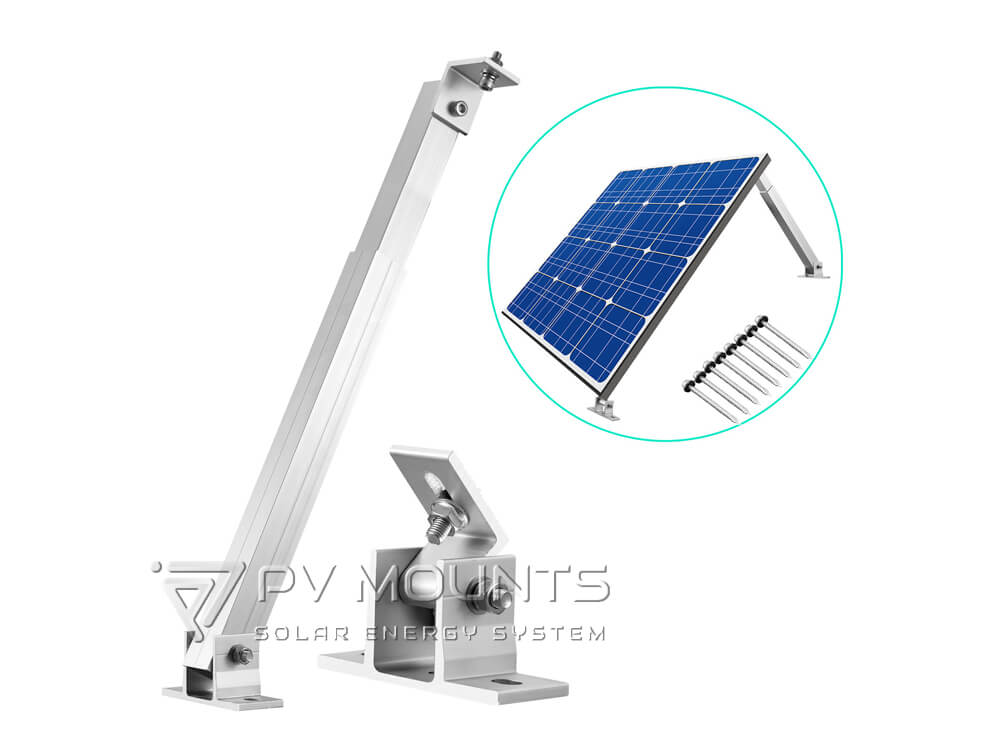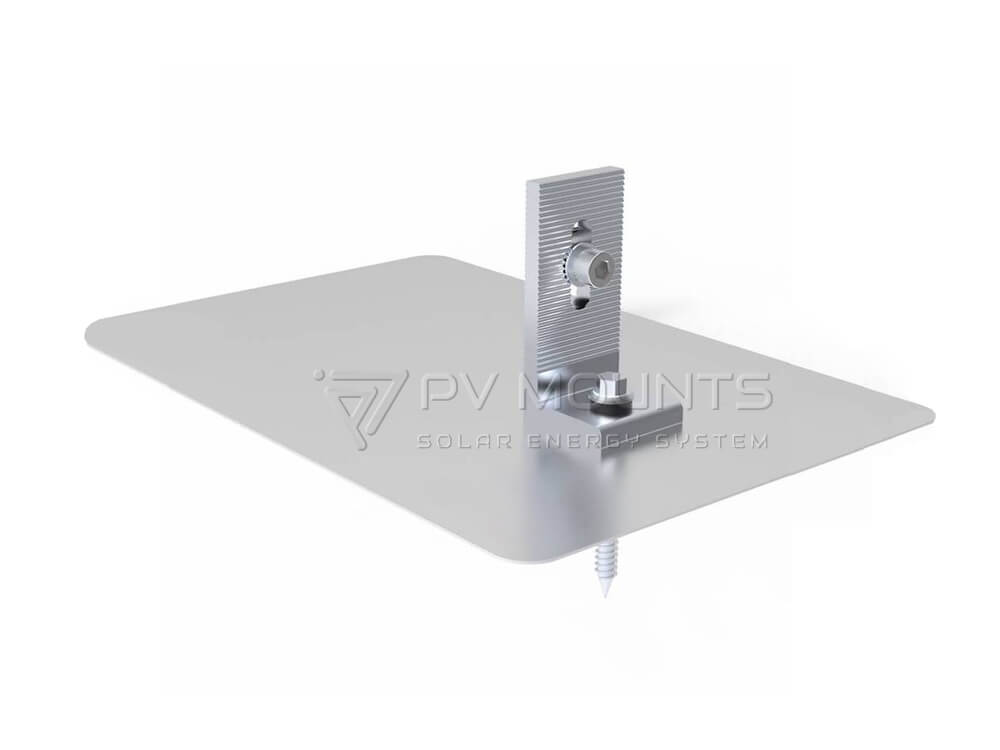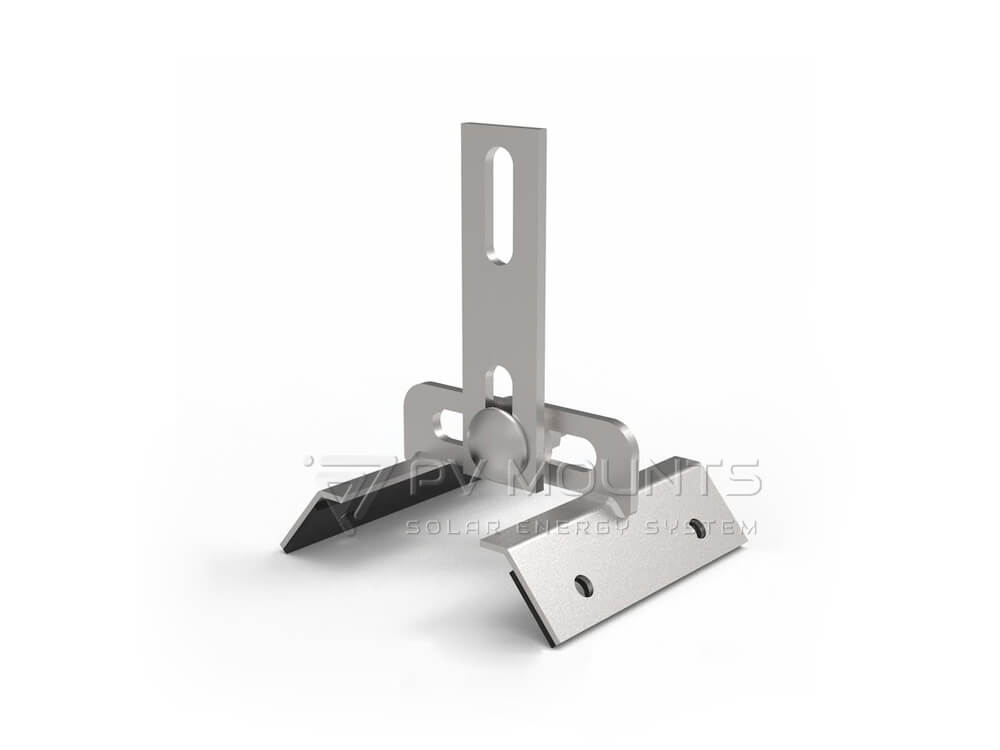
Adjustable Tilt Design
Allows flexible tilt angle adjustment to maximize solar power generation based on site conditions.
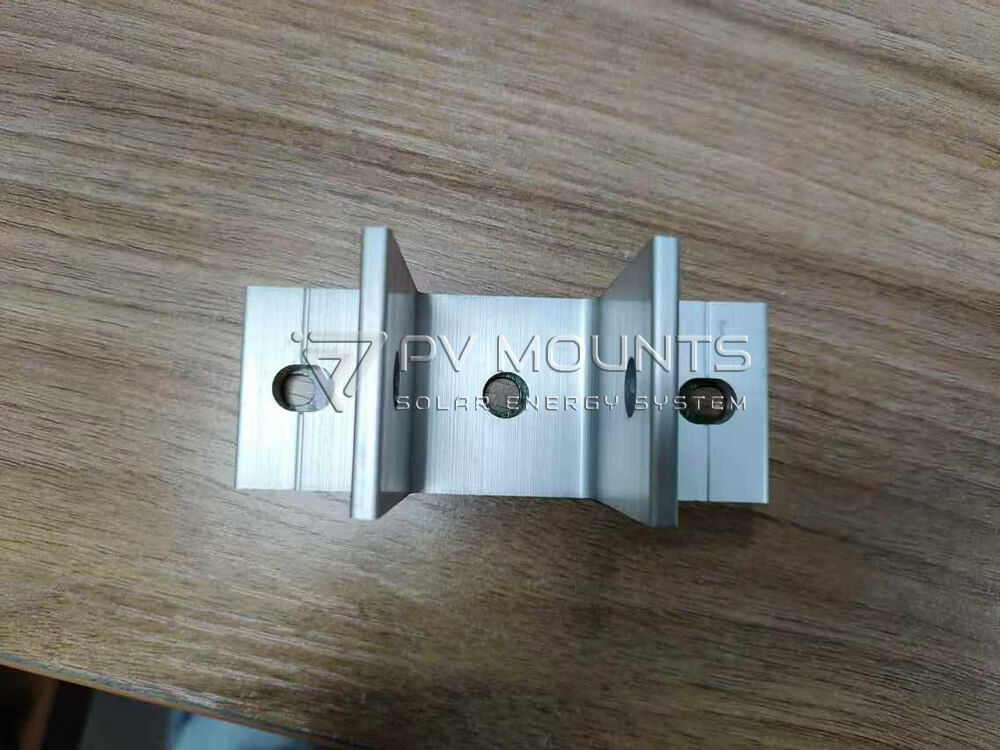
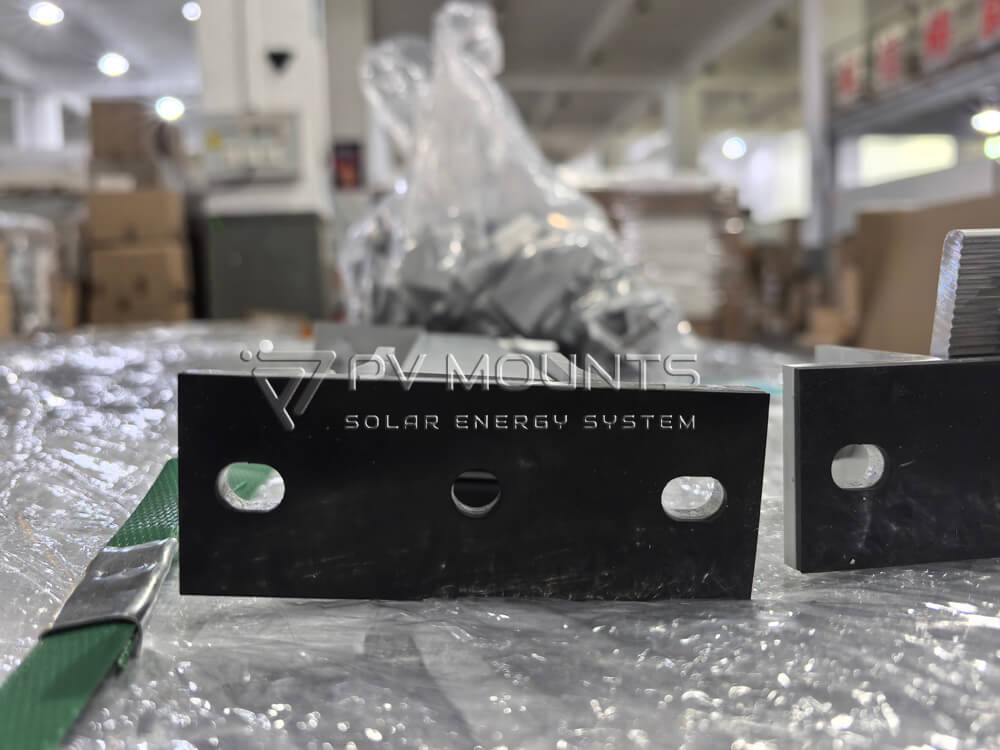
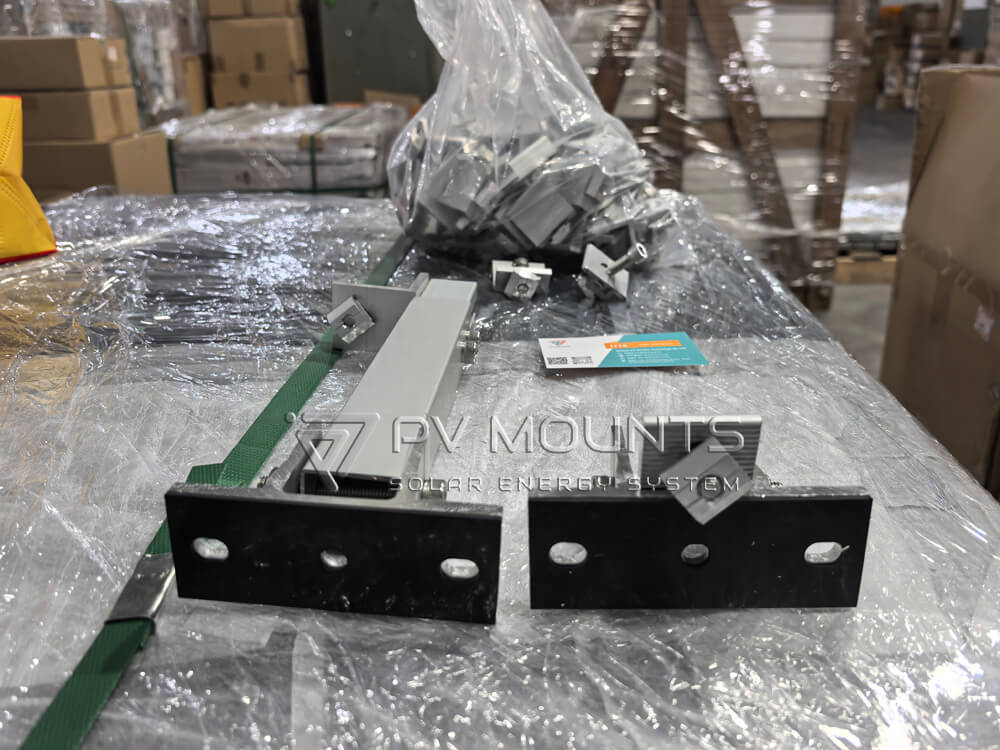
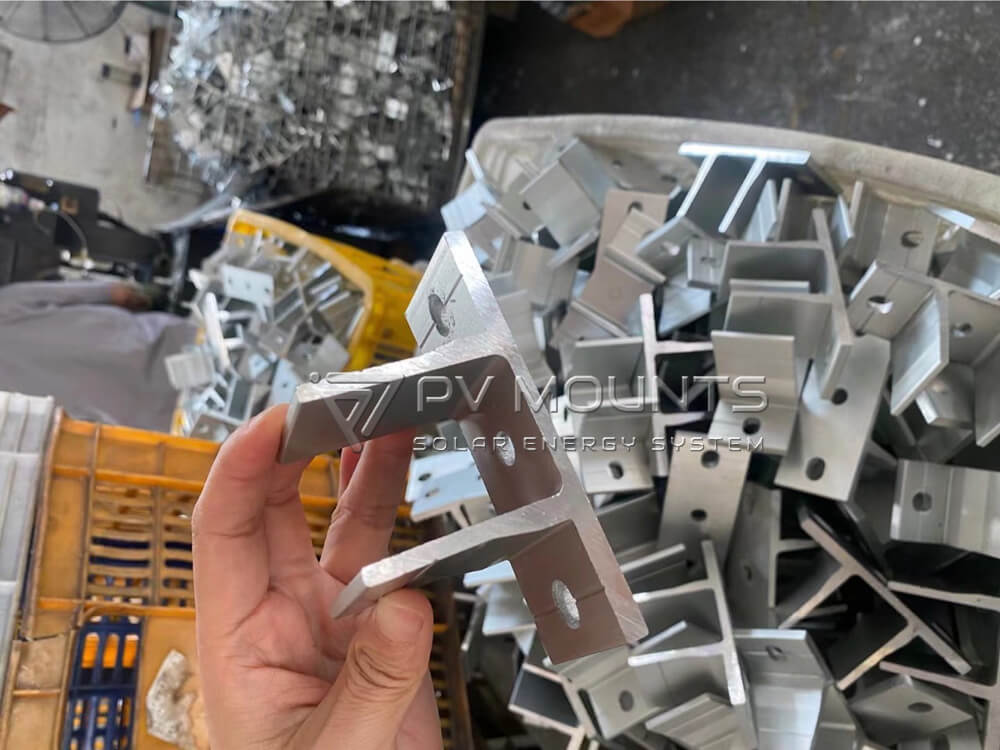
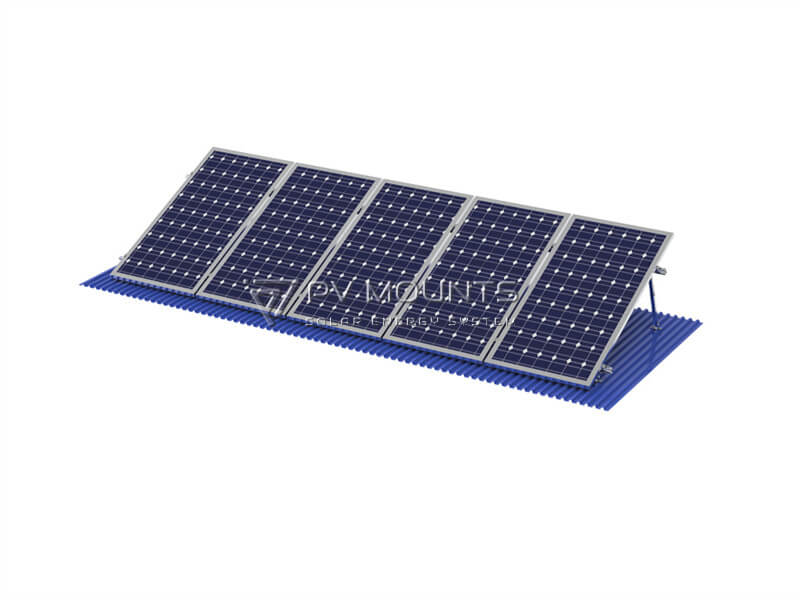
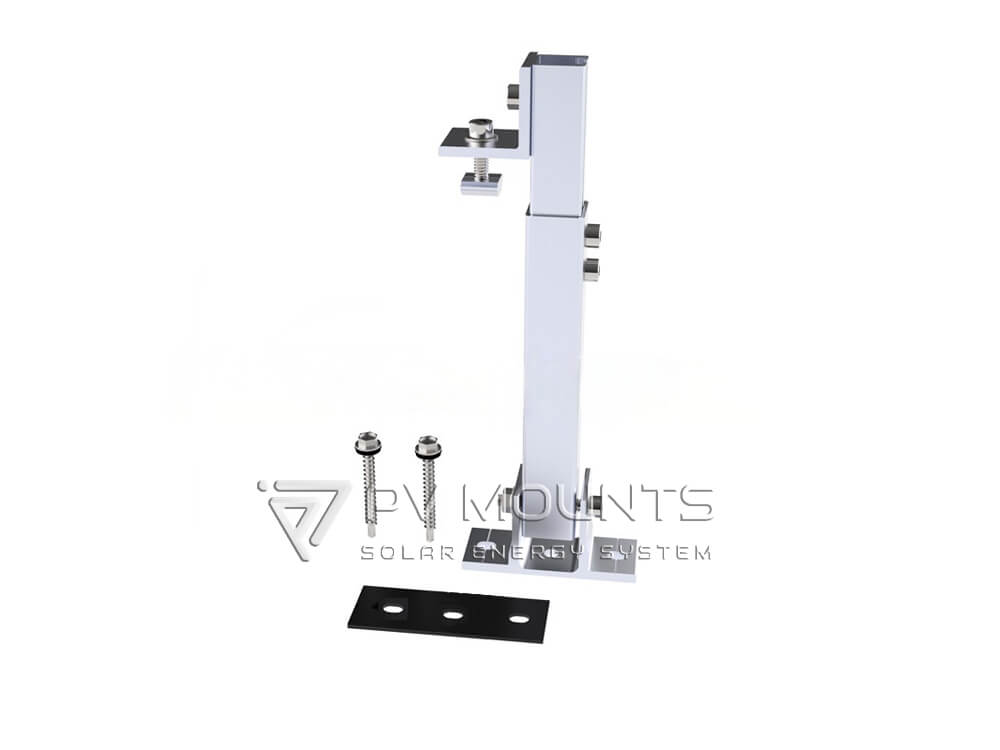
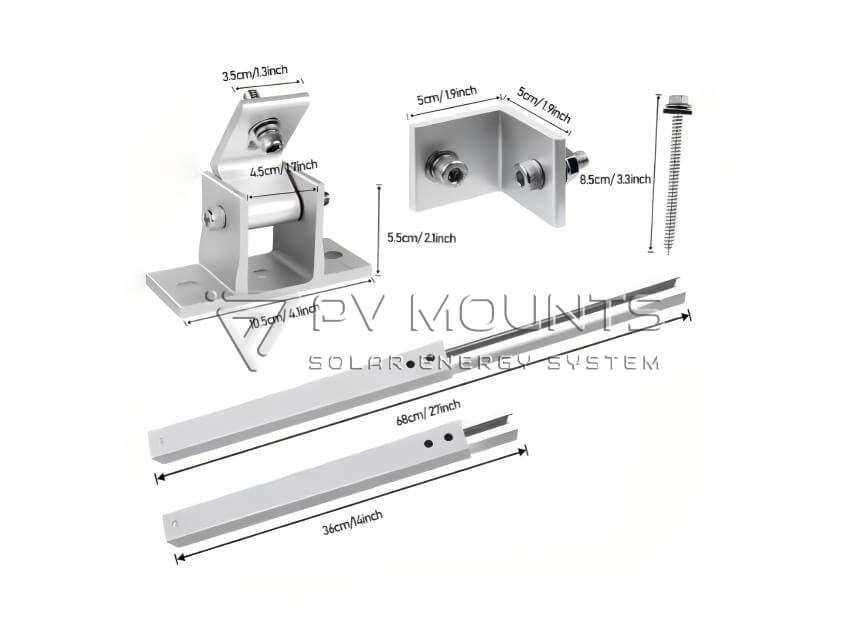
High-Strength Aluminum Construction
Made from premium aluminum alloy for lightweight handling, high structural strength, and corrosion resistance.
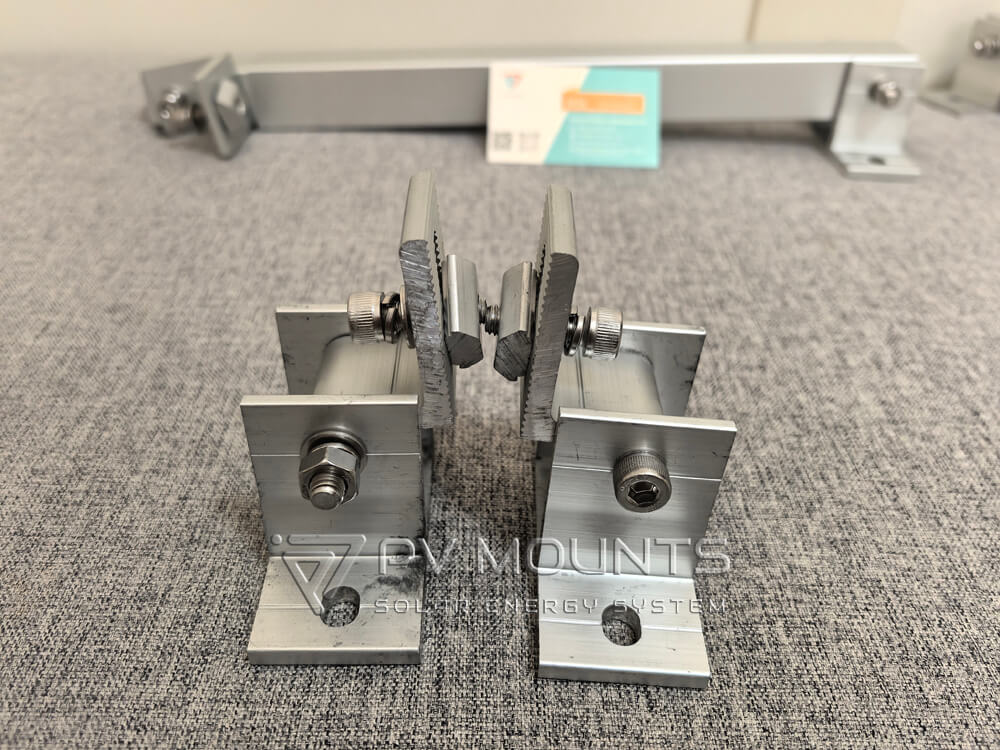
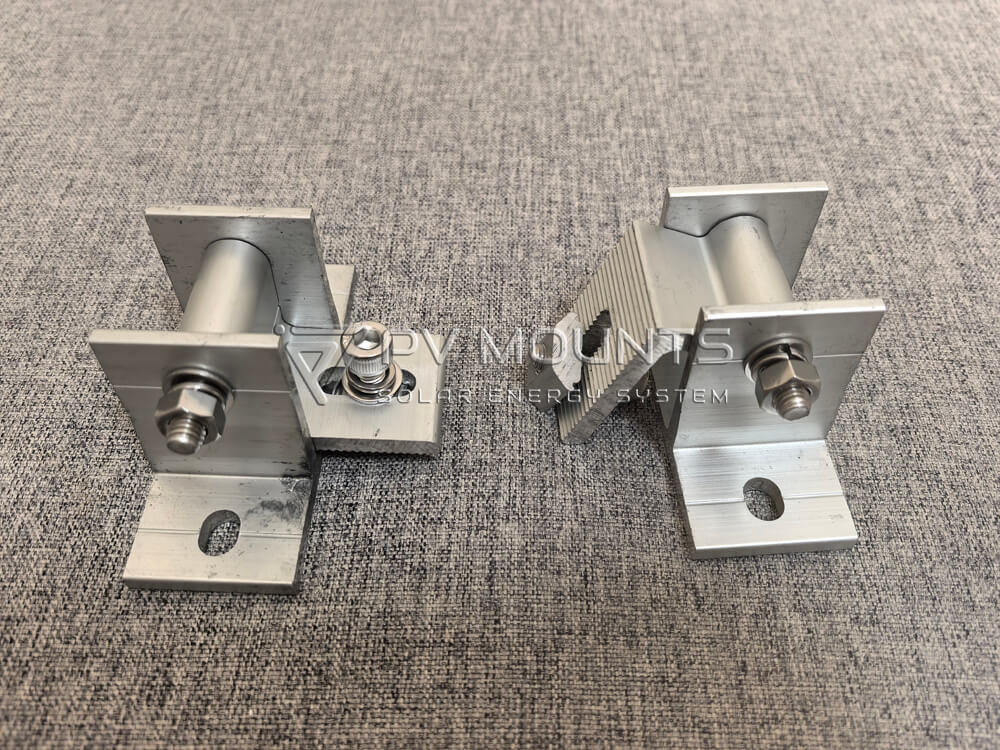
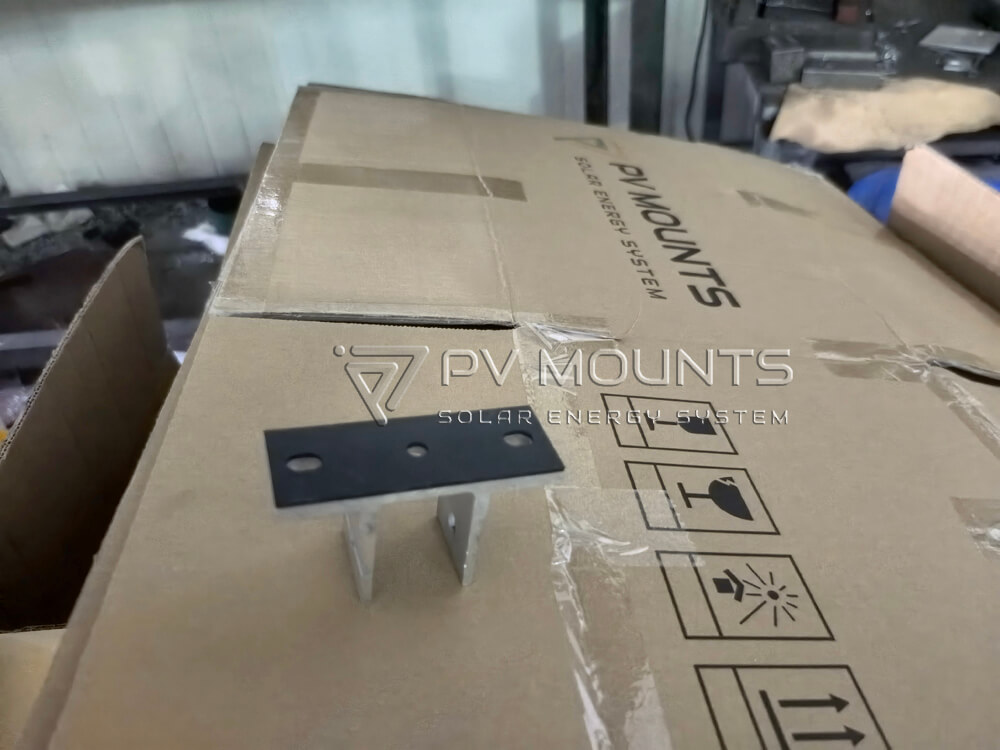
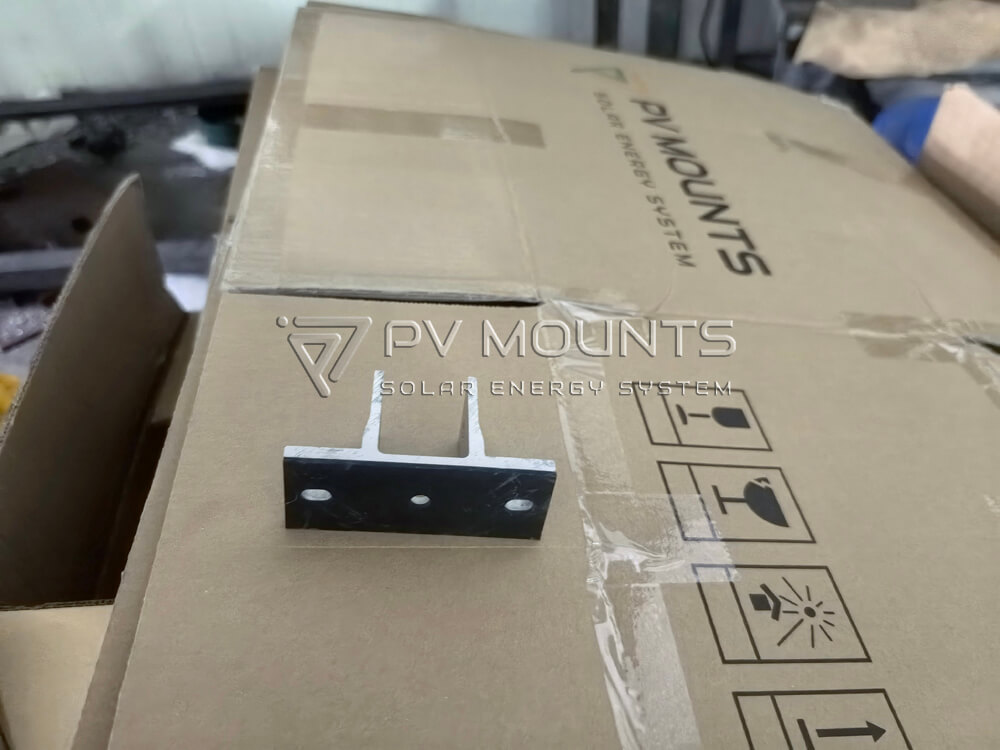
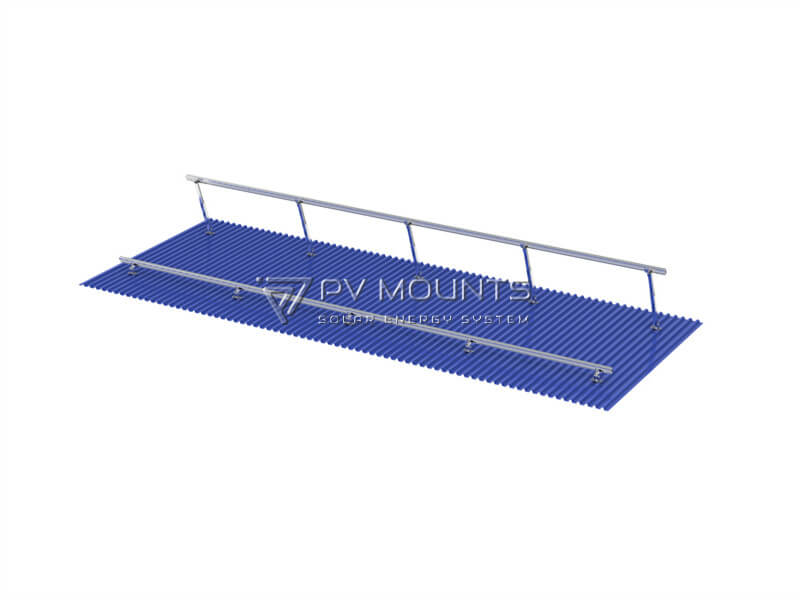
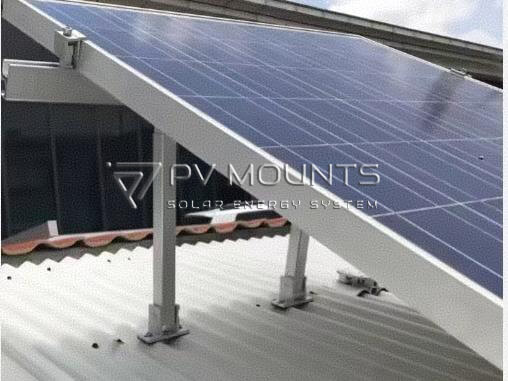
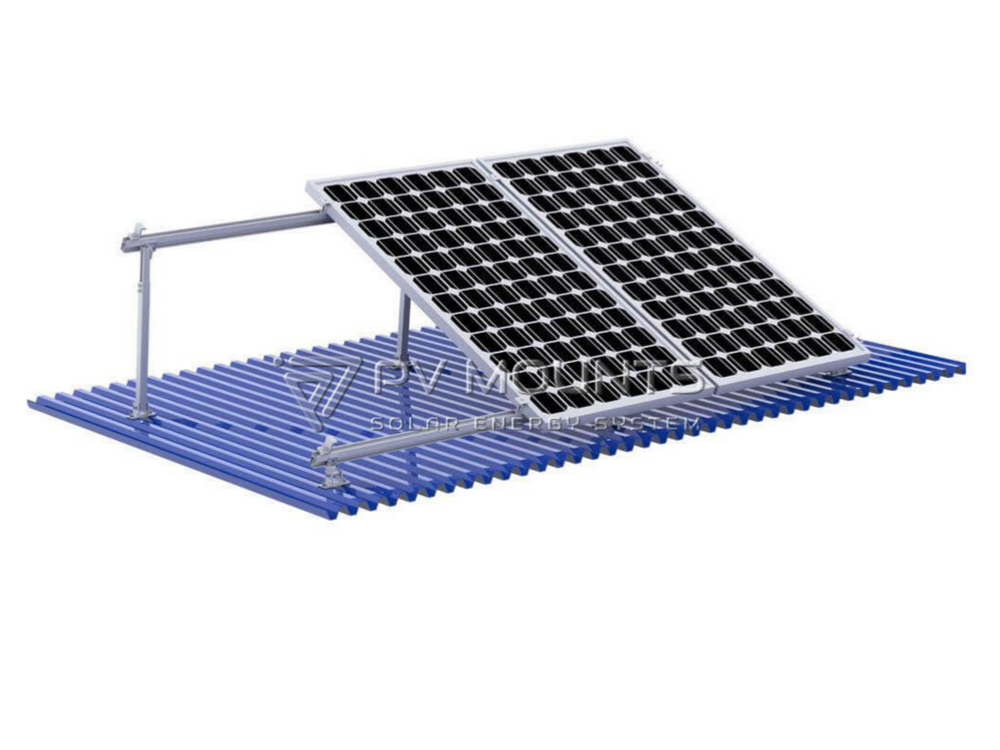
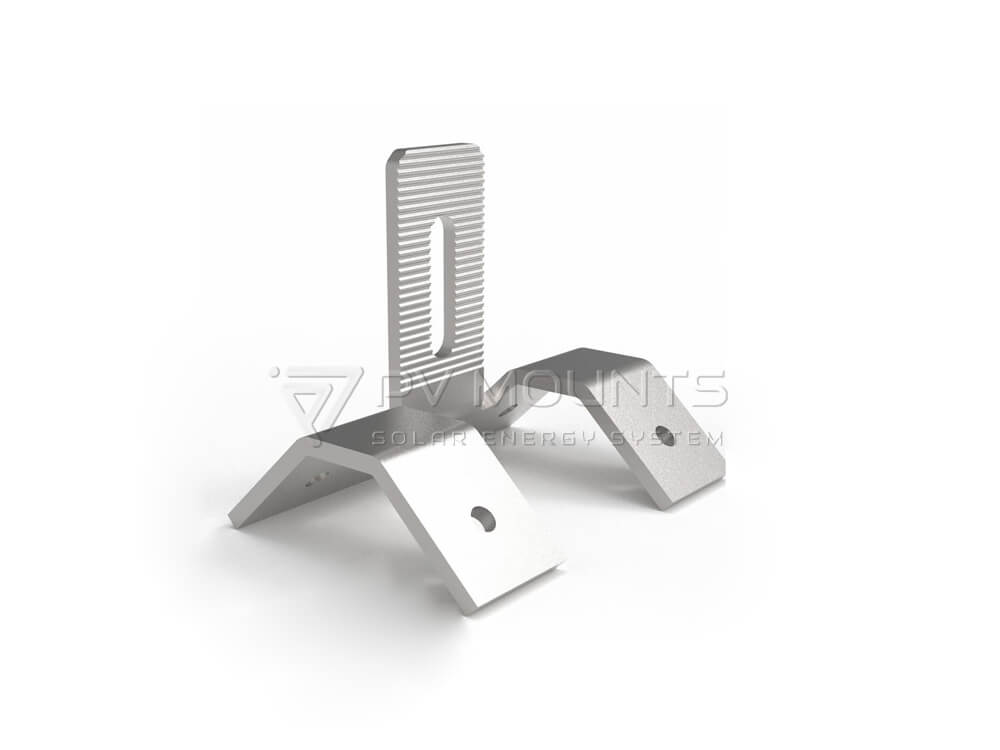
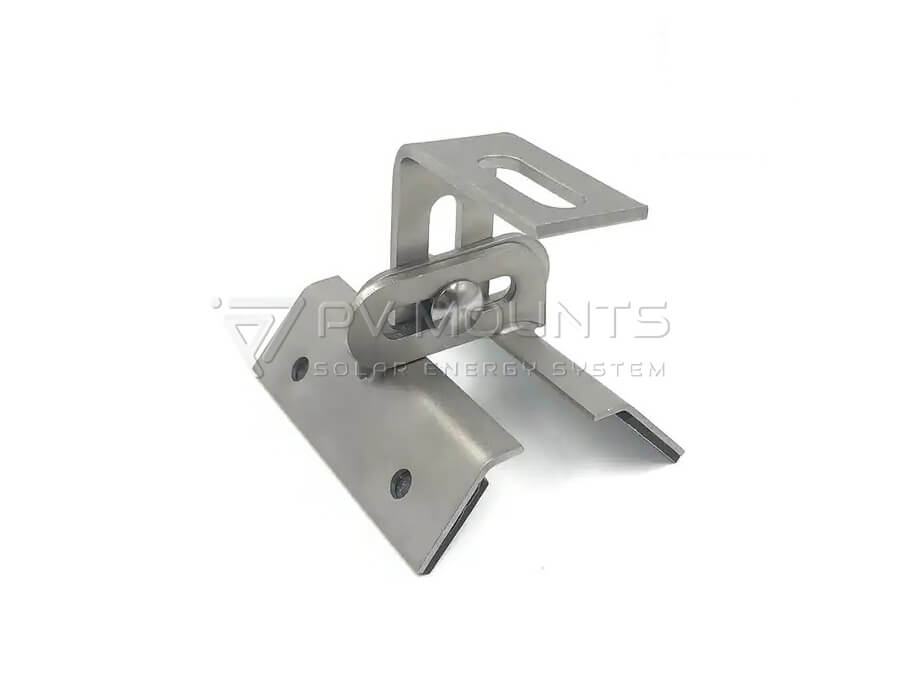
Front Leg & Rear Leg Configuration
Designed to work together for stable and balanced support in adjustable tilt solar mounting systems.
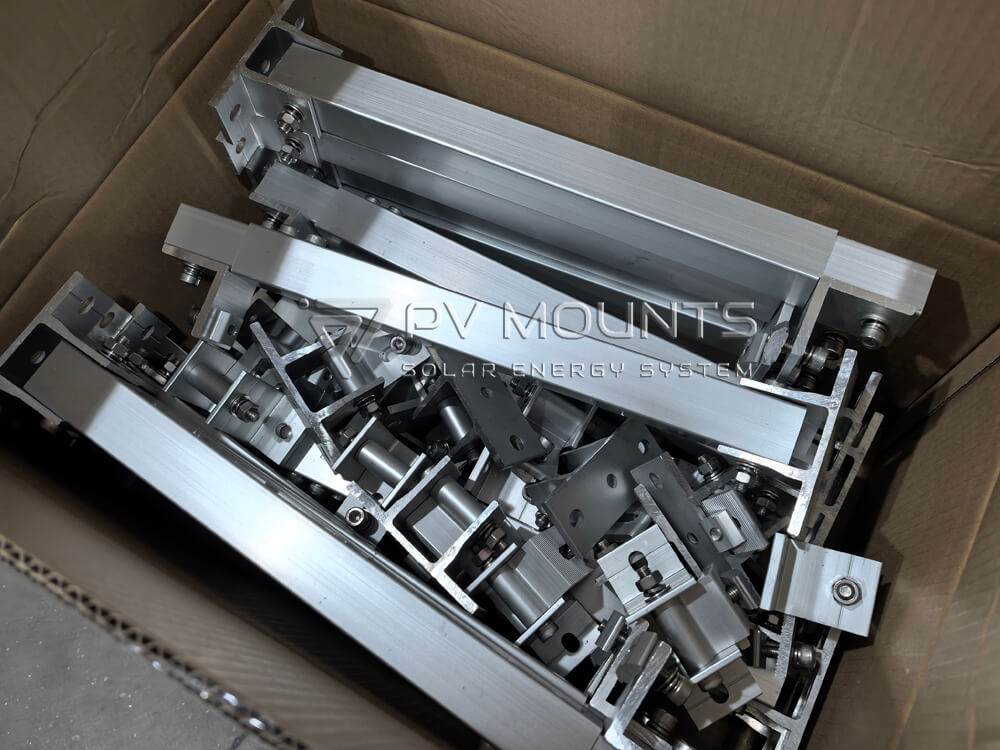
Easy and Fast Installation
Pre-drilled holes and simple structure reduce installation time and labor costs on-site.
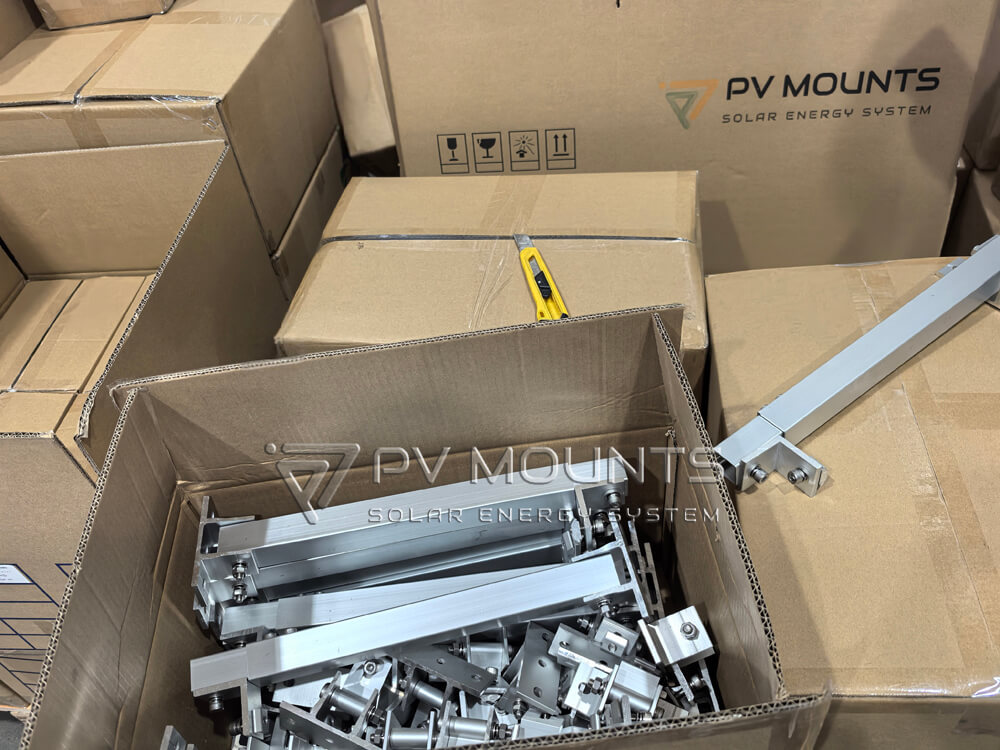
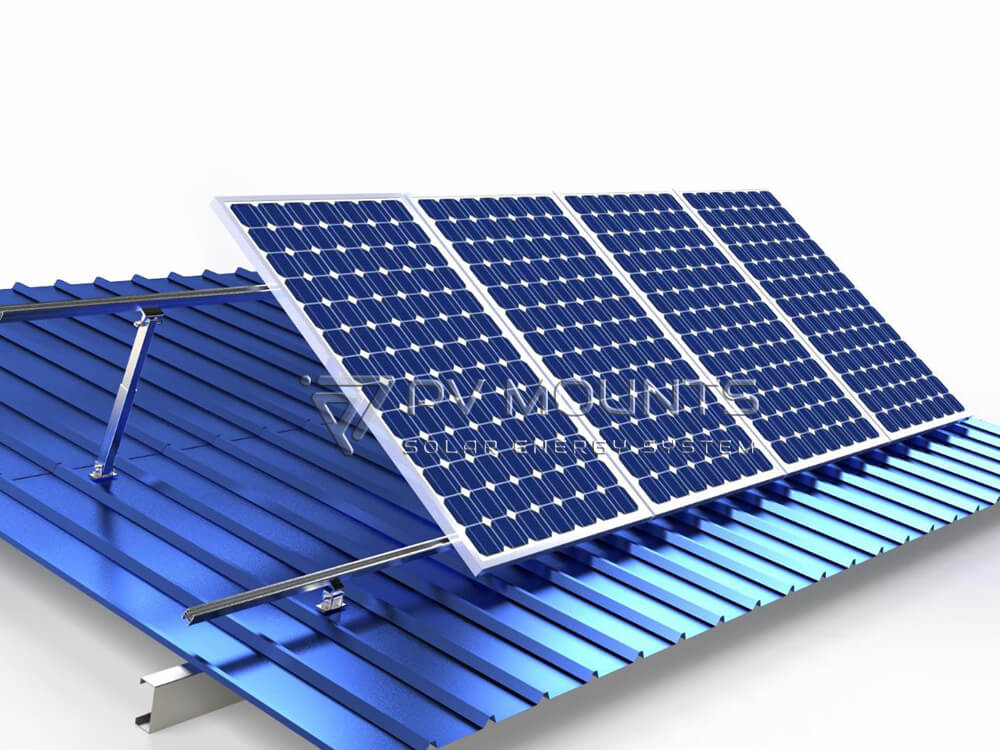
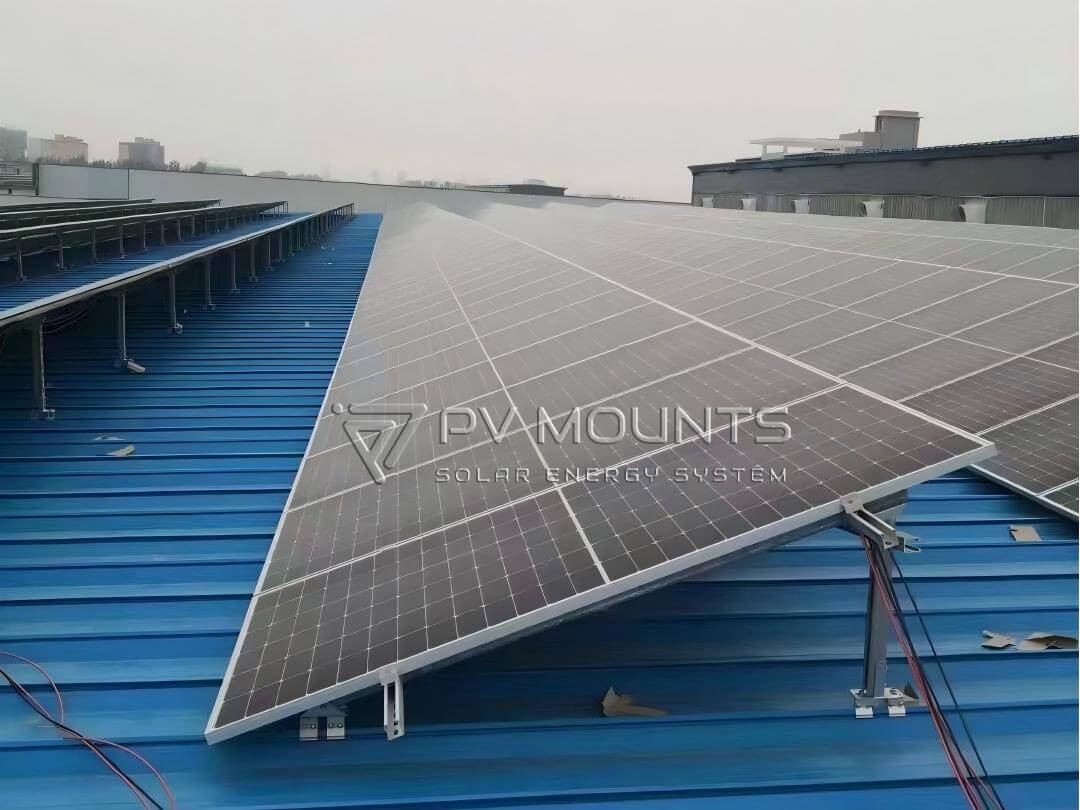
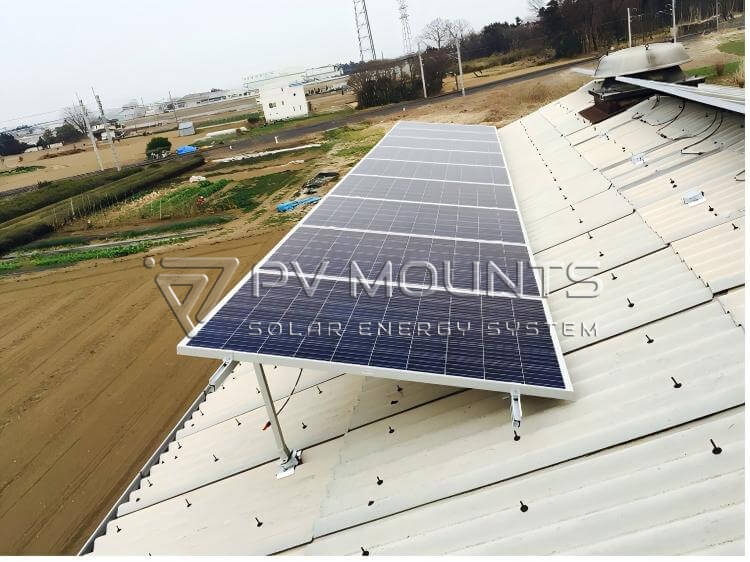
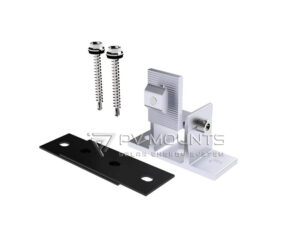
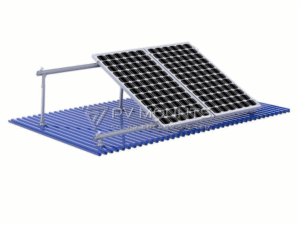
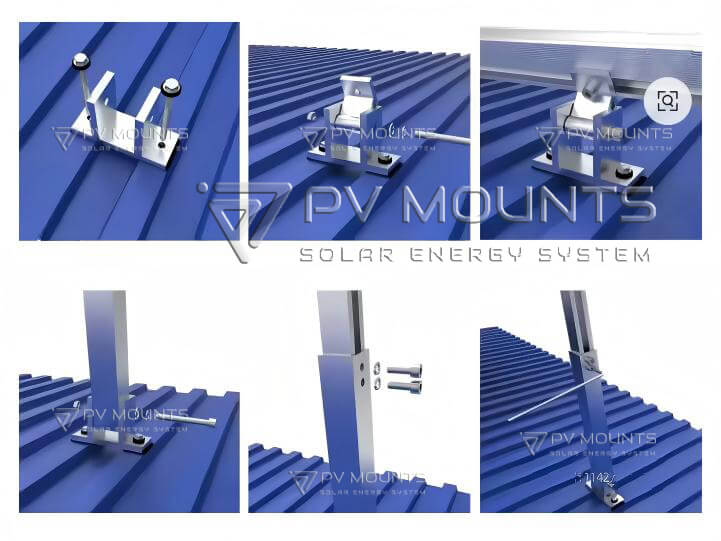
Compatible with Metal Roof PV Systems
Suitable for trapezoidal metal roofs, standing seam roofs (with proper clamps), and flat roof installations.
| Parámetros técnicos | |
| Carga de viento: | Máx. 60 m/s |
| Carga de nieve: | Máx. 1,4KN/m |
| Solar panel type | Framed & Unframed |
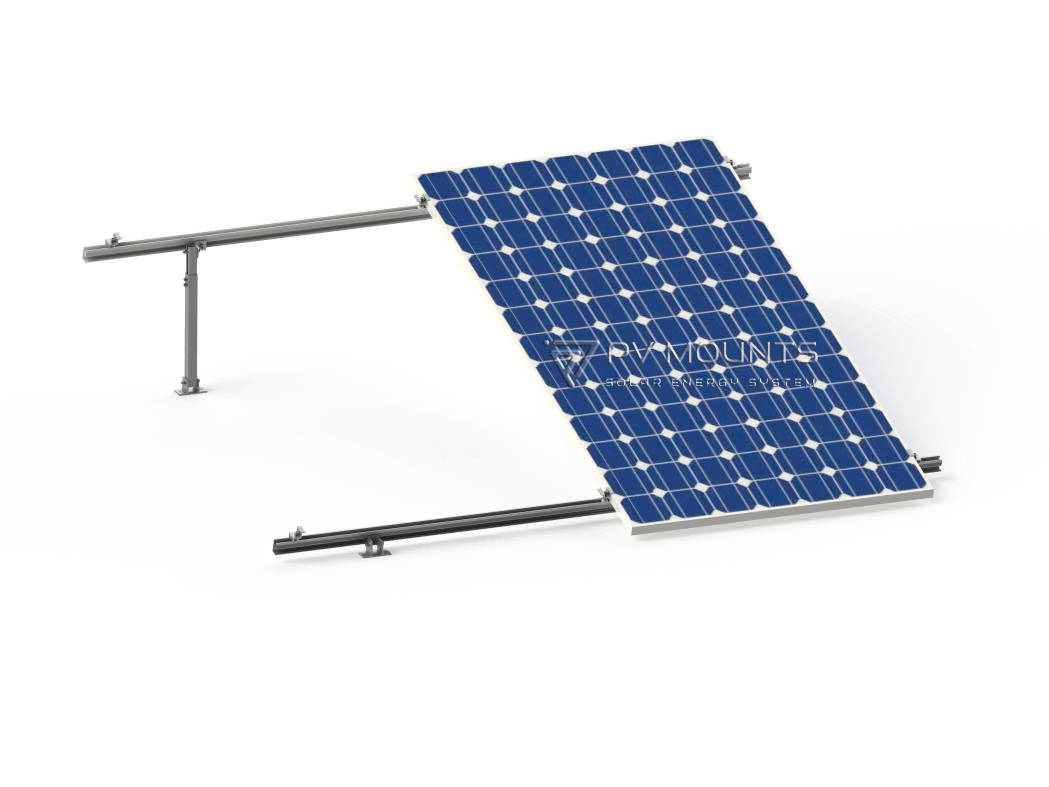
| Adjustable Angle | 10~15°,15~30°,30~60° |
| Aplicación | Metal roof and Flat concrete roof |
| Garantía: | 10 Year |
| After-sales Service | Yes |
| Estándar | AS/NZS 1170.2/JIS C 8955:2017/ISO9001/UL1565/DIN 1055 |
Keywords:
Adjustable tilt mounting system (front legs, rear legs, rails, fasteners)
Solar modules
Drill and torque wrench
Measuring tape and level
Stainless steel fasteners (SUS304 or equivalent)
Waterproof sealant (for metal roof installations)
Concrete anchors or ballast blocks (for concrete roofs)
Confirm roof structure and load capacity.
Identify purlin positions or structural supports.
Mark the mounting points according to the module layout and tilt angle design.
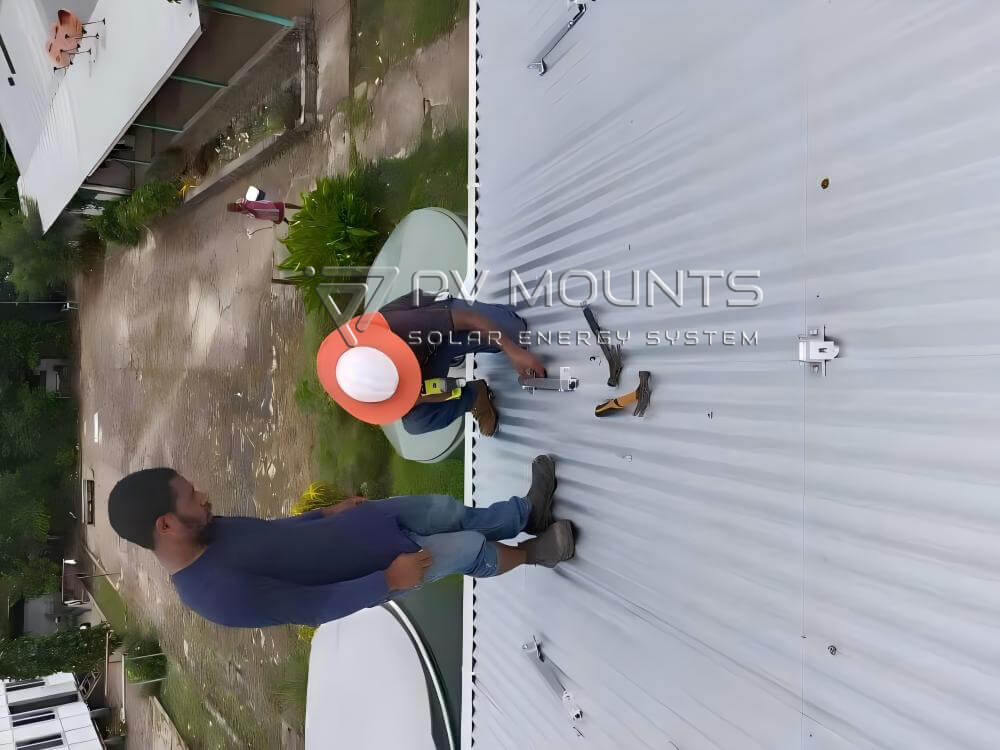
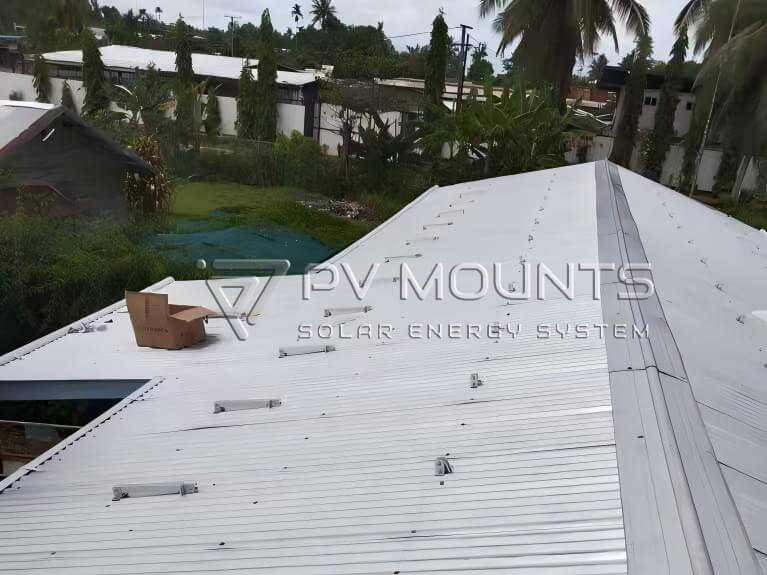
Install L feet, roof clamps, or base plates directly onto the metal roof.
Secure fasteners into purlins or structural beams.
Apply waterproof sealing around all penetrations to prevent leaks
Attach the rear legs to the roof attachments.
Ensure all rear legs are aligned and vertically plumb.
Lightly tighten bolts to allow adjustment.
Fix the front legs in front of the rear legs according to the system design.
Adjust the front leg height to achieve the required tilt angle.
Check angle consistency across all mounting points.
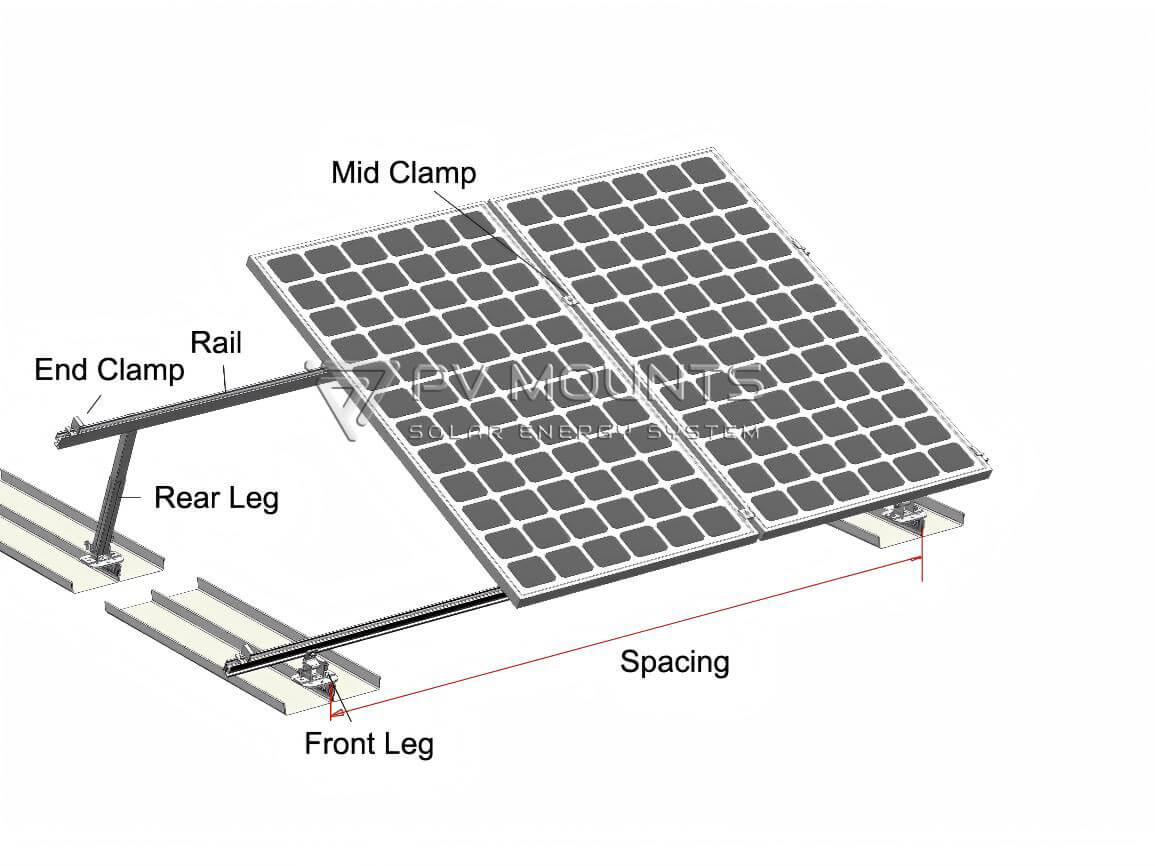
Connect mounting rails between front and rear legs.
Ensure rails are straight, level, and securely fixed.
Tighten all structural bolts to specified torque values.
Place solar modules onto the rails.
Secure modules using mid clamps and end clamps.
Ensure proper grounding and electrical clearances.
Verify tilt angle, fastener torque, and system stability.
Confirm waterproofing integrity.
Perform a pull and vibration check.
Clean the roof surface and confirm slope and drainage conditions.
Check structural load capacity and wind uplift requirements.
Two common methods are used:
Option A: Anchored Installation
Drill holes into the concrete roof.
Install expansion bolts or chemical anchors.
Fix base plates securely to the concrete surface.
Option B: Ballasted Installation
Place ballast blocks according to the system design.
Ensure even weight distribution and anti-slip protection.
Secure rear legs to the base supports.
Install front legs and adjust height to achieve the designed tilt angle.
Ensure all legs are aligned and evenly spaced.
Connect rails between front and rear legs.
Ensure correct row spacing to avoid inter-row shading.
Fully tighten all bolts after final alignment.
Place modules on rails and fix with clamps.
Maintain recommended module spacing for thermal expansion.
Verify mechanical stability under wind and load conditions.
Confirm tilt angle and array alignment.
Perform final torque and safety checks.
Latitude-based optimization (typically 10°–30° for flat roofs)
Adjust according to seasonal performance or project design
Always follow local building codes and wind load standards.
Use stainless steel fasteners for corrosion resistance.
Do not overtighten aluminum components.
Ensure proper grounding and bonding of the system.
A solar adjustable tilt mounting system provides flexibility, improved energy output, and reliable structural performance for both metal roofs and flat concrete roofs. Proper installation ensures long-term safety, durability, and optimal solar performance.
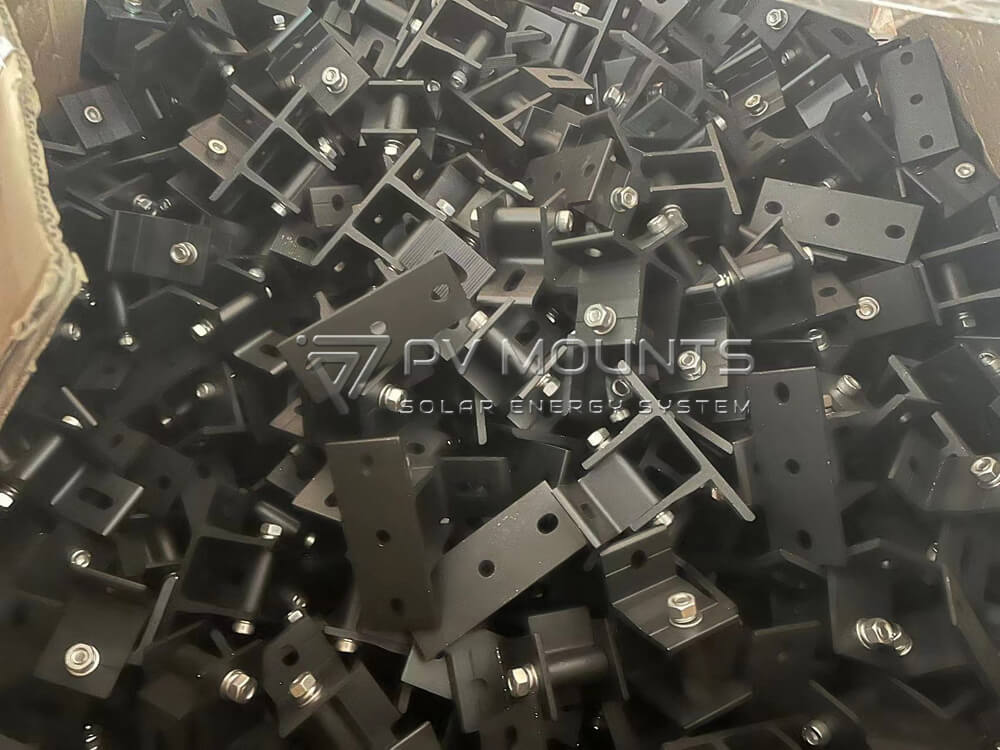
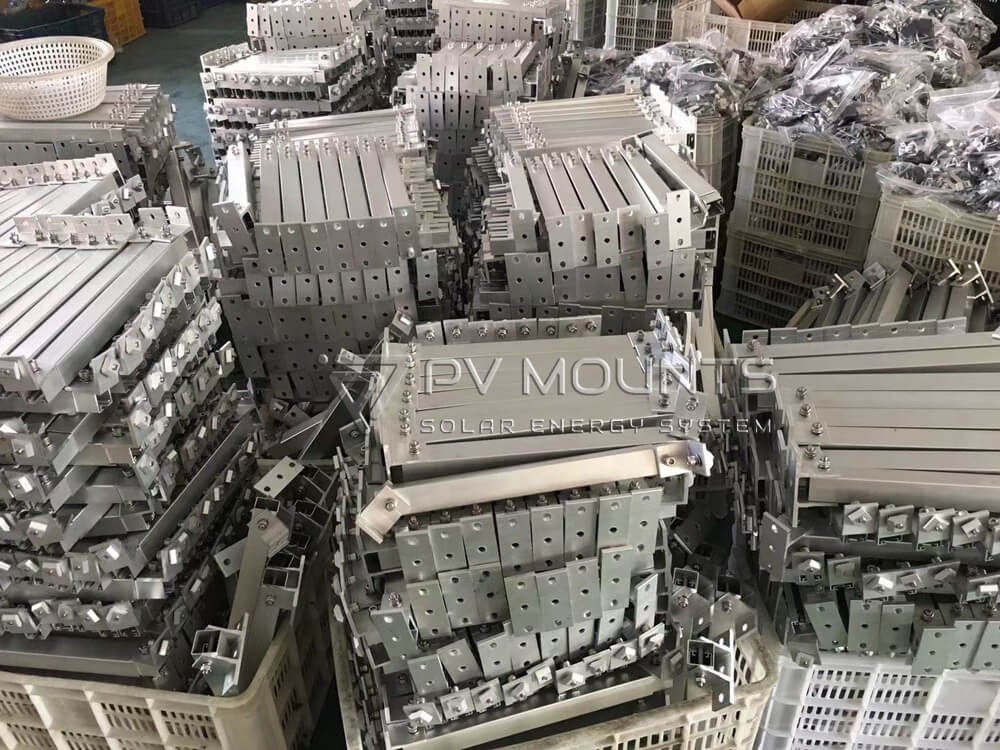
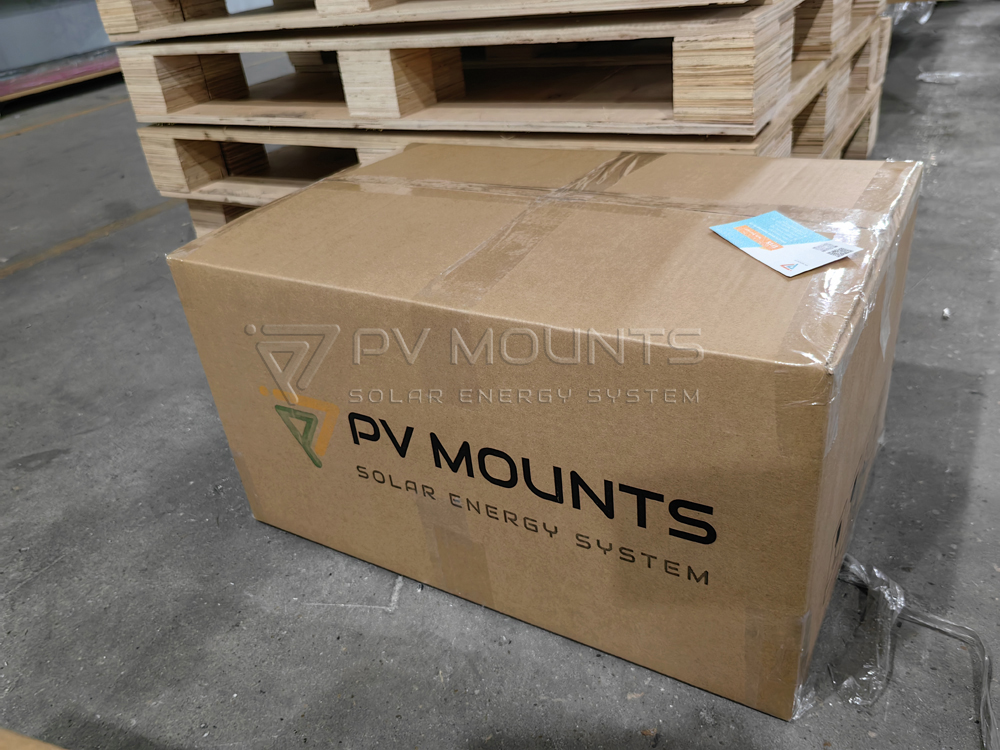
One stop manufacturer specialized in solar mounting system and components for your solar mount projects.
PVMOUNTS has all kinds of solar mounting accessories designed for using on almost every roof and ground with excellent compatibility. Customized order is acceptable.
We can produce different solar panel mounted components including but not limited in: