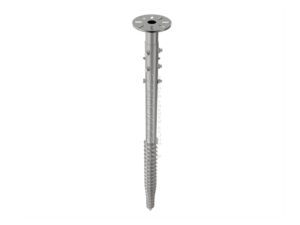
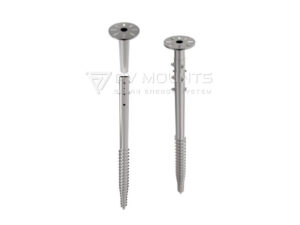
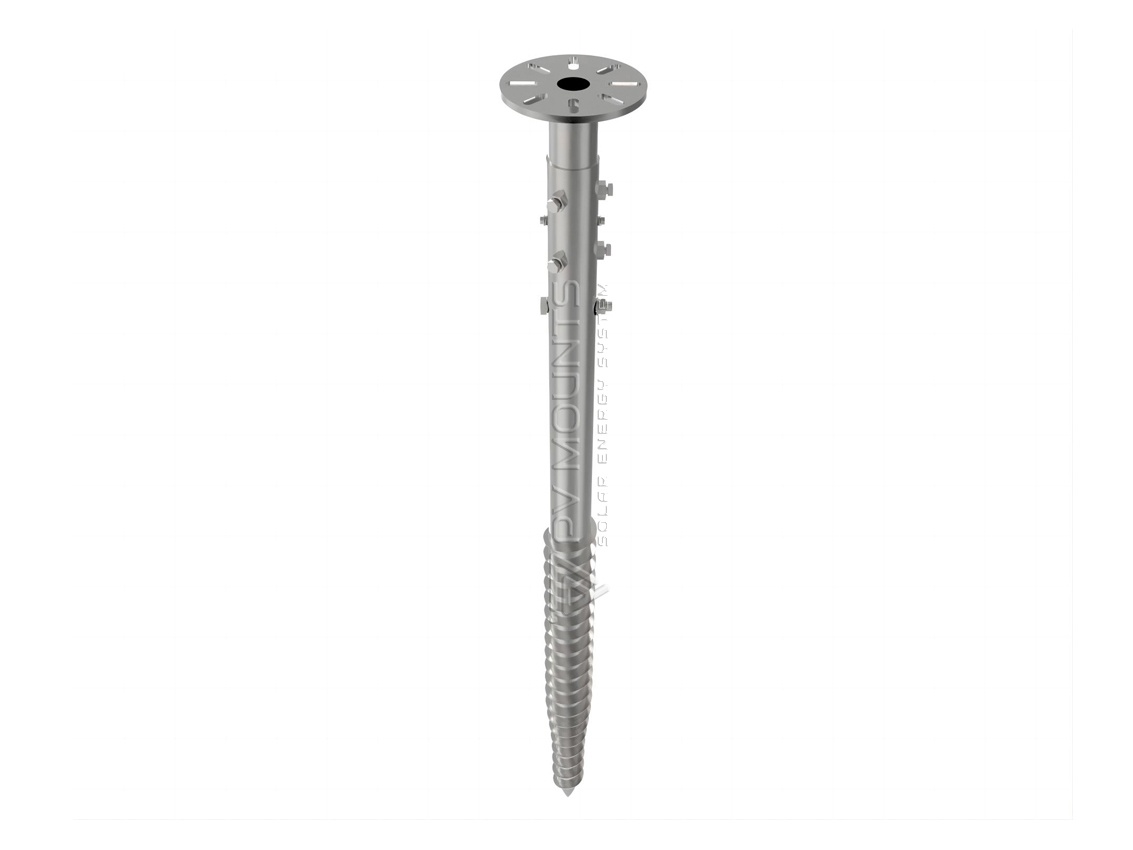
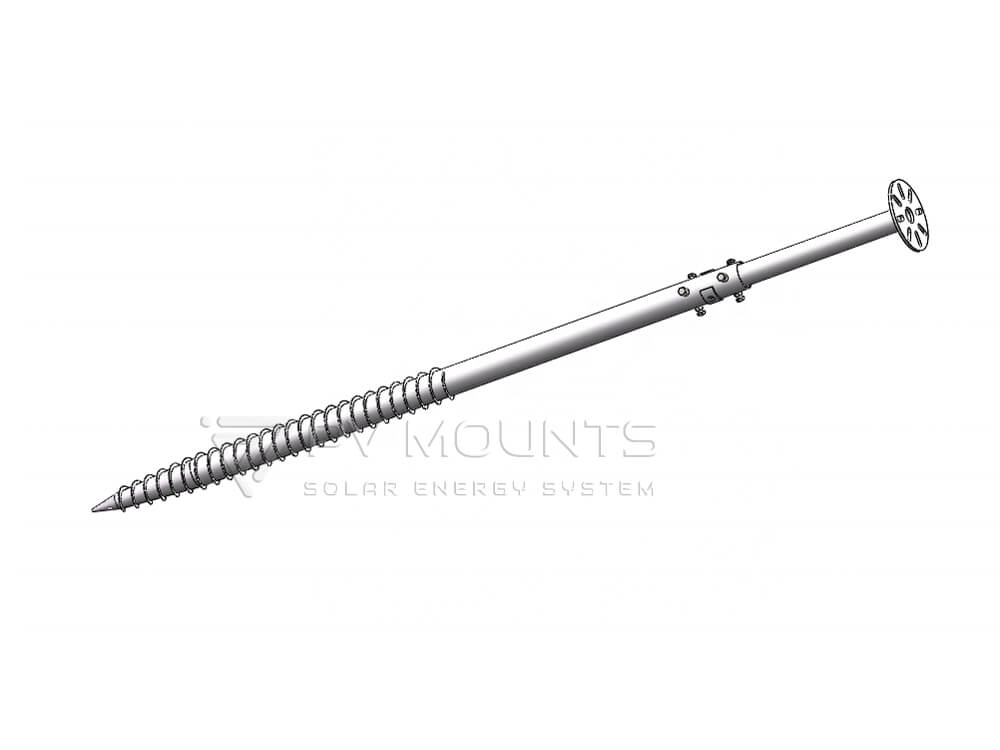
Caracteristici principale:
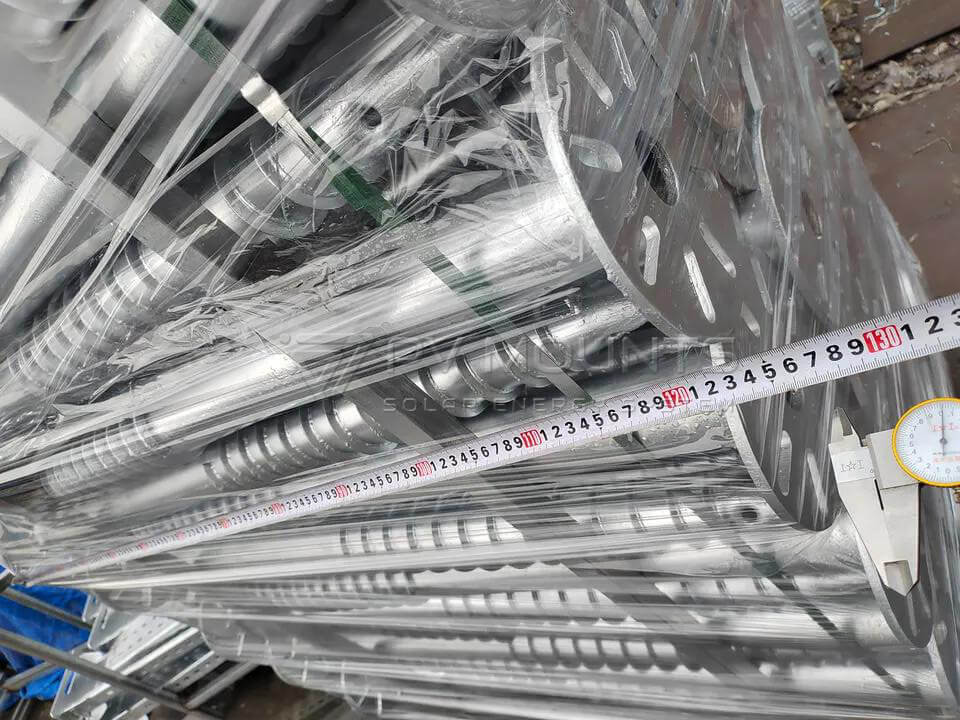
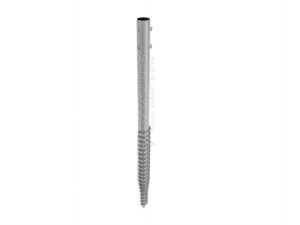
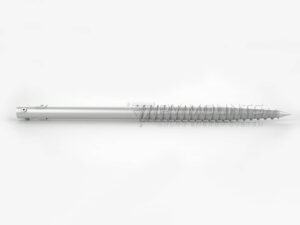
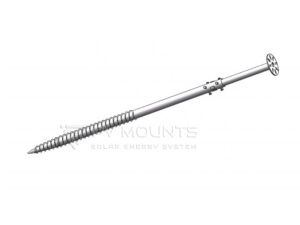
- Opțiuni versatile de lungime: Alegeți dintr-o varietate de lungimi ale șuruburilor de la 600 mm la 3500 mm, asigurând compatibilitatea cu orice dimensiune a proiectului.
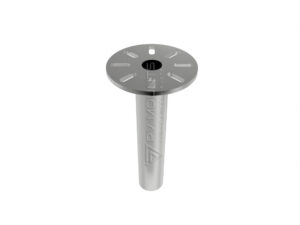
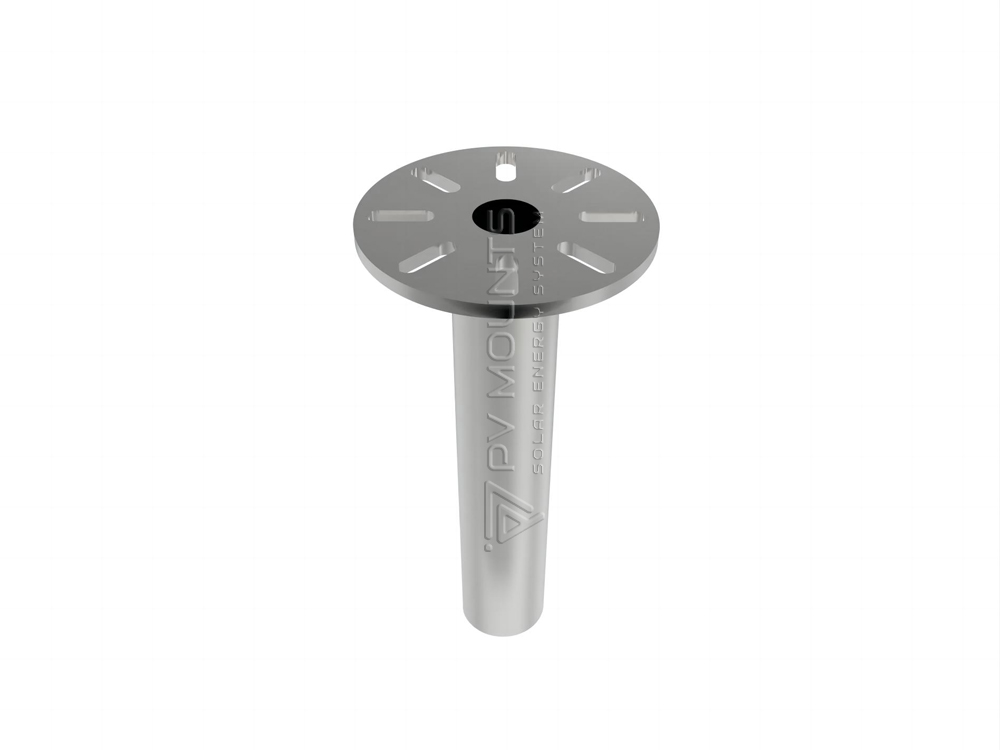
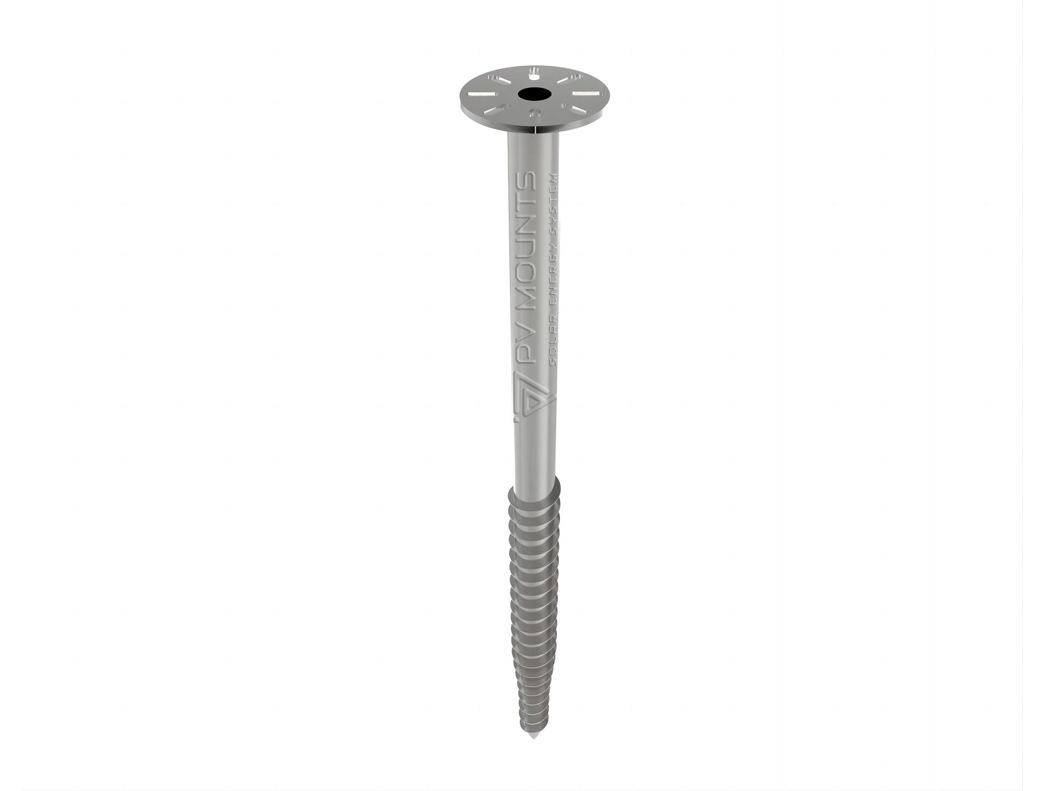
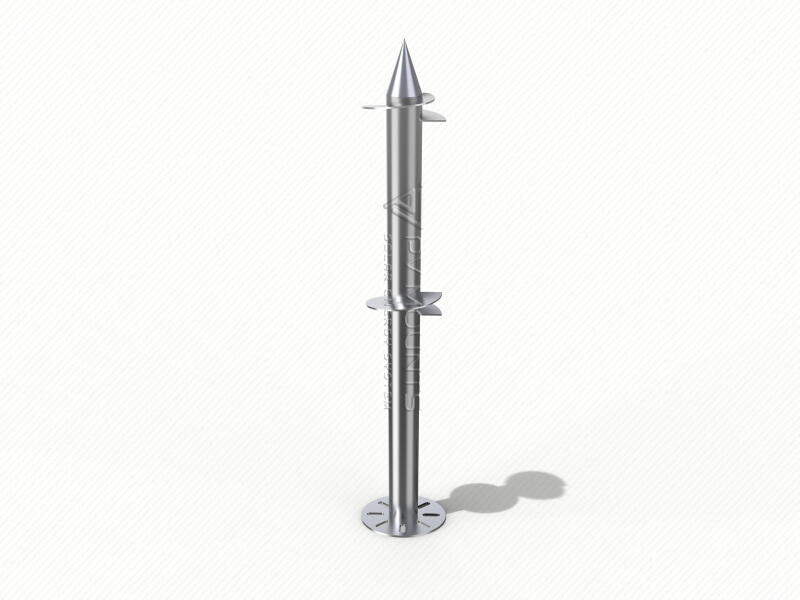
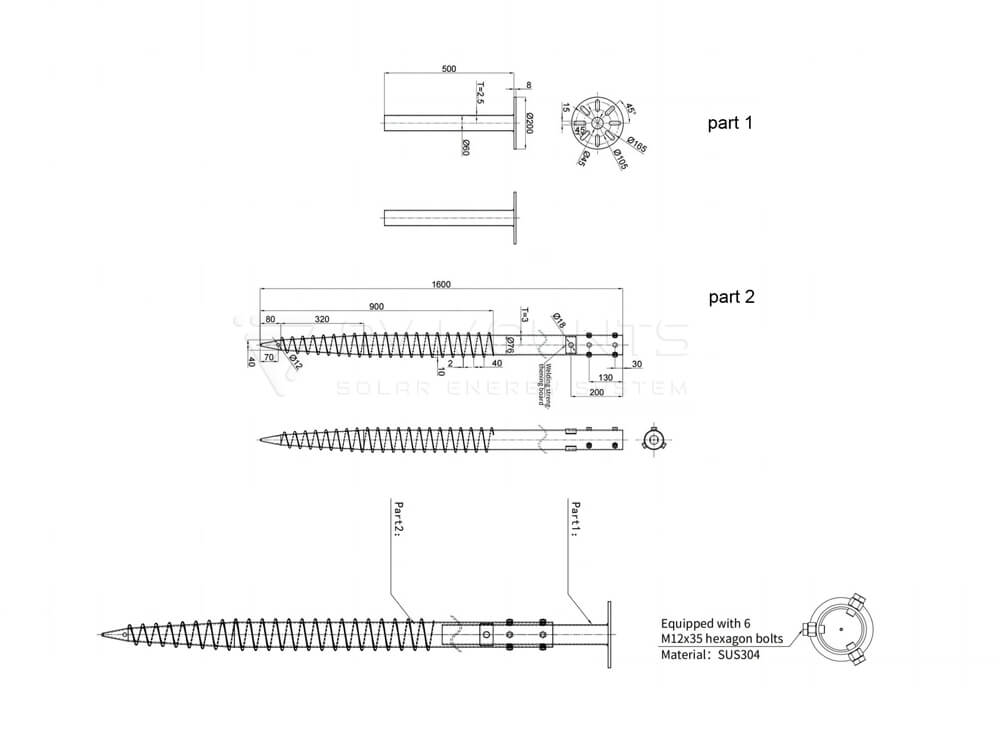
- Flanșă reglabilă Tehnologie: Flanșa unică nefixată permite ajustări fine ale înălțimii, oferind o bază perfect orizontală pentru panourile solare.
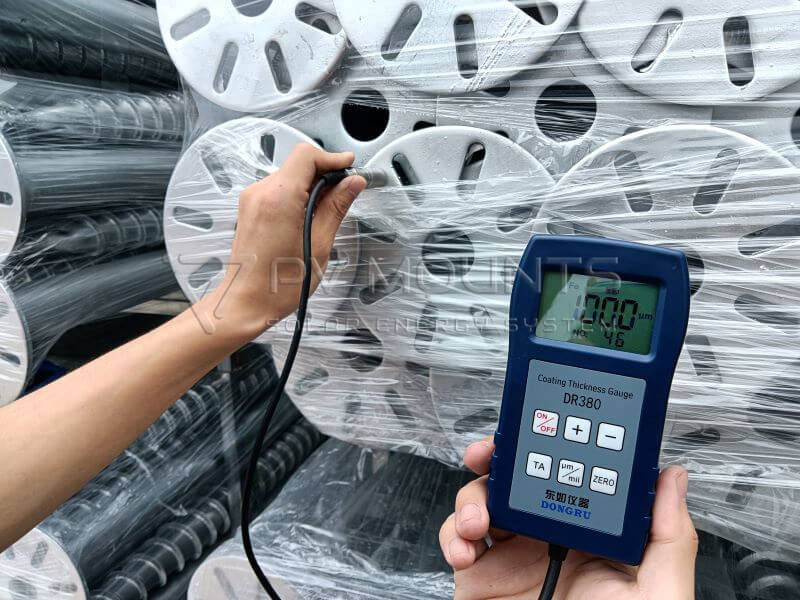
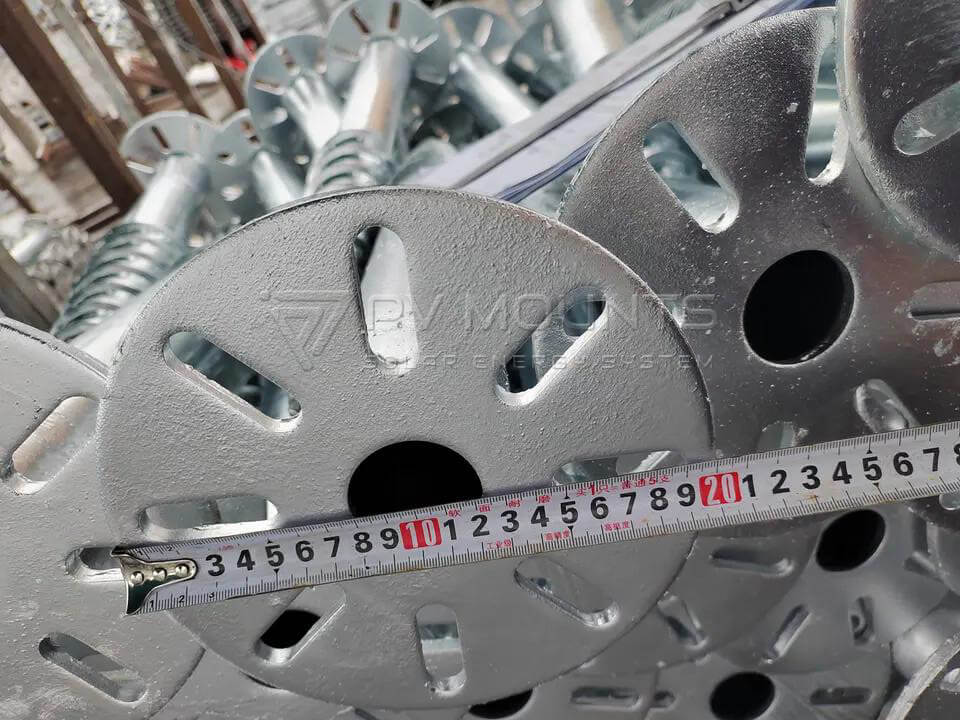
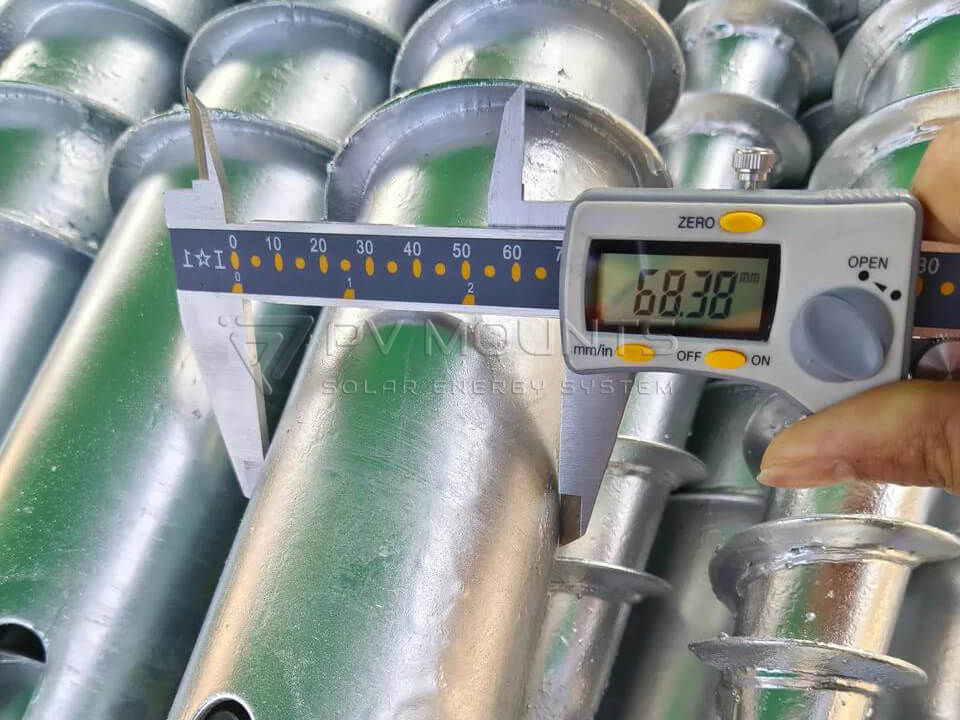
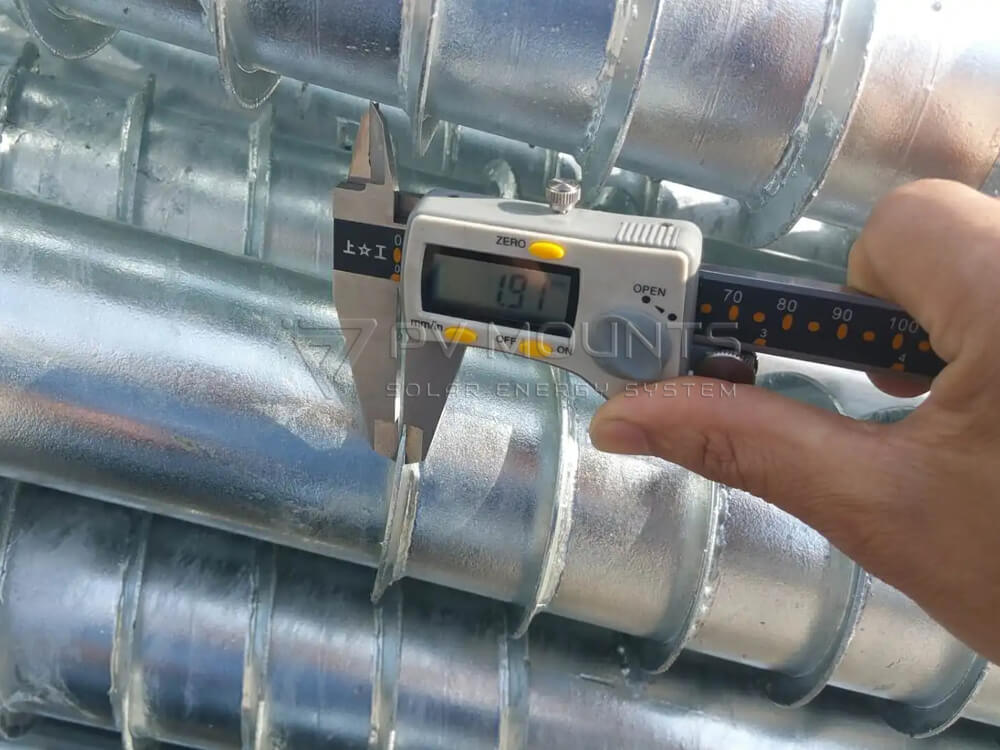
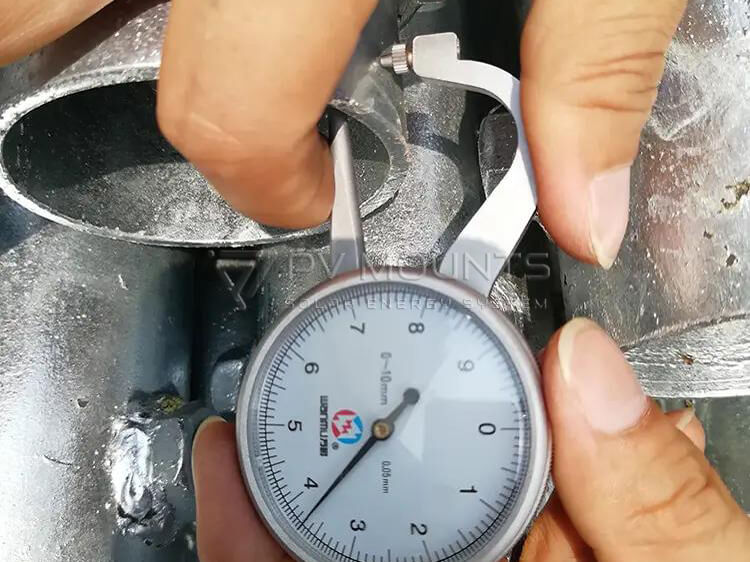
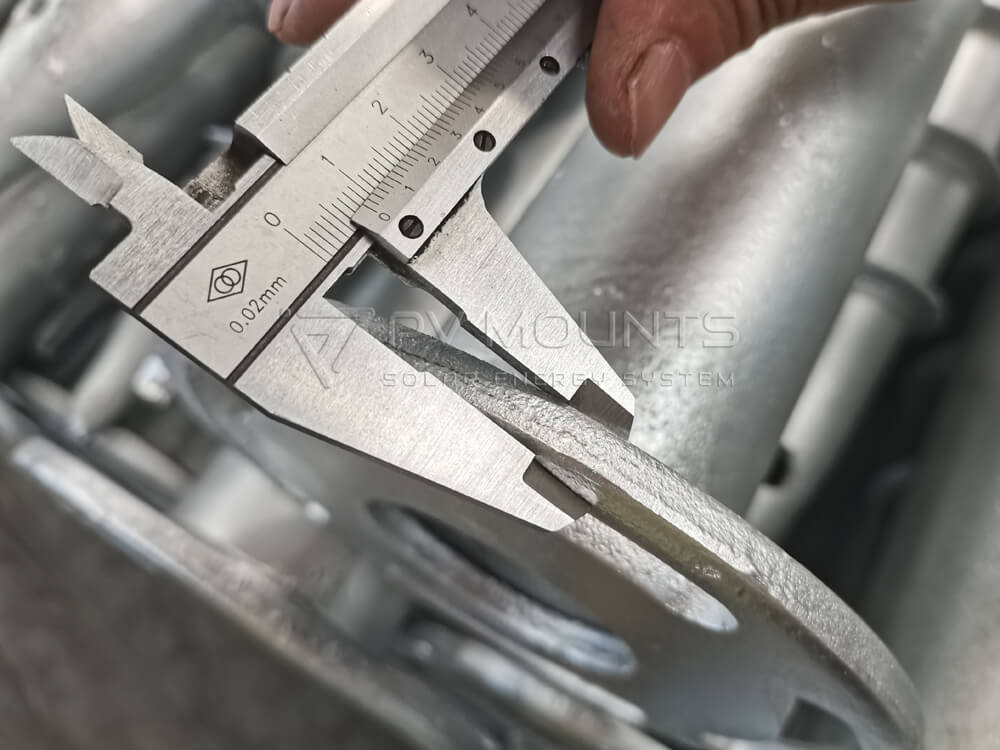
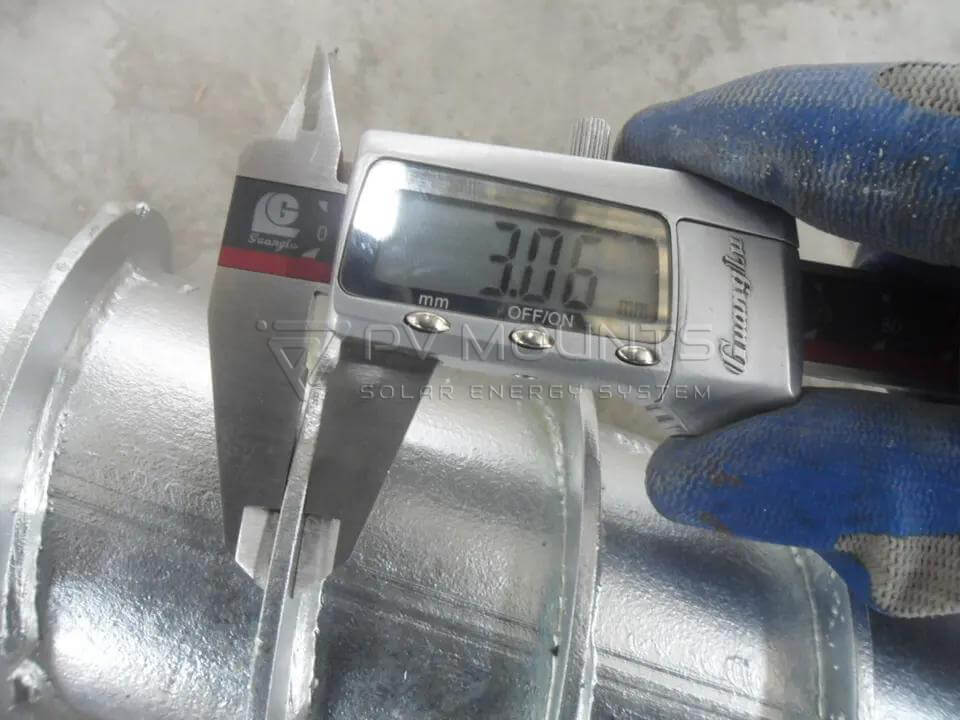
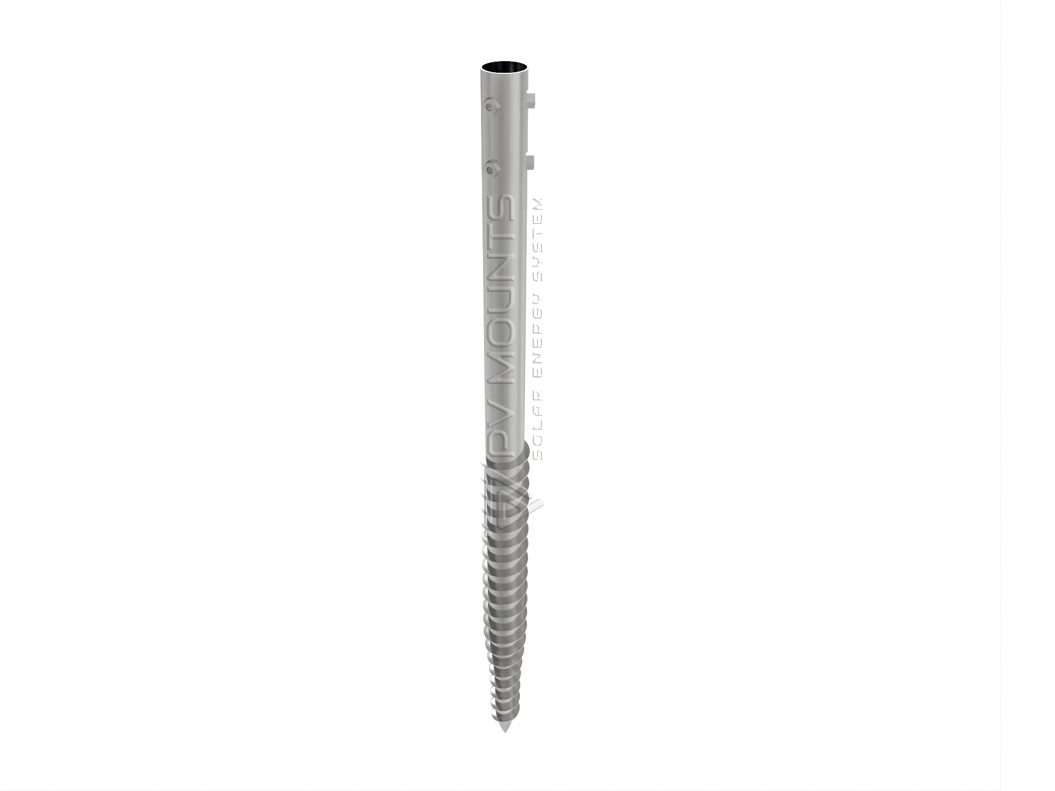
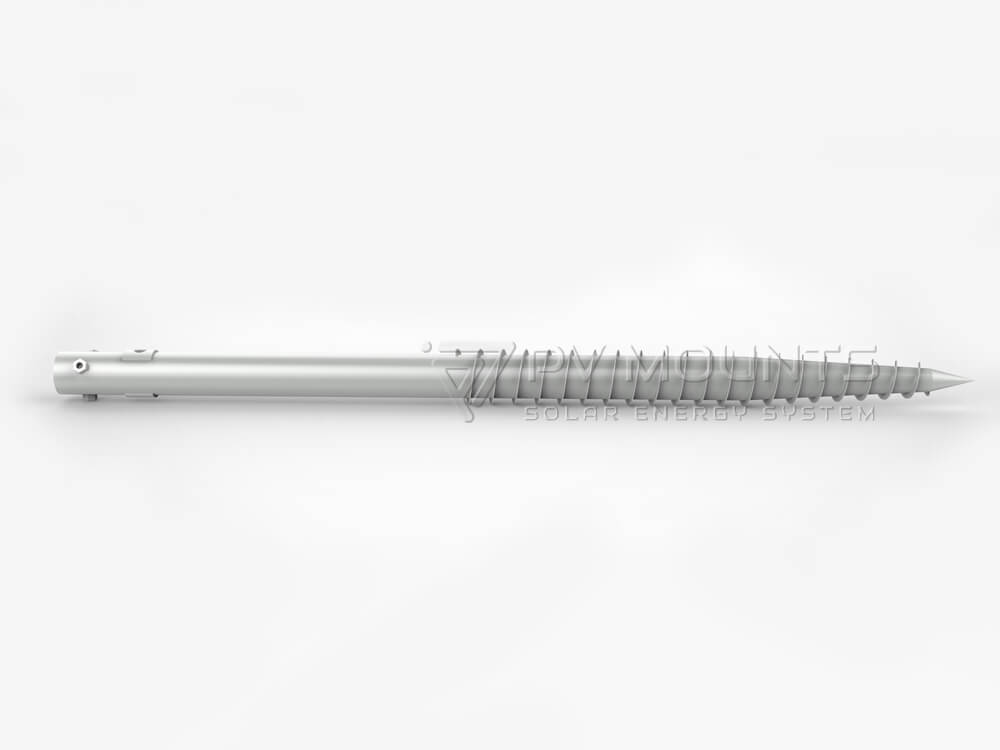
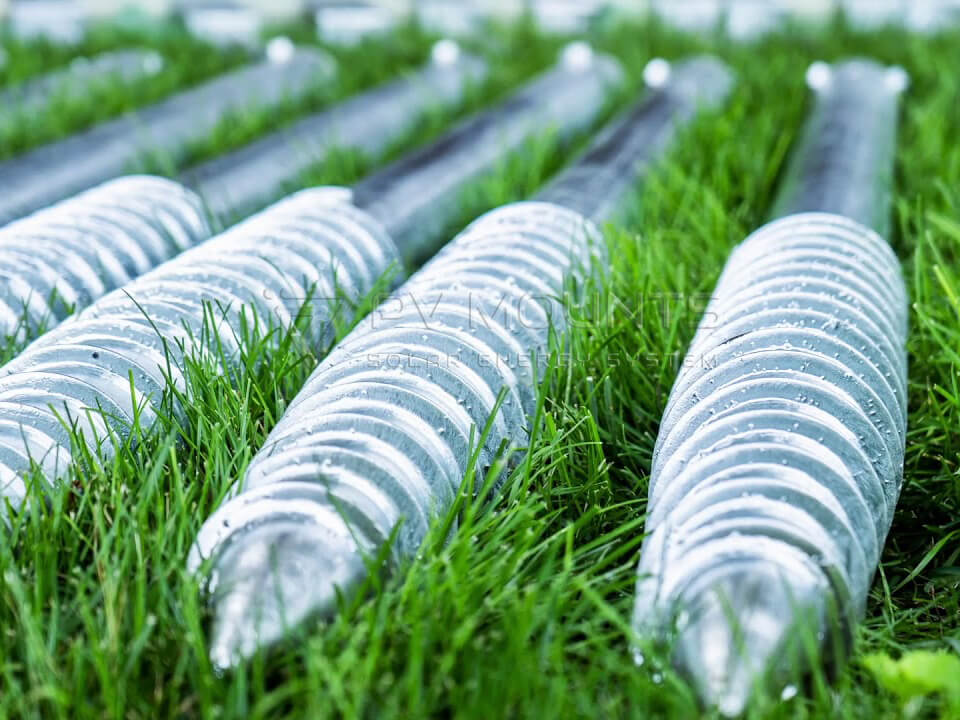
- Material Excelență: Construit din oțel carbon standard Q235 și finisat cu galvanizare la cald pentru rezistență superioară la coroziune și longevitate de peste 15 ani.
- Simplicitatea instalării: Proiectat pentru o instalare ușoară și rapidă, reducând timpul de lucru și îmbunătățind eficiența instalării.
Beneficii:
- Compatibilitate pe toate tipurile de teren: Proiectat pentru a fi ancorat în siguranță în diferite tipuri de sol, inclusiv sol nisipos, sol moale și condiții montane.
- Reutilizabile și durabile: Nu numai că este construit pentru a dura, dar este și ușor de dezasamblat și reutilizat, susținând practicile de construcție durabile.
- Rentabil: Oferă economii semnificative la instalare și întreținere, fiind alegerea ideală pentru angrosiști și clienți B2B care caută calitate și valoare.
Beneficiați de expertiza PV Mounts pentru a vă asigura că panourile dvs. solare rămân puternice indiferent de mediu. Ideal pentru medii dinamice, pilonul solar reglabil cu șurub PVM-GS-04B este alegerea dvs. pentru o fundație solară fiabilă, versatilă și durabilă.
Oferim clienților noștri un ghid de instalare cu instrucțiuni și imagini, precum și videoclipuri. Unele dintre kiturile de componente sunt bine preasamblate pentru o instalare rapidă și ușoară pentru proiectele dumneavoastră.
Installing adjustable ground screws for solar mounting involves several steps. Here’s a general guide for the installation process:
1. Site Preparation
- Choose the Installation Site: Select a flat area where the solar panels will be mounted. Ensure the ground is suitable for the installation of ground screws (soft soil, sandy, or desert terrain works best).
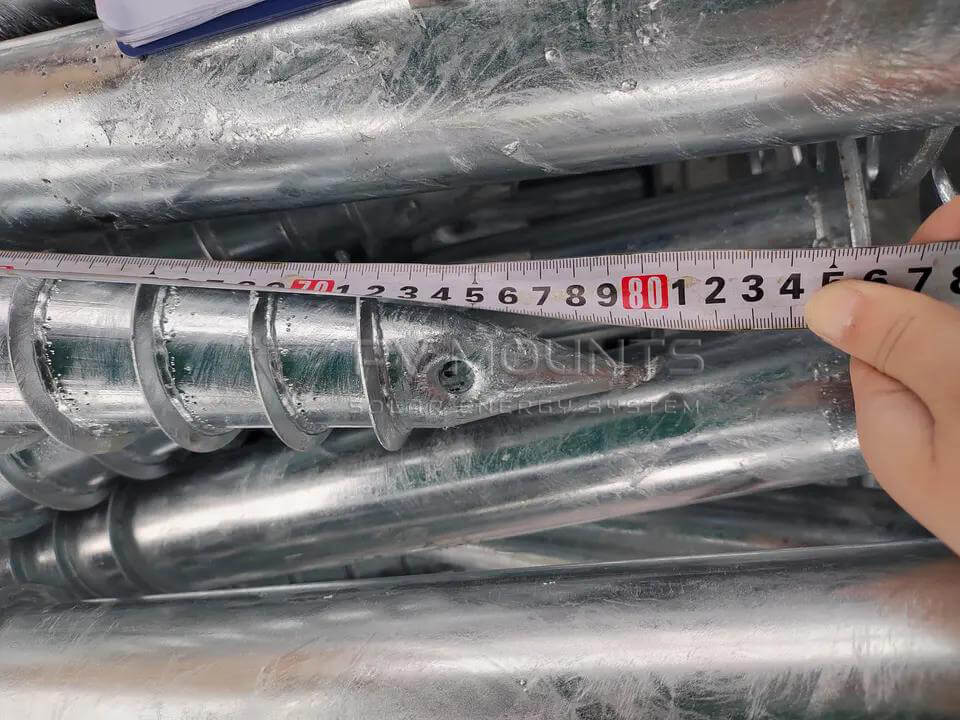
- Mark the Locations: Use measuring tools to mark the positions where the ground screws will be installed. These positions should align with the required layout for the solar panels.
2. Tools and Materials Needed
- Adjustable ground screws with flanges
- Wrench or impact driver
- Measuring tape
- Leveling tool (e.g., laser level or spirit level)
- Steel flange and mounting nuts (if necessary)
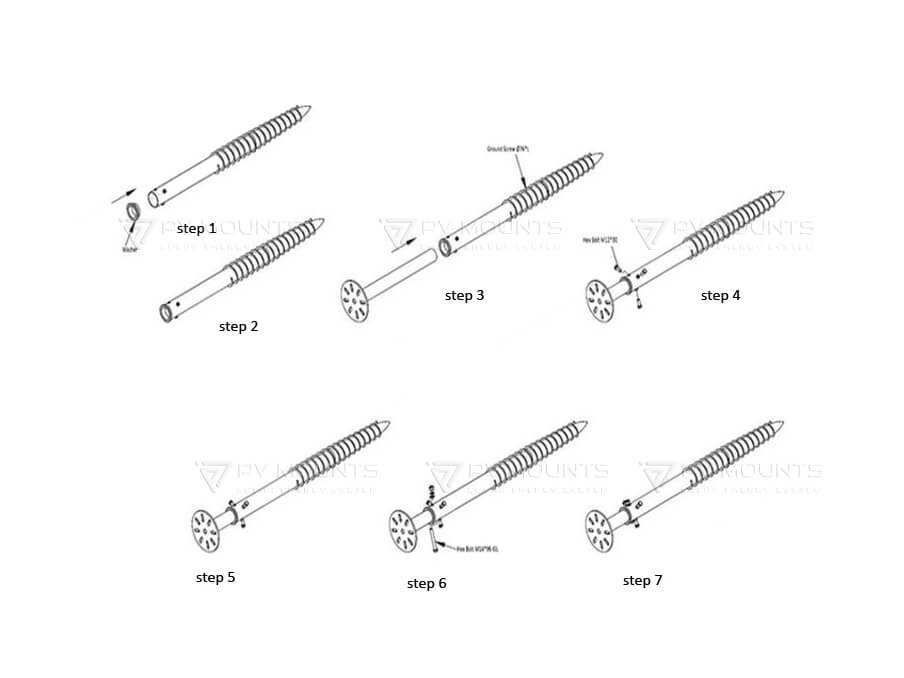
3. Install Ground Screws
- Align the First Screw: Position the first ground screw at the marked location.
- Insert the Screw: Use an impact driver or a manual wrench to drive the ground screw into the ground. Ensure it goes deep enough for a strong foundation (usually to a depth of 600-3500 mm depending on the screw size).
- Adjust the Height: The key feature of the adjustable ground screws is the ability to fine-tune the height. Loosen the flange and adjust the height of the screw according to the solar panel mounting requirements.
- Fix the Flange: Once the desired height is achieved, tighten the three nuts to firmly secure the flange to the screw pole.
4. Check for Horizontal Alignment
- Use a Level: After securing the flange, check that the ground screw is perfectly level. This ensures that all other screws will align correctly and that the solar panels will be installed on a flat, stable surface.
- Adjust if Necessary: If needed, make further adjustments to the height of the screw or use different flange sizes to ensure perfect alignment.
5. Repeat for Other Ground Screws
- Install Additional Screws: Repeat the process for the remaining ground screws, ensuring all screws are level and evenly spaced according to the solar panel installation layout.
- Double-Check Alignment: Continuously verify that all screws are aligned horizontally, adjusting as necessary.
6. Mount the Solar Panels
- Once the ground screws are properly installed and secured, proceed with mounting the solar panels onto the ground screws using appropriate brackets and mounting hardware.
7. Final Inspection
- Check Stability: After all screws are installed, double-check each screw’s stability and ensure the entire system is secure.
- Final Leveling: Confirm the solar panel foundation is stable, leveled, and ready for panel installation.
By following these steps, the adjustable ground screw installation will provide a stable and reliable foundation for your solar panel mounting system.
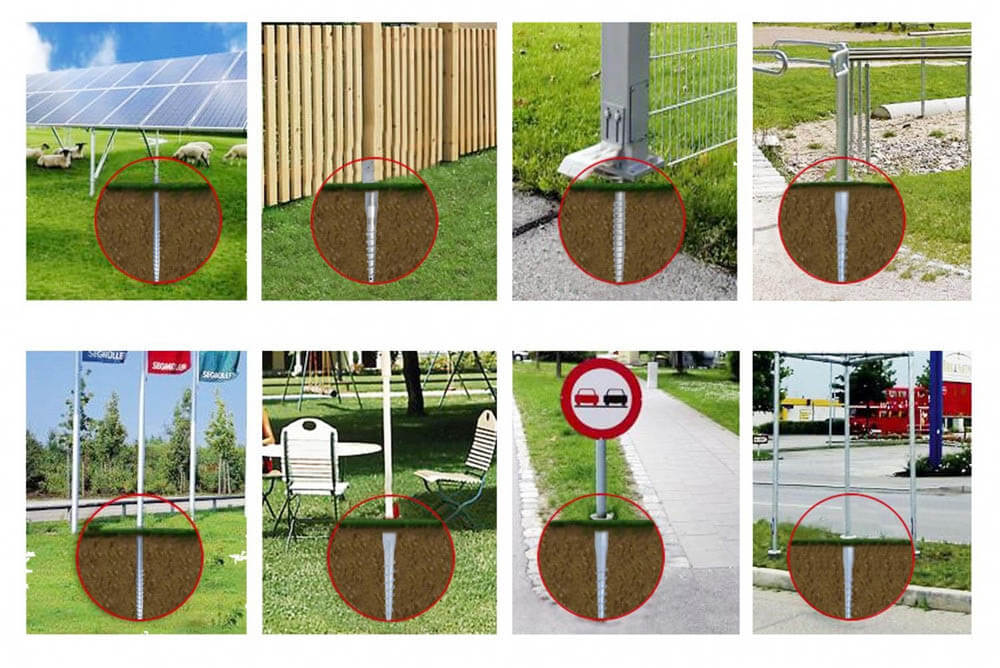
| Extensive Application | • Bus shelters | • Bollards & Barriers | • Parking meters |
| • Street lights | • Guard rails | • Directional & Traffic signs |
| • Solar lights | • Sound barriers & Screens | • CCTV & surveillance systems |
| • Roadside fencing | • Boardwalks | • carports |
| • camping tents | • wood house | • flagpole |
| • traffic lights | • outdoor advertising boards | •temporary exhibition display field |
| • Other building | | |
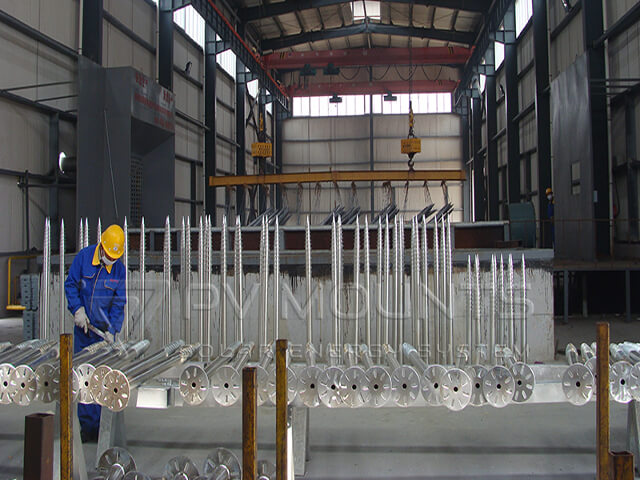
PV Mounts este un producător unic pentru sisteme de montare a panourilor solare. Putem produce diferite componente montate pe panouri solare, inclusiv:
- Șine
- Cârlige
- L-Picior
- Șuruburi de împământare
- Cleme pentru cusături permanente
- Mid Clamp & End Clamp
- Lug de legare la pământ
- Grounding Clip
- Cable Clip
- și mai mult