Trapezoidal Tin Roof Hook Solar Clamps for Metal Roof PVM-TRH-02

Trapezoidal Metal Roof Hook Clamp
PVM-TRH-02

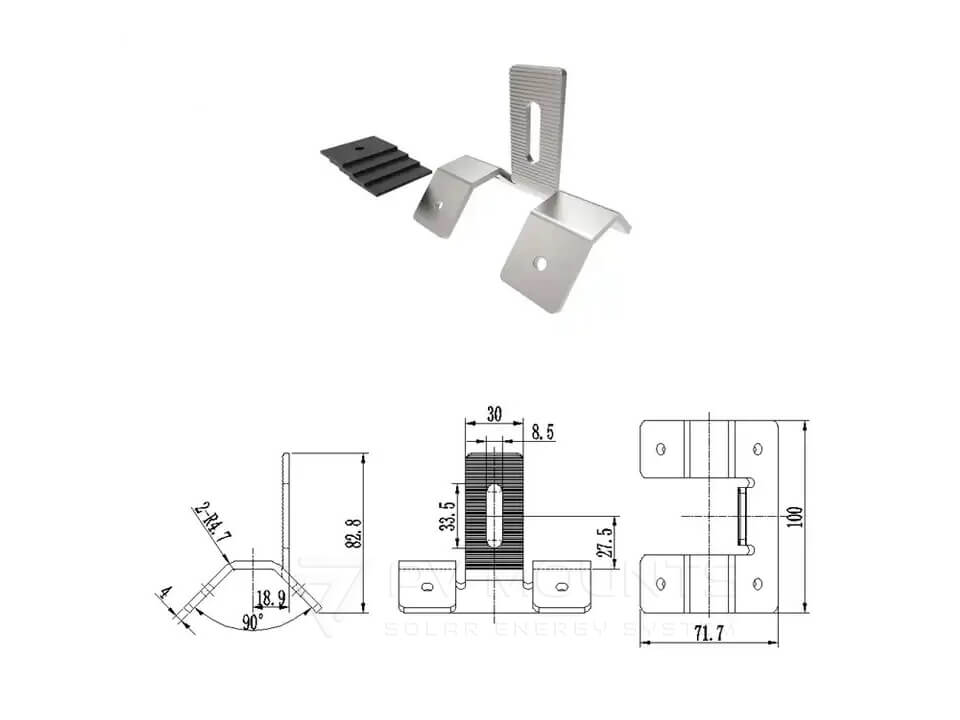
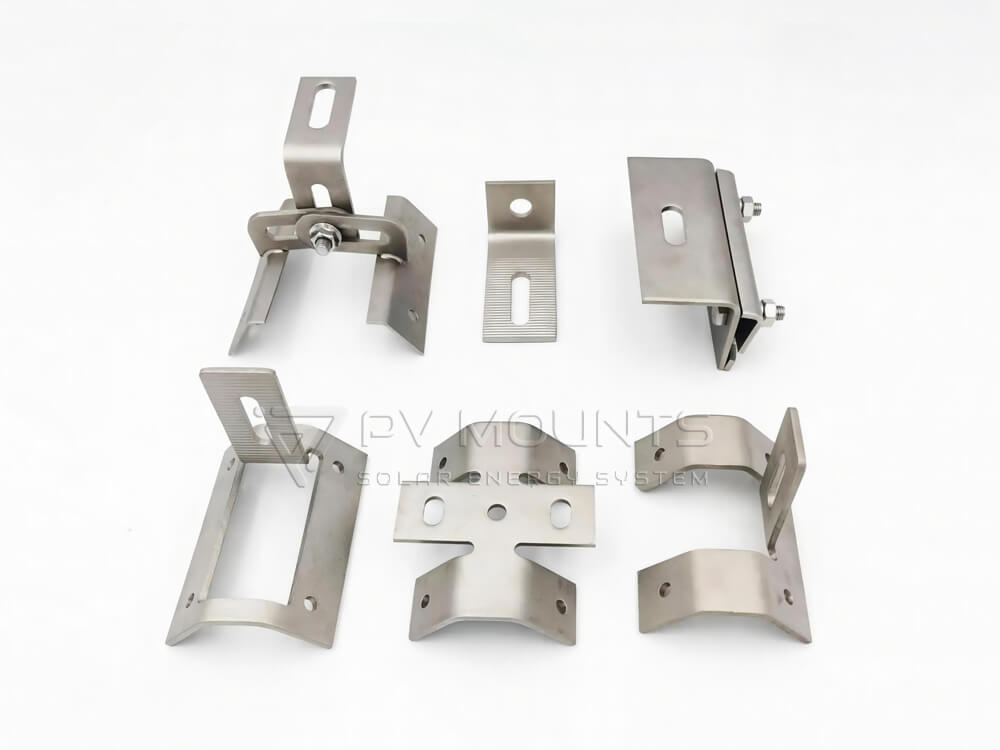
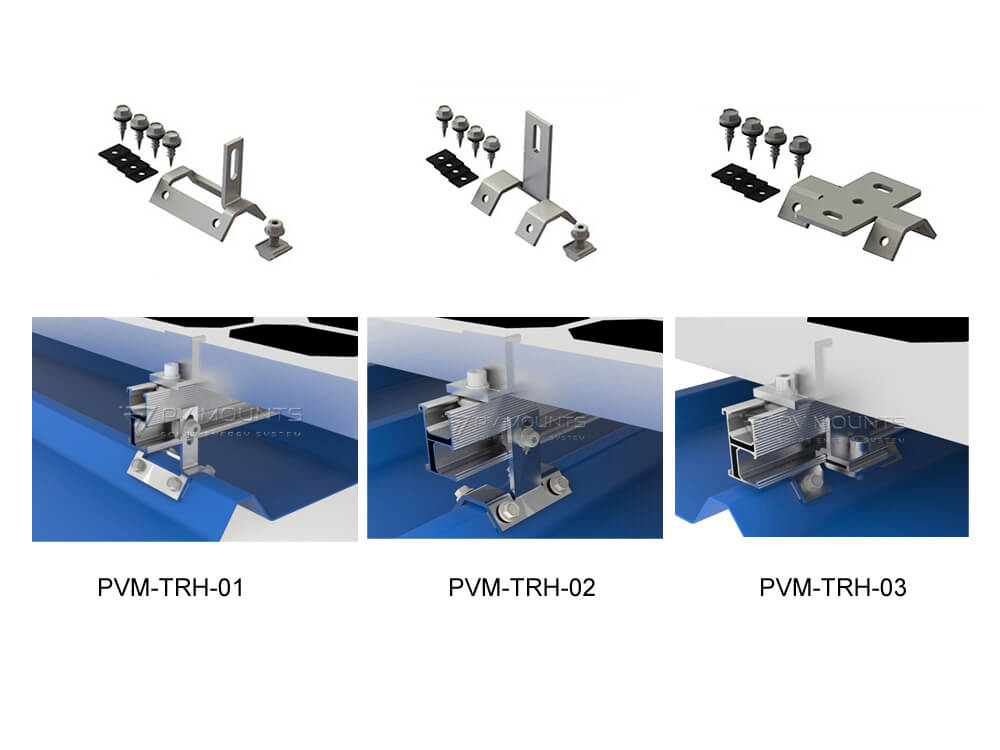
PVM Trapezoidal Tin Roof Hook is expertly engineered for precision, ensuring a perfect fit with the ridges of trapezoidal roofs. This flawless alignment maximizes contact area, significantly enhancing stability and load distribution, which ultimately boosts the efficiency and longevity of your solar panel system. Designed to withstand harsh weather conditions, the hook offers a reliable solution for securing your solar panels, ensuring optimal performance over time.

Equipped with a high-quality rubber gasket, this hook provides superior protection against roof leaks, safeguarding the integrity of your roof structure long after installation. The advanced EPDM rubber material not only prevents water infiltration but also prolongs the lifespan of your solar system.

Item No.:PVM-TRH-02
Shipping Port:Xiamen
MaterialAl6005-T5/SUS304/EPDM
ColorSilver
Certifications for Solar Pv Cable Clips PVM-CC-03​

Share to

Product nameMaterialQuantity
2# Tin roof hookAl6005-T51
PVM nutAl6005-T51

M8X25 hex socket head bolt

SUS 3041
M8 spring washerSUS 3041
M8 flat washerSUS 3041
ST6.3×25 Drilling screwsSUS 4104
Rubber padEPDM4

Key Features:

  • Premium Quality Material: Made from high-grade SUS304 stainless steel for exceptional durability and anti-corrosion performance to withstand harsh weather, UV rays, and salt exposure in coastal areas.
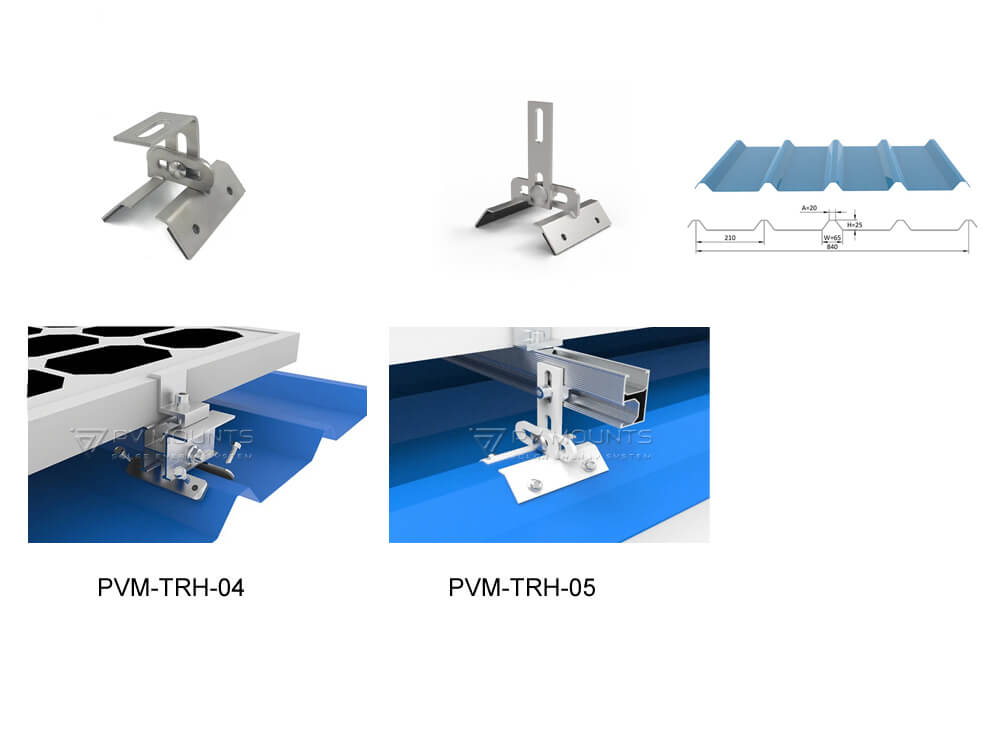
  • Design Compatibility: These hooks are specifically designed to fit the ridges of trapezoidal roofs, providing an optimal grip that maximizes stability and load distribution for solar panel mounting.
  • Leak-Proof Design: Many of these hooks include integrated rubber gaskets, typically made of EPDM rubber, which prevent water from seeping under the clamp, ensuring leak-proof protection for the roof
  • High Load-Bearing Capacity: The hooks are designed to hold solar panels securely, even under heavy wind loads and adverse weather conditions. This ensures that the solar panels stay firmly in place, minimizing the risk of damage or displacement.
  • Ease of Installation:
    • Pre-Assembled Kits: Many models come in pre-assembled kits, reducing the time needed for installation and making it easier for both professional installers and DIY users.
    • Self-Tapping Screws: These are often included to make the installation process faster and more secure by allowing for quick attachment to the roof without requiring pre-drilling.
  • Aesthetic Integration: Designed to be unobtrusive, these clamps allow for a neat and professional installation that complements the aesthetics of the building without detracting from the solar panel system’s visual appeal.
  • Cost-Effective Solution: Many of these clamps are offered at factory prices, providing an affordable solution for large-scale solar projects without compromising quality.

Choose Trapezoidal Metal/Tin Roof Hook Solar Clamp from PVMounts for a professional, efficient, and reliable mounting solution.

Technical Parameter
Wind load:Max 60m/s
Snow load:Max 1.4KN/m
Size:100*71.7mm
Surface:Clean
Service:OEM/ODM
Installation site:Pitched Roof
Tilt angle:Parallel to roof surface
Suitable for:Trapezoidal sheet metal
Fixed WayUsing self-tapping screw to fix the clams on the roof
StandardAS/NZS 1170.2/JIS C 8955:2017/ISO9001/UL1565/DIN 1055
 

Pvm Trh 02 Tin Roof Production Photo (1)

Pvm Trh 02 Tin Roof Production Photo (2)

Pvm Trh 02 Production Photo (2)

Tin Roof Interface Bracket Production Photo (7)

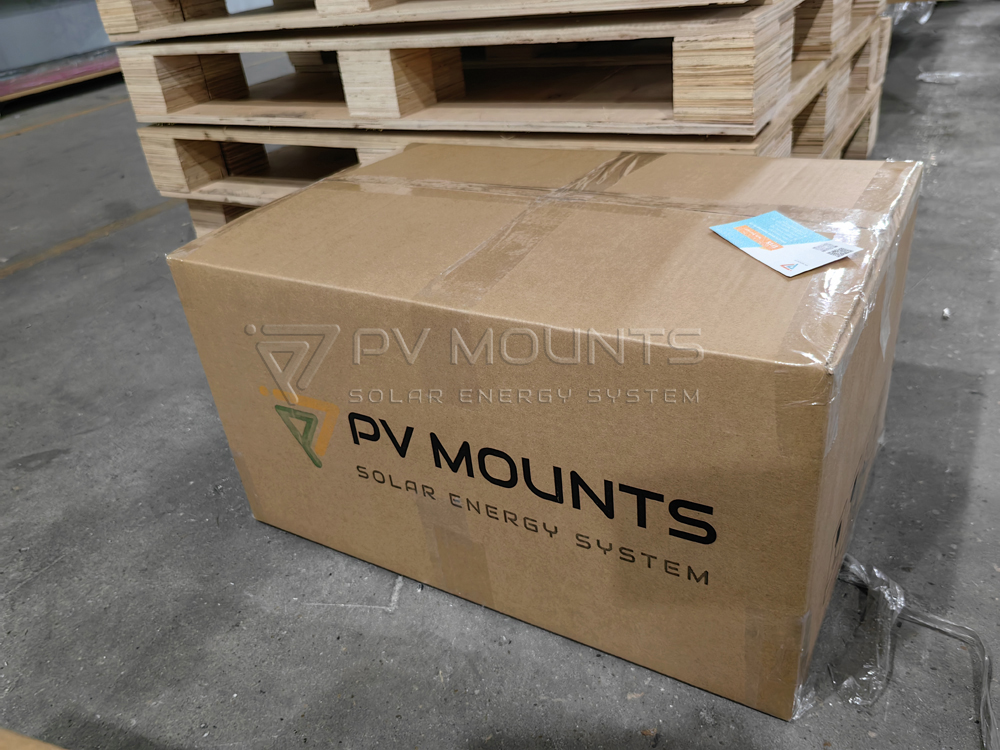
Package TypeInner packing: Plastic bag +Carton Box
Outer packing: Plywood Pallet/Crate

Pvm Trh 02 Trapezoidal Tin Roof Hook Solar Clamp (2)


Step-by-Step Installation Guide:

  1. Preparation:

    • Safety First: Ensure you are working safely by wearing appropriate safety gear (harness, helmet, gloves) and using a sturdy ladder. If you are on a pitched roof, use roof fall protection equipment.
    • Inspect the Roof: Ensure that the metal roof is in good condition and that there are no existing issues like rust, damage, or leaks.
  2. Mark the Locations for the Hooks:

    • Using a measuring tape, measure and mark where you will install the Trapezoidal Roof Hooks along the ridge or high points of the trapezoidal roof. Make sure to account for the spacing required for the solar panels and rails.
    • The general rule is to space the hooks roughly 2-3 feet apart, but this may vary depending on your solar panel size and the type of racking system used.
  3. Position the Metal Roof Hook:

    • Position the Trapezoidal Metal Roof Hook along the marked area of the ridge.
    • Ensure that the hook is aligned with the ridges or high points of the metal roof. The hook’s flat part should rest firmly against the metal surface of the roof.
    • Many hooks have a specific orientation to maintain a secure fit, so double-check that the hook is oriented correctly.
  4. Install the Rubber Gasket:

    • If the rubber gasket is not pre-installed, place it around the area where the hook meets the roof surface.
    • Ensure the EPDM rubber gasket is snugly fitted and covers the contact point of the roof and the hook to ensure a waterproof seal.
  5. Drill Pilot Holes (if required):

    • If the hooks require pre-drilling, use an appropriate drill bit to create pilot holes on the roof where the screws will go. Be sure to drill carefully to avoid damaging the roof.
    • If the hooks are designed for self-tapping screws, you can skip this step.
  6. Attach the Roof Hook:

    • Using the provided self-tapping screws, secure the hook to the roof. Place the screws through the hook’s mounting holes and tighten them with a power drill.
    • Tighten the screws until the hook is firmly secured but avoid over-tightening, which could damage the roofing material.
    • Ensure that the hook is attached tightly and securely without any movement.
  7. Seal the Screw Holes (if necessary):

    • After securing the hook, apply a roofing sealant around the screw holes and edges of the hook if needed. This will provide additional waterproofing and protect the roof from leaks.
  8. Install Additional Roof Hooks:

    • Repeat the above process for each Trapezoidal Metal Roof Hook, spacing them appropriately along the ridge.
    • If you are installing multiple hooks, be sure to check the alignment and spacing to ensure the hooks are straight and evenly distributed.
  9. Mount the Rails (if applicable):

    • Once the roof hooks are securely installed, you can proceed to install the mounting rails for the solar panels.
    • Secure the rails to the roof hooks, following the manufacturer’s guidelines for rail installation.
  10. Install the Solar Panels:

    • With the rails in place, the final step is to install the solar panels onto the rails, following your specific panel manufacturer’s instructions.

Tips for a Successful Installation:

  • Pre-Assembly: Some roof hooks come pre-assembled with all necessary components, making installation quicker and easier.
  • Check for Water Drainage: Ensure that the hook’s design doesn’t obstruct water drainage. It should fit tightly along the roof, but it’s important not to block the natural water flow.
  • Ensure Proper Alignment: Double-check all hook positions before securing them to ensure the correct alignment for your solar panel system.
  • Regular Inspection: After installation, periodically inspect the hooks and mounting hardware to ensure that everything remains securely fastened and there are no signs of leaks or wear.

By following these steps, you can successfully install Trapezoidal Metal Roof Hooks and prepare your roof for a reliable, long-lasting solar panel installation.

Trapezoidal Metal Sheet Roof 


Tin Roof Hook Project Installation


Tin Roof Hook Project (3)

Trapezoidal Tin Roof Hook Solar Clamps Types (2)

Trapezoidal Tin Roof Hook Solar Clamps Types (3)

Trapezoidal Tin Roof Hook Solar Clamps Types (1)

Packing Way

01 solar wire clips packed with plastic bags

Thick and well packed plastic to make sure the clips waterproof and protected.

03 each bags of wire clips in carton

every 10 plastic package in one carton.

05 several cartons in crate with film

each 8 carton or more in one crate with film protected and belting packed.

GET A QUOTE

How We Can Help

en_GBEnglish

GEA QUOTE NOW

Fill out the form below, and we will be in touch shortly.