To securely install solar panels on your roof and achieve peak performance and safety, meticulous planning and proper installation techniques are crucial. Follow this step-by-step guide on how to mount solar panels on a roof:

1. Assess the Roof
Before proceeding with the solar panel installation, it is essential to perform a comprehensive assessment of your roof’s structure and condition. This evaluation ensures that the roof can bear the weight of the solar panels and withstand the installation process effectively. Look for any potential obstructions that might interfere with panel placement.
2. Design and Layout
Create a carefully designed layout plan to identify the best positioning and orientation for the solar panels, maximizing their exposure to sunlight and optimizing energy capture. Consider the best tilt angle and direction based on your location and energy needs.
3. Obtain Necessary Permits
Check with local authorities or homeowner’s associations to secure any required permits or approvals needed for the solar panel installation on your roof.
4. Install Roof Flashing
Safeguard your roof against water intrusion by installing roof flashing around the designated areas where the solar panel mounting brackets will be affixed.
5. Mounting Brackets Installation
Fasten the mounting brackets securely to the roof’s rafters or trusses using appropriate roof fasteners. Ensure precise alignment according to your layout plan.
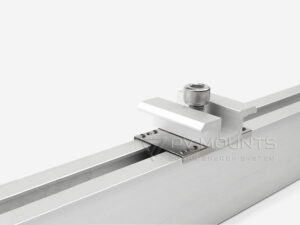
6. Racking System Installation
Place the racking system onto the installed mounting brackets. The racking system serves as the framework for mounting the solar panels.
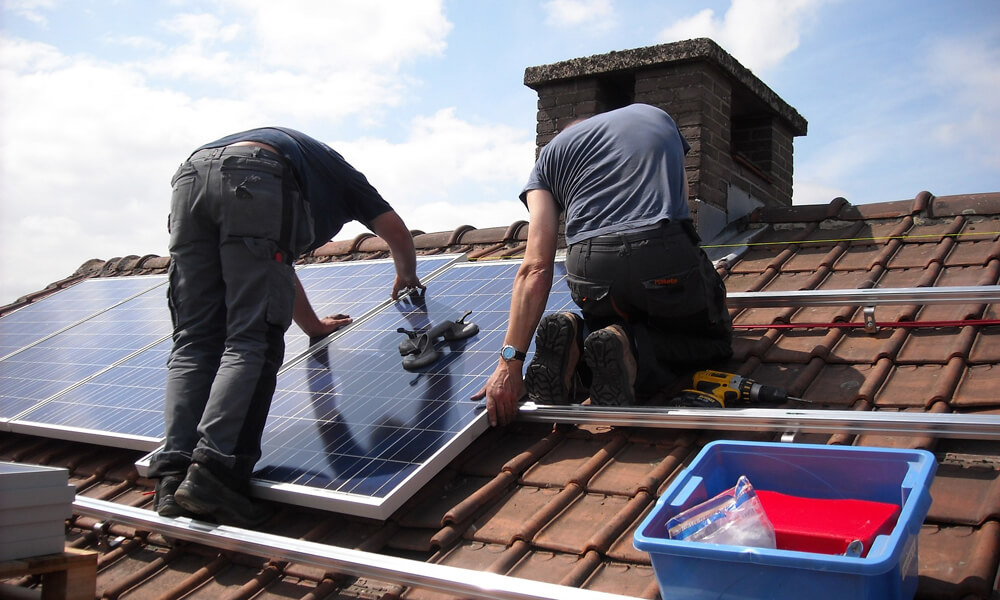
7. Attach Solar Panels
Carefully position the solar panels onto the racking system and fasten them securely using clamps or brackets provided by the manufacturer. Verify that each panel is correctly aligned.
8. Wiring and Connections
Establish the electrical connections between the solar panels, adhering to the manufacturer’s guidelines for proper wiring and polarity. Safely route the wiring through the racking system and down to the location of the inverter.

9. Grounding
Ensure the entire solar panel system is appropriately grounded in compliance with local electrical codes and safety standards.
10. Final Inspection
Conduct a comprehensive inspection of the entire installation to confirm that all components are well-secured and connected. Thoroughly check for any signs of damage or loose connections.
11. Inverter Installation
Install the solar inverter in close proximity to your primary electrical panel and establish the essential connections to link it with the solar panel system. The inverter plays a crucial role in converting the DC power generated by the solar panels into usable AC power for your household needs.
12. System Testing
Perform a rigorous system test to verify that the solar panels are generating electricity and integrating smoothly with your home’s electrical system.
13. Monitoring and Maintenance for Mount Solar Panels
Implement a monitoring system to track the performance of your solar panels regularly. Schedule periodic maintenance to ensure the panels remain clean and in optimal condition, and promptly address any potential issues.

Note: If you lack experience in roofing and electrical work, it is highly advisable to seek the assistance of a professional solar installer to ensure a safe and efficient installation. Professional installers adhere to local codes, optimize panel placement, and handle all necessary permits and paperwork.
More about the roof solar mounting system, you can see Pros and Cons of Solar Panel Roof Mounts.