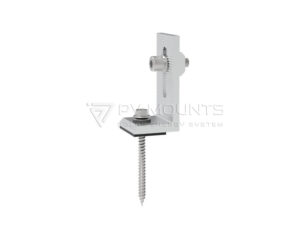
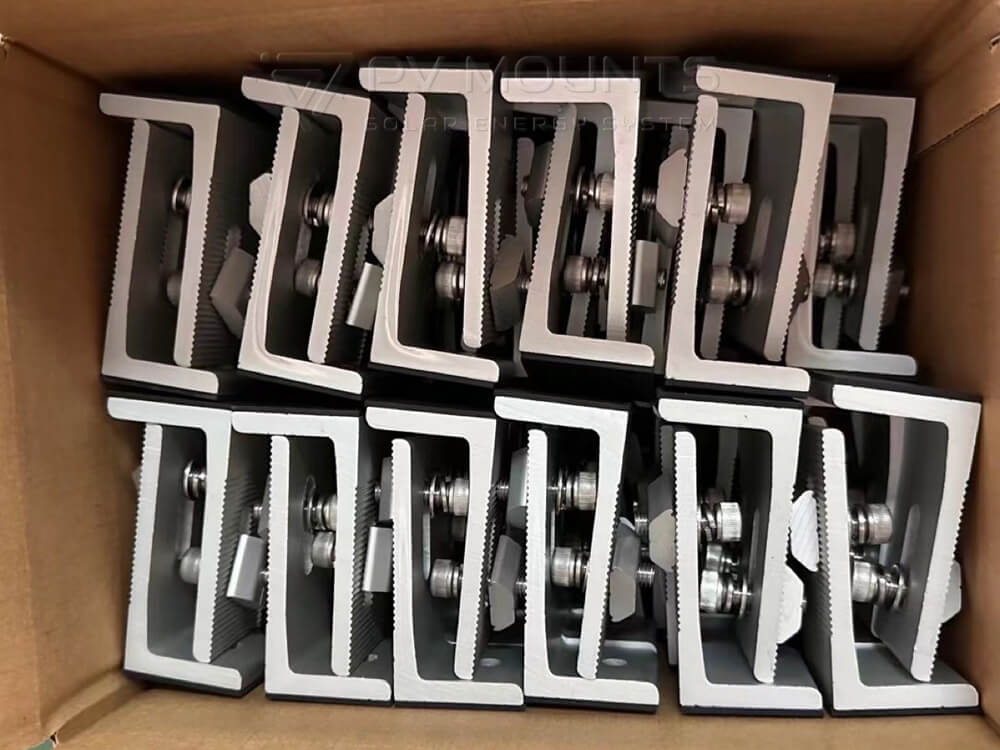
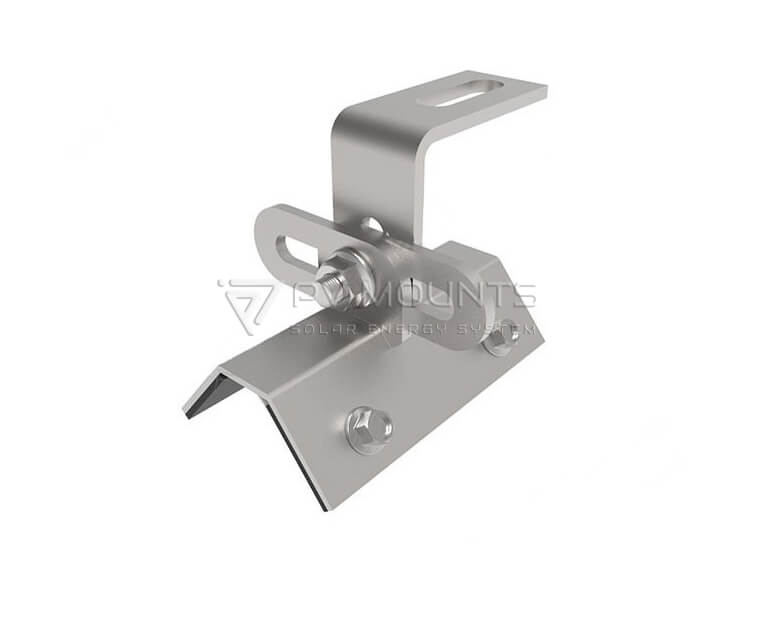
L Feet PVM-L-01 with self-tapping screw Wholesale Manufacturer
Specifically designed for both residential and commercial setups, our solar L-feet component seamlessly adapts to most types of roof. Its design guarantees not just a swift and easy installation but also unmatched durability. Manufactured from the highest quality stainless steel and aluminum, this solar mount hardware is built to last.
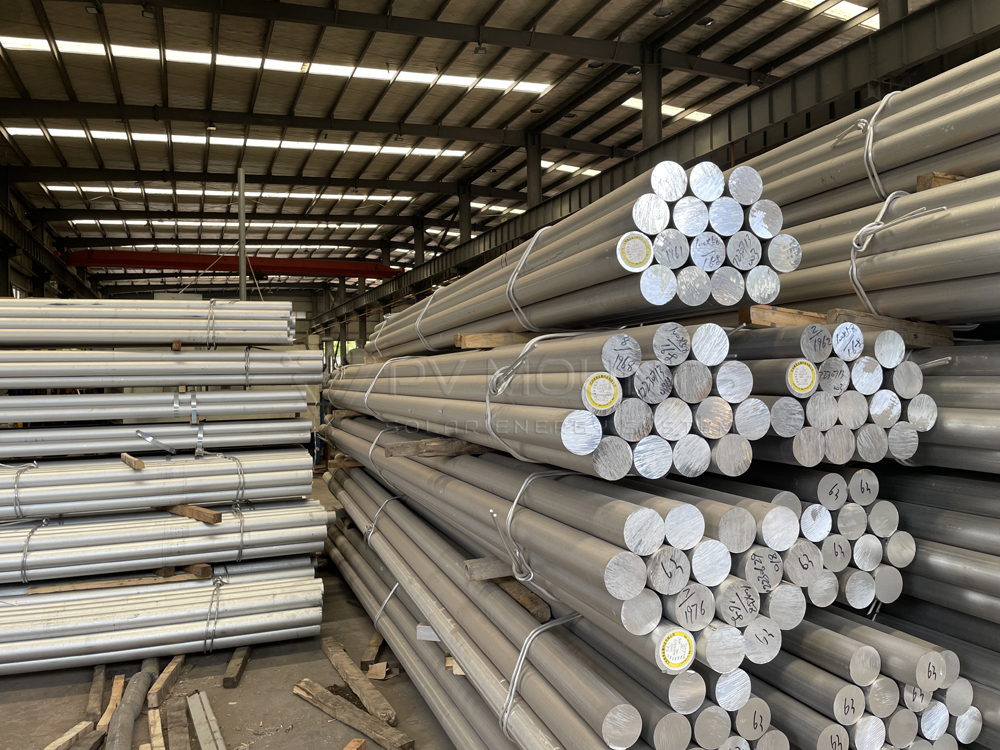
Material
Aluminum Alloy 6005-T5 & SUS 304
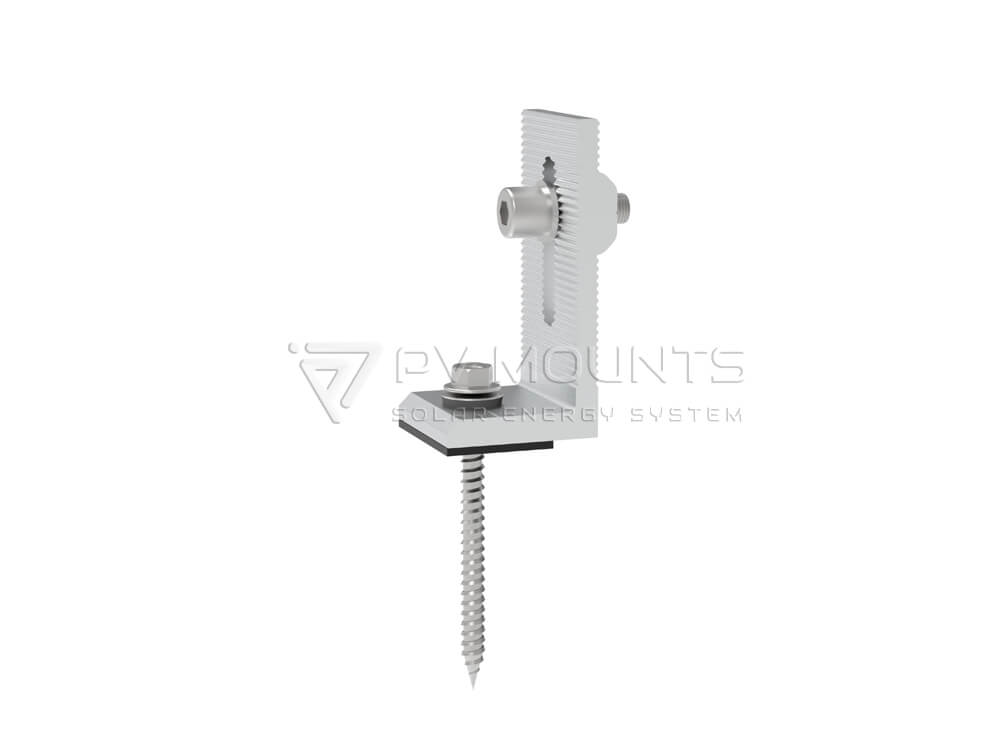
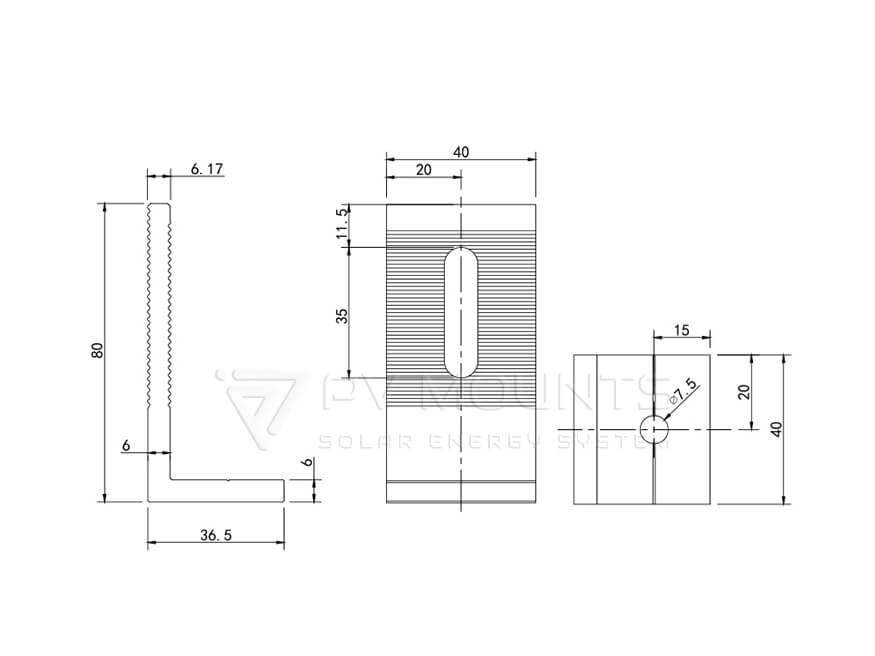
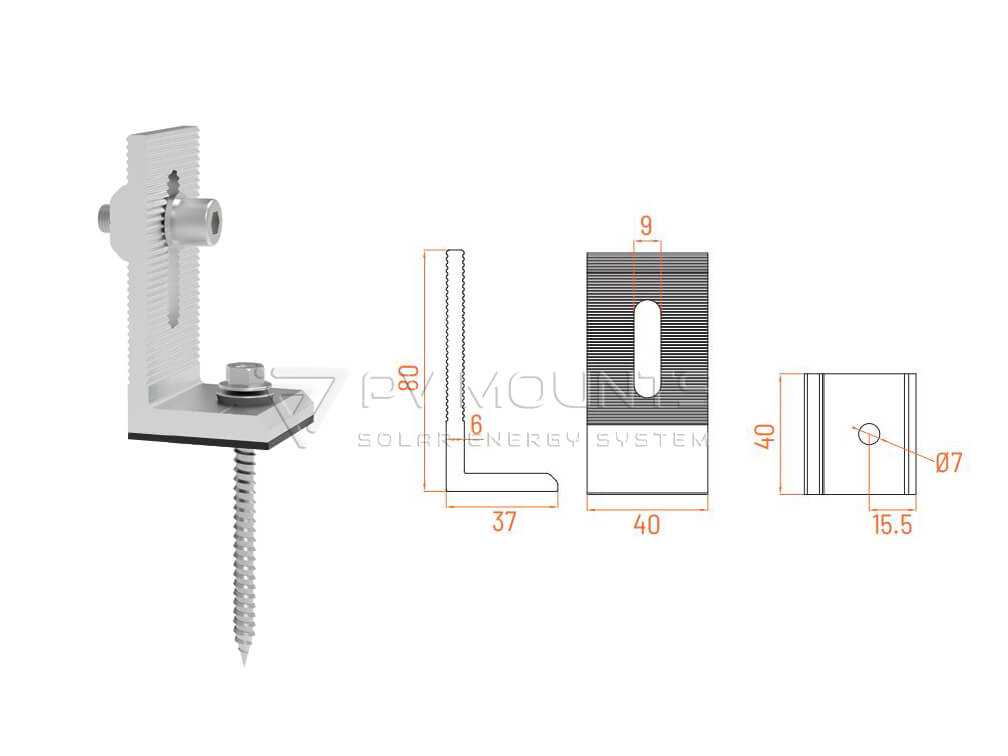
Size
Height 80mm
Surface Treatment
Anodized
Color available
Natural / Black
Customization
L feet kits with different measurement, length, slot size, width can be customized.
L-Feet kits go with pre-assemble kits and make installation easy and fast for more application projects or DIY business.
Long Warranty and Life Span
Premier raw materials of aluminum and stainless steel ensure durable quality for 10 years warranty and 25 years lifespan
Corrosion Resistance
Our hardware with unparalleled strength and durability of AL6005-T5 and 303 stainless steel construction, offer easy installation and exceptional corrosion resistance.
Versatile for Various Applications
Designed to fit most solar modules, our clips facilitate precise installations without requiring onsite adjustments.
Certified and Tested for Excellence
Rigorously designed to meet international standards including AS/NZS 1170.2-2002, JISC8955:2017, Euro Code 8, and more, our system has passed extensive mechanical testing.
Professional Technical Support
Our professional engineering team, boasting a decade of PV system design experience, offers over 200 product types and 30 mounting solutions to fulfill your solar mounts needs.
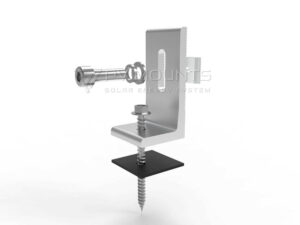
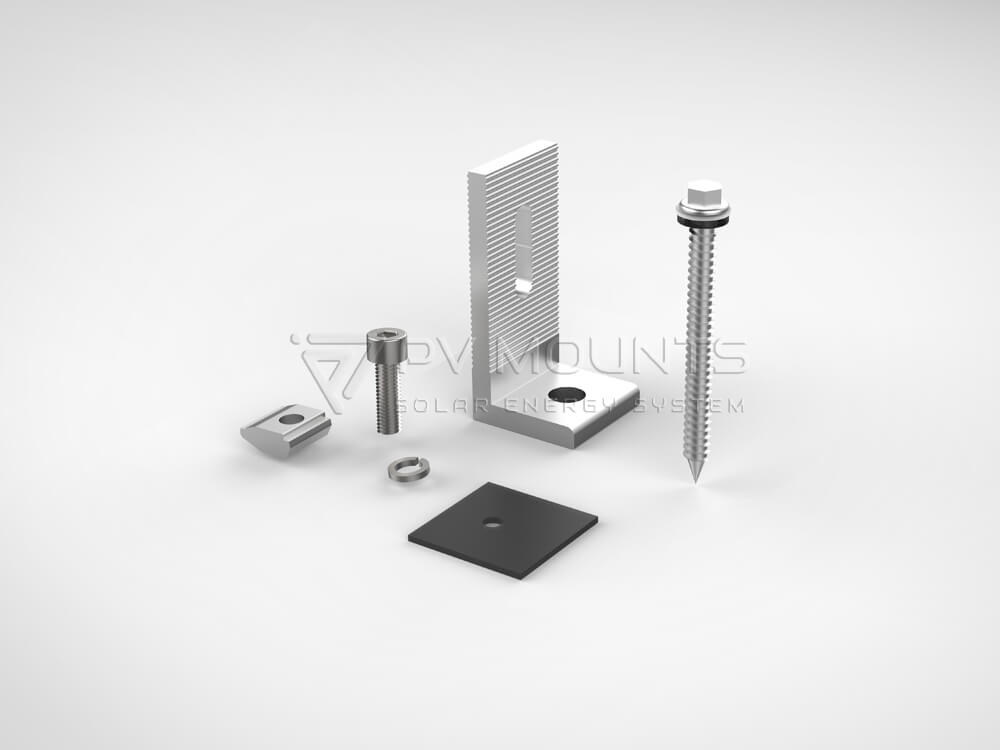
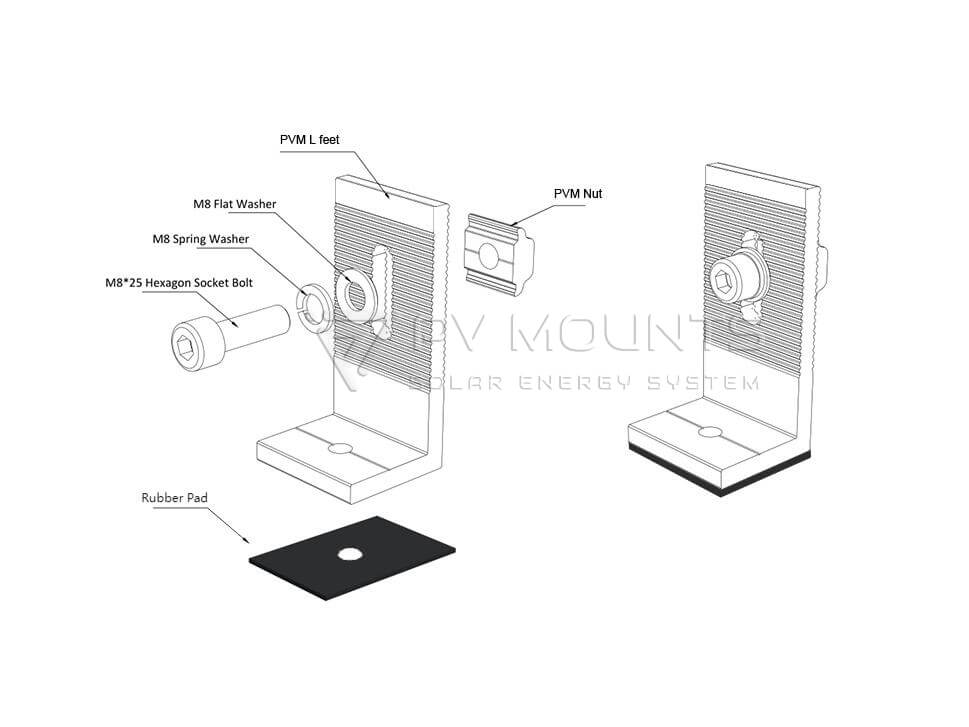
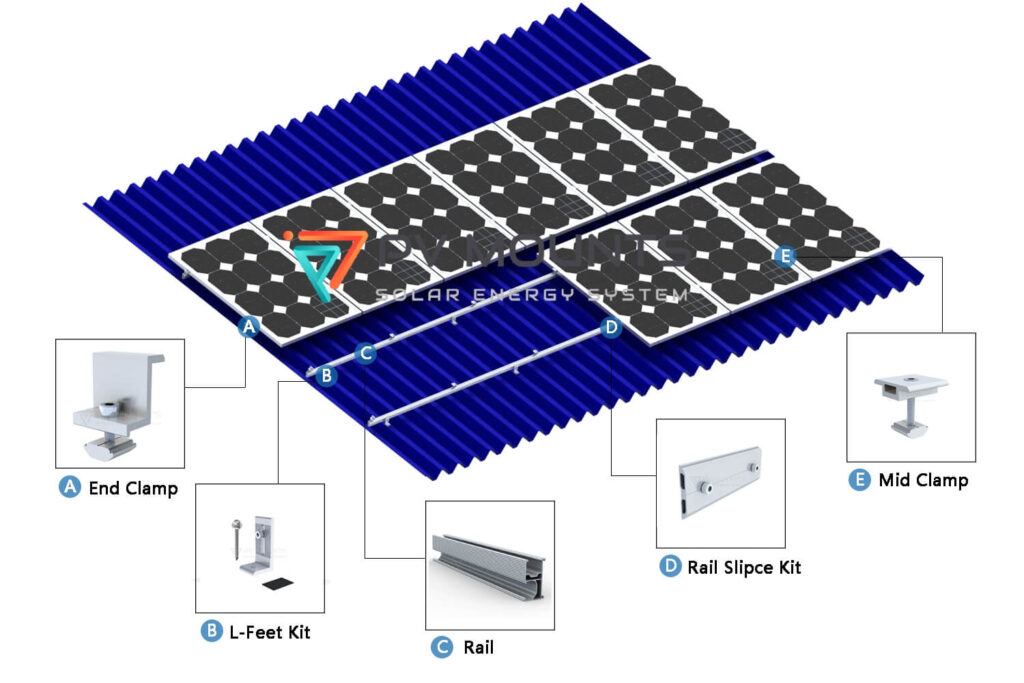
BOM List
Product name
Material
Quantity
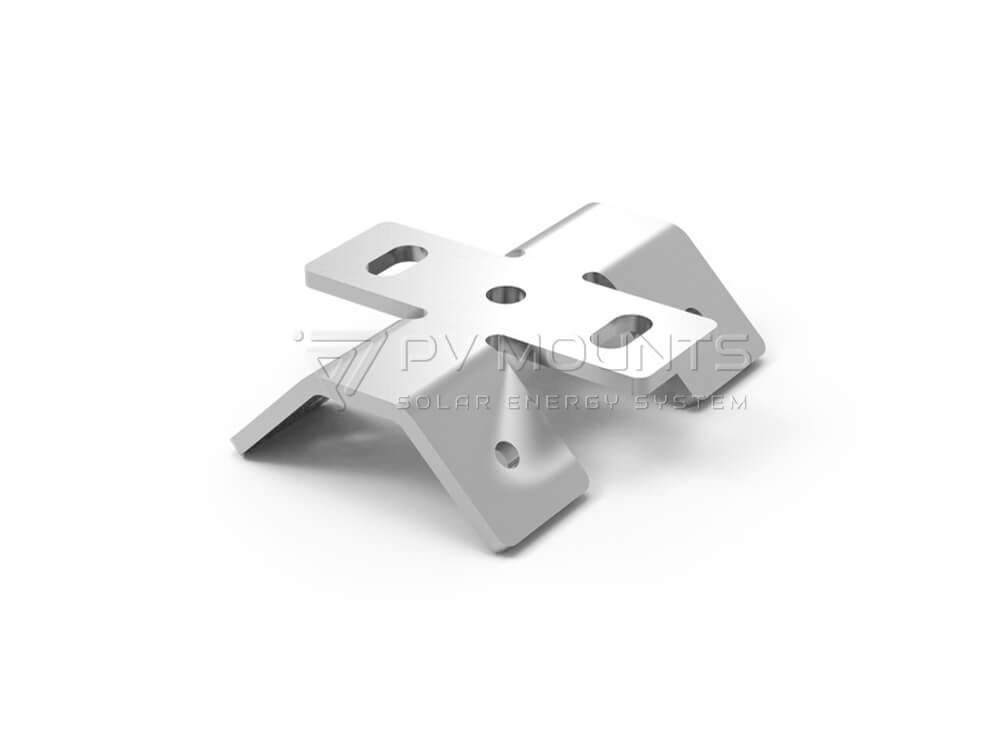
L feet
Al6005-T5
1
M8X25 hex socket head bolt
SUS 304
1
M8 spring washer
SUS 304
1
M8 lock washer
SUS 304
1
PVM nuts
Al6005-T5
1
Waterproof Intergrated Rubber Pad
EPDM
1
ST6.3×80 Drilling screws
SUS 410
1
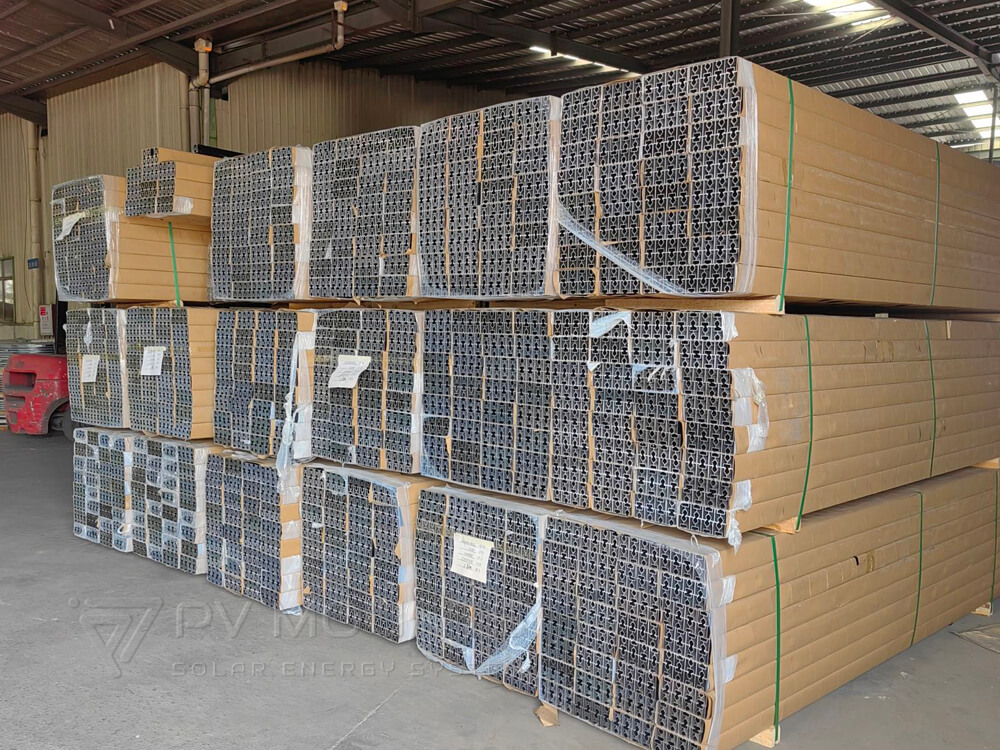
Packing Video
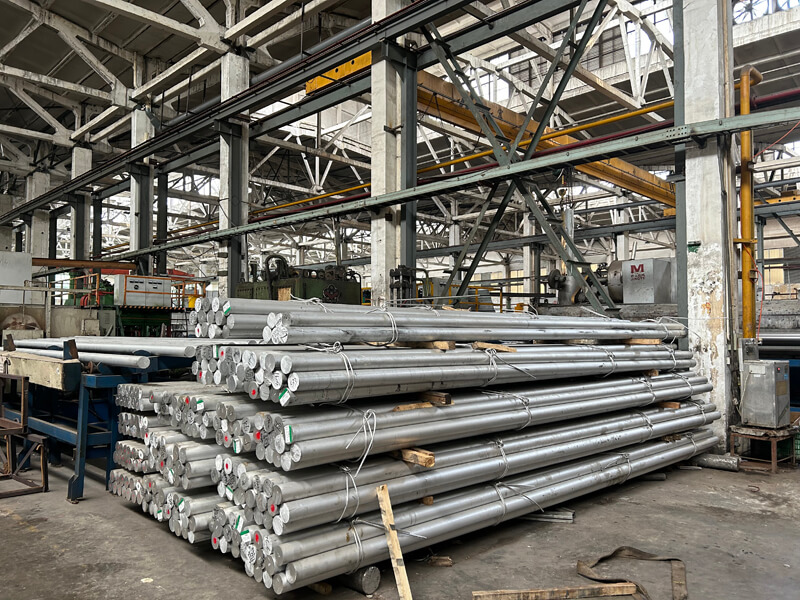
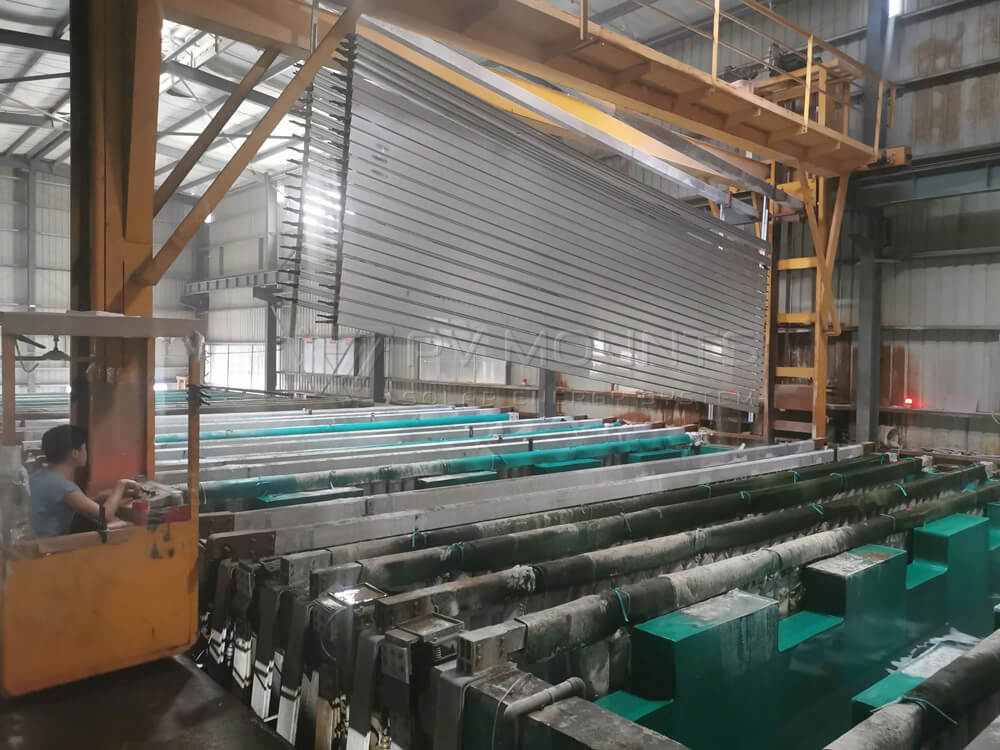
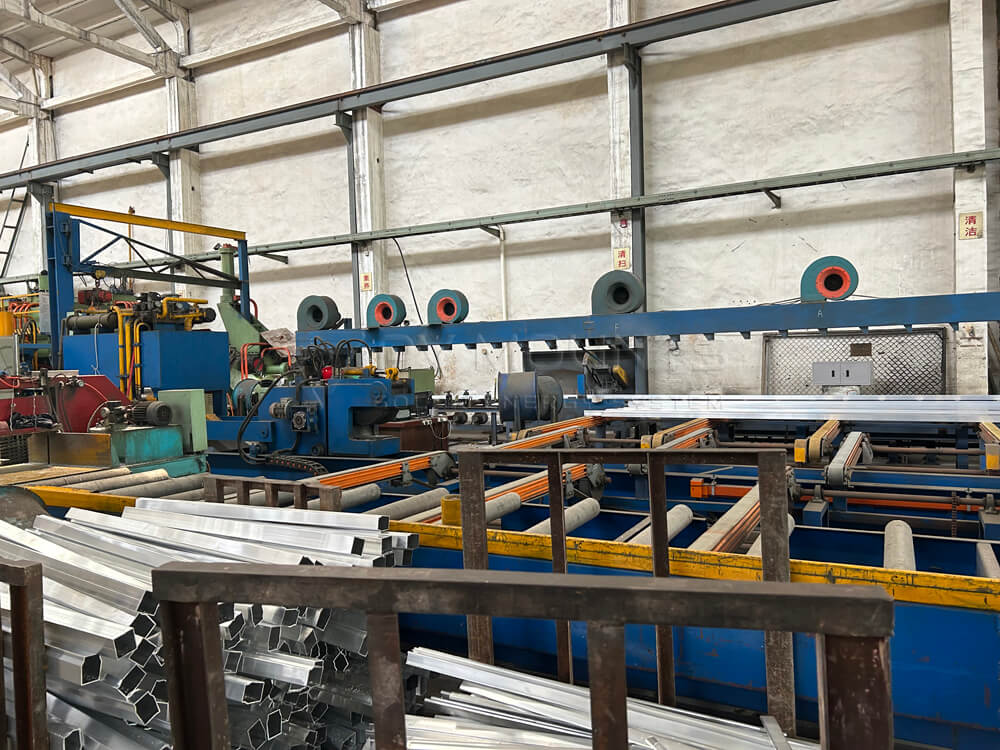
Manufacturing Details
anodizing processing for solar components and rail
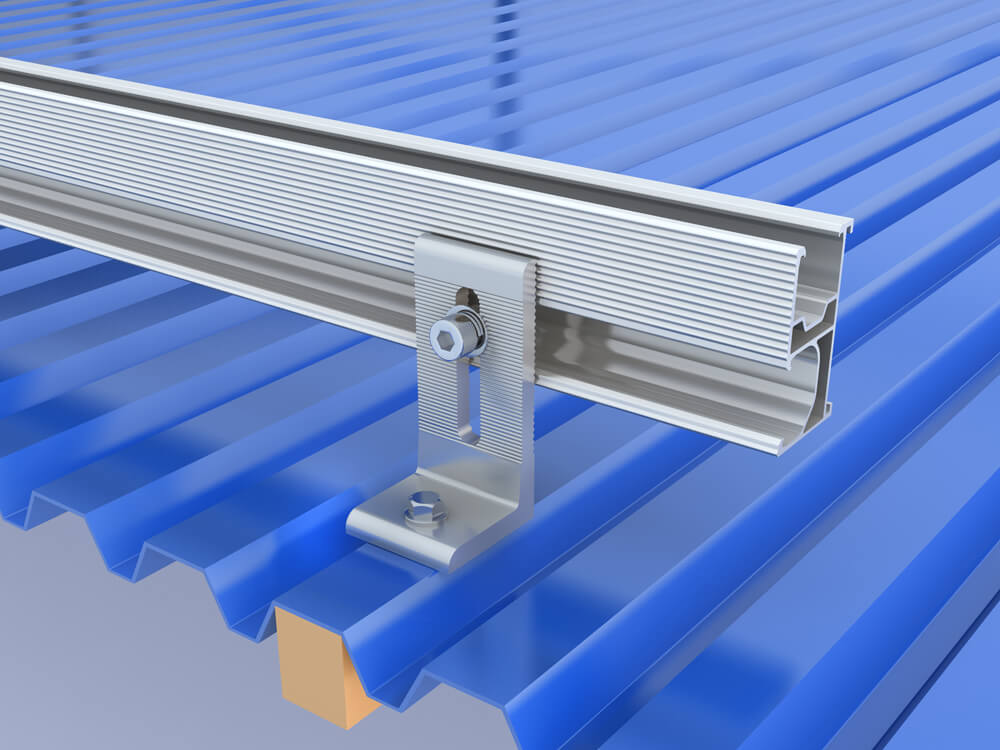
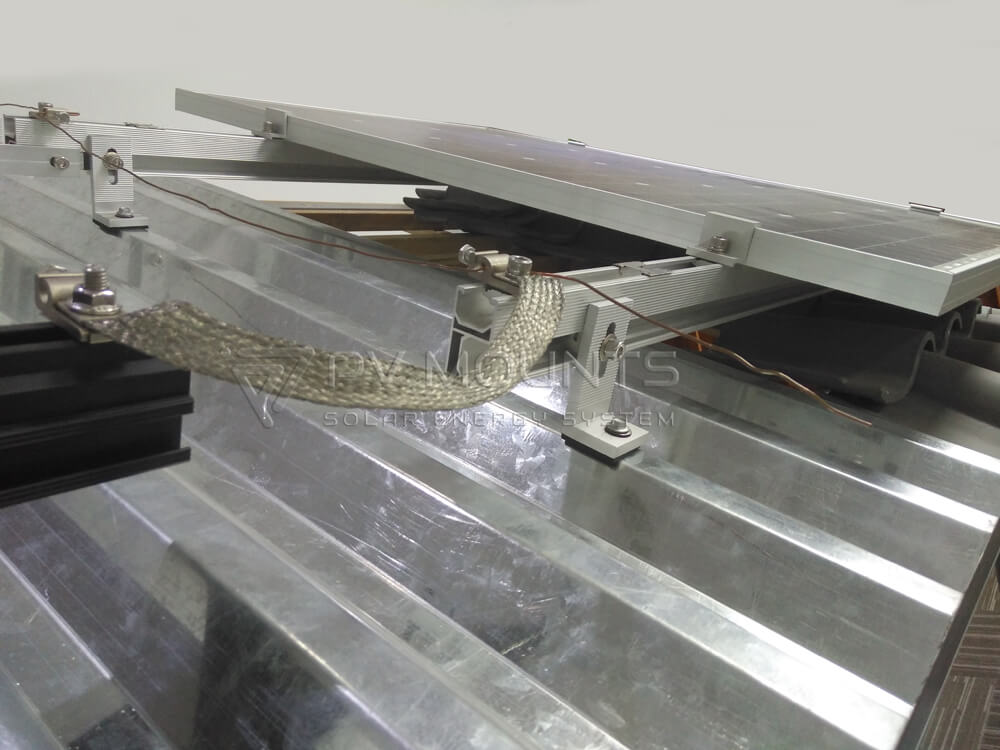
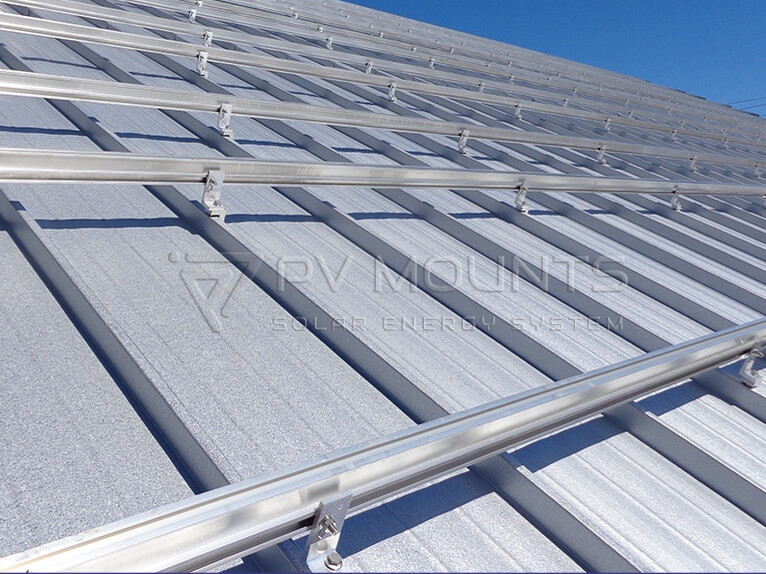
L feet solar bracket for metal roofing solar energy mounting system
Design & Guide
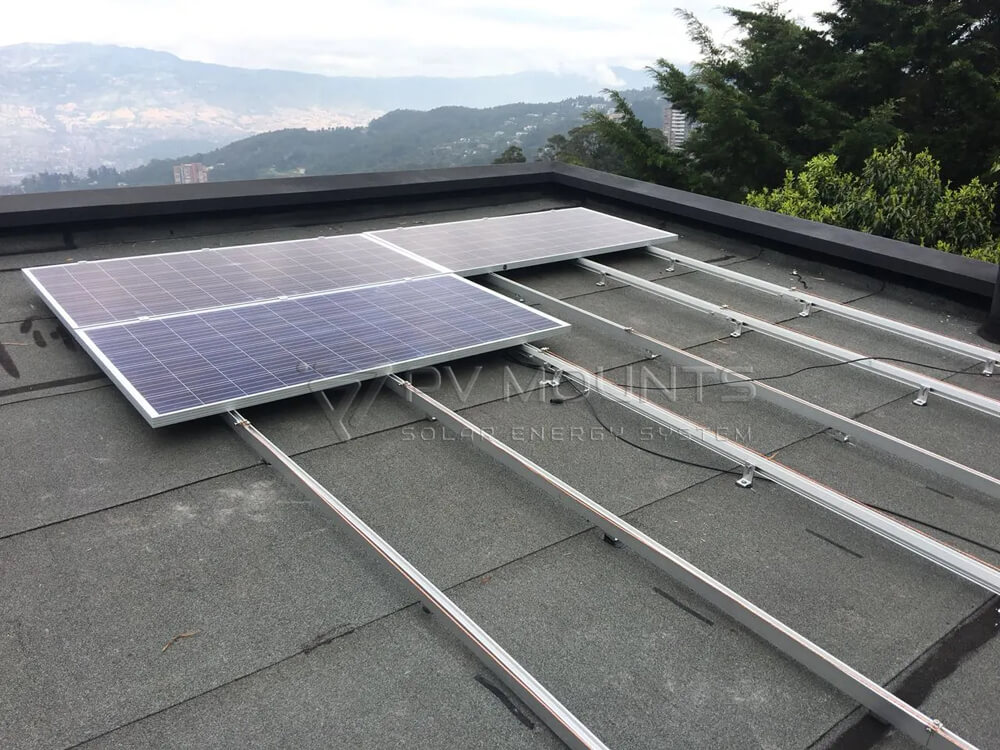
Installation Case
Installation Guide
Here we can also offer full guide here for your reference:
Here we can also offer full guide here for your reference:
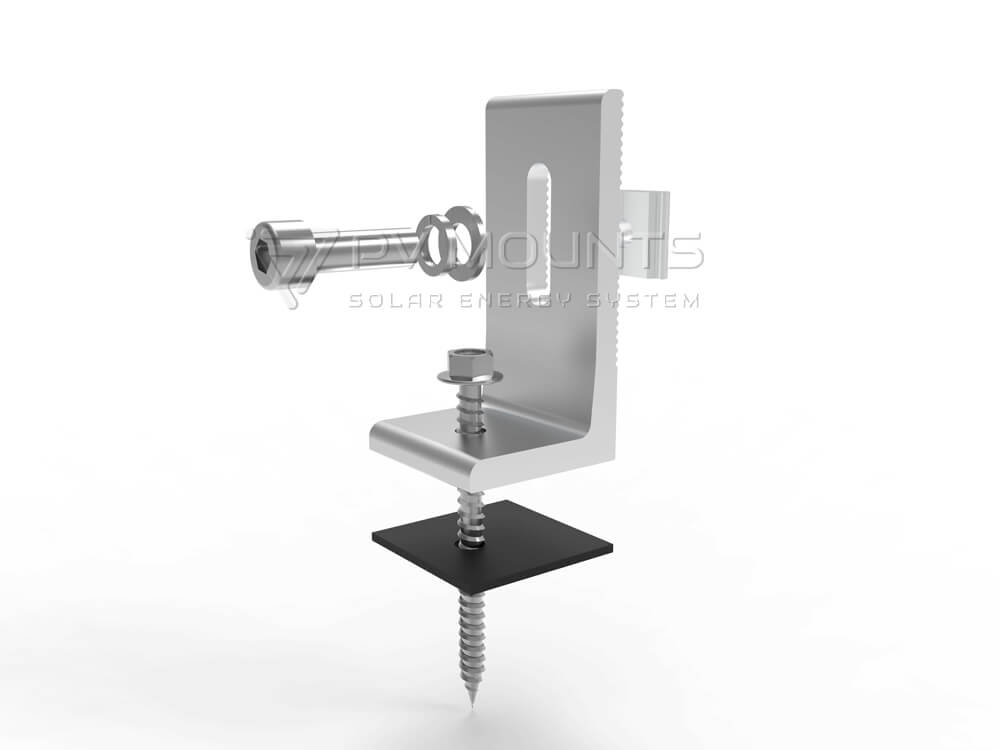
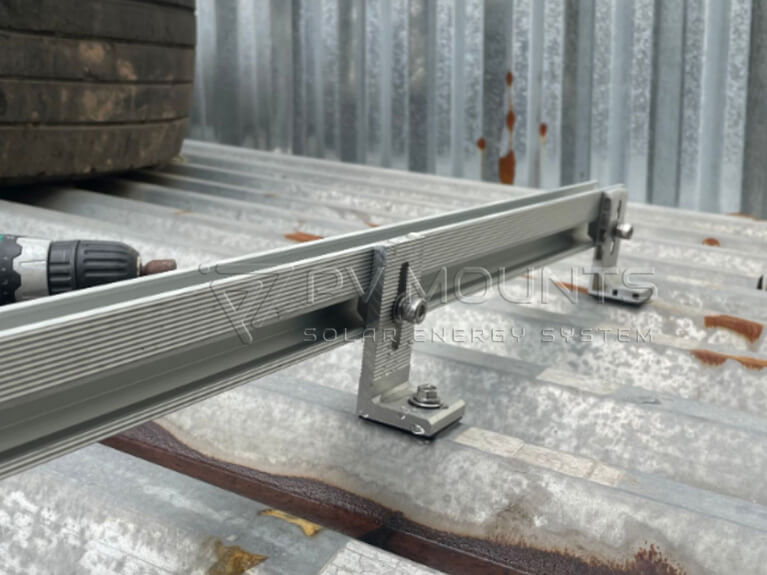
1. Fix L Feet on the roof metal Sheet
Drill a hole in the correct position as planned, and install EPDM rubber and L Bracket.
Fasten the L foot onto the roof with a self-tapping screw, and align the L fee according to the mark line.
2. Repeat Step 1 and fix all L feet on the metal rooftop.
L-bracket horizontal spacing can be up to 2m.
The L bracket’s upward spacing is about 1/2 or 3/4 the length of the solar panel.
Spacing between solar panel: 18mm
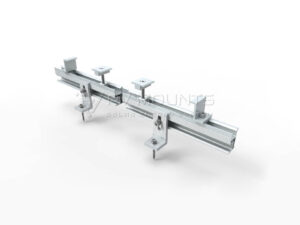
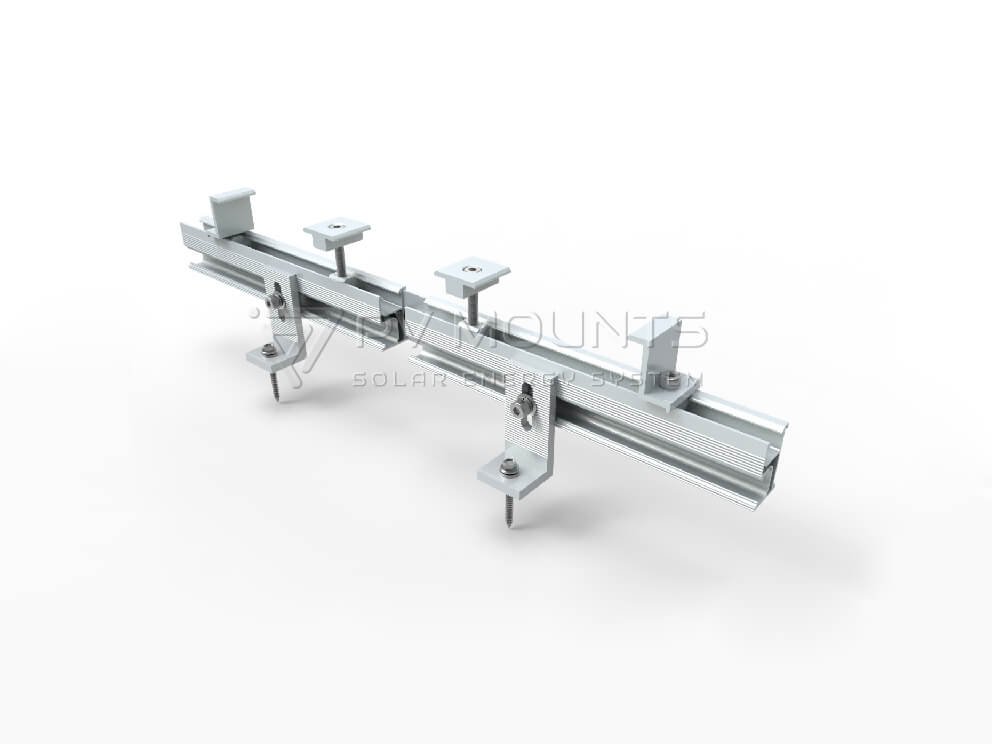
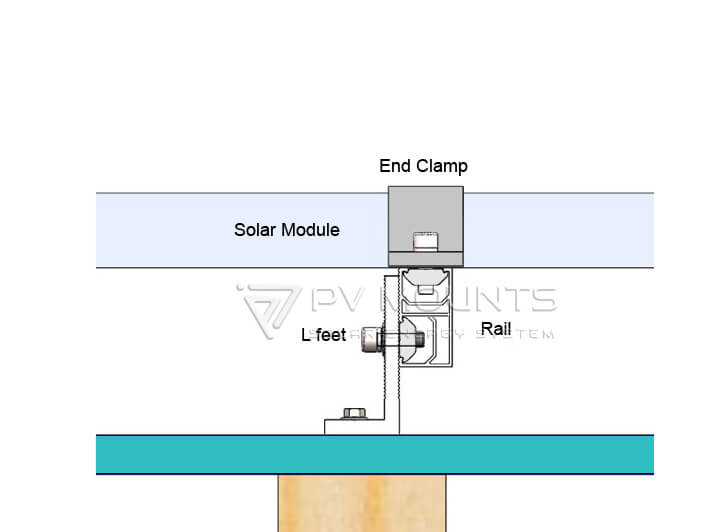
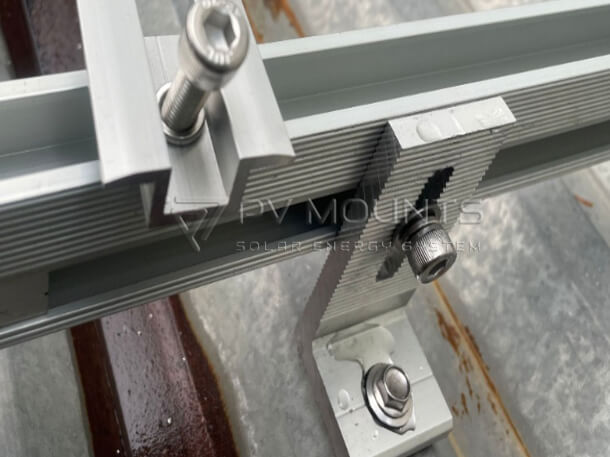
3. Fix rail on L feet with bolts and nuts
Plug the bolt through the groove of L feet.
Attach the bolt to the rail groove and rotate the bolt to engage the groove.
Fasten the bolt to fix the rail, make sure the mark at the bottom of the bolt is vertical to the groove.
4. Repeat step 3 and fix all rails on L feet
Using a rail connector can extend the length of the rail.
5. Install solar modules and fix them with mid clamps and end clamps
6. Finish installation of solar modules
L-Feet Installation Guide for Solar Panel Mounting