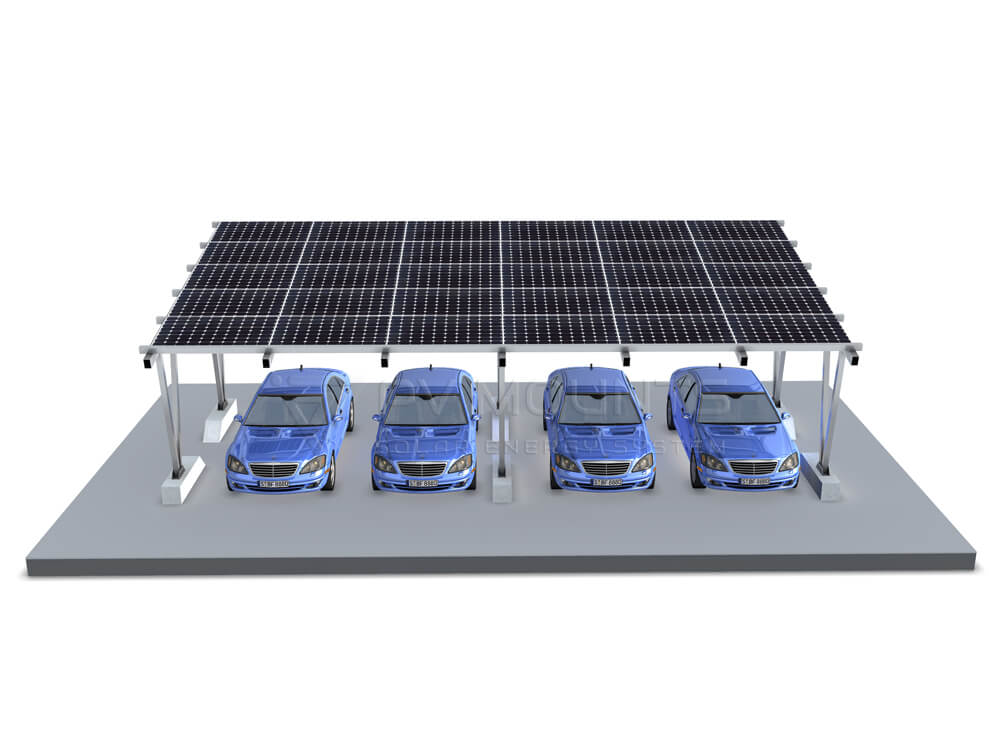
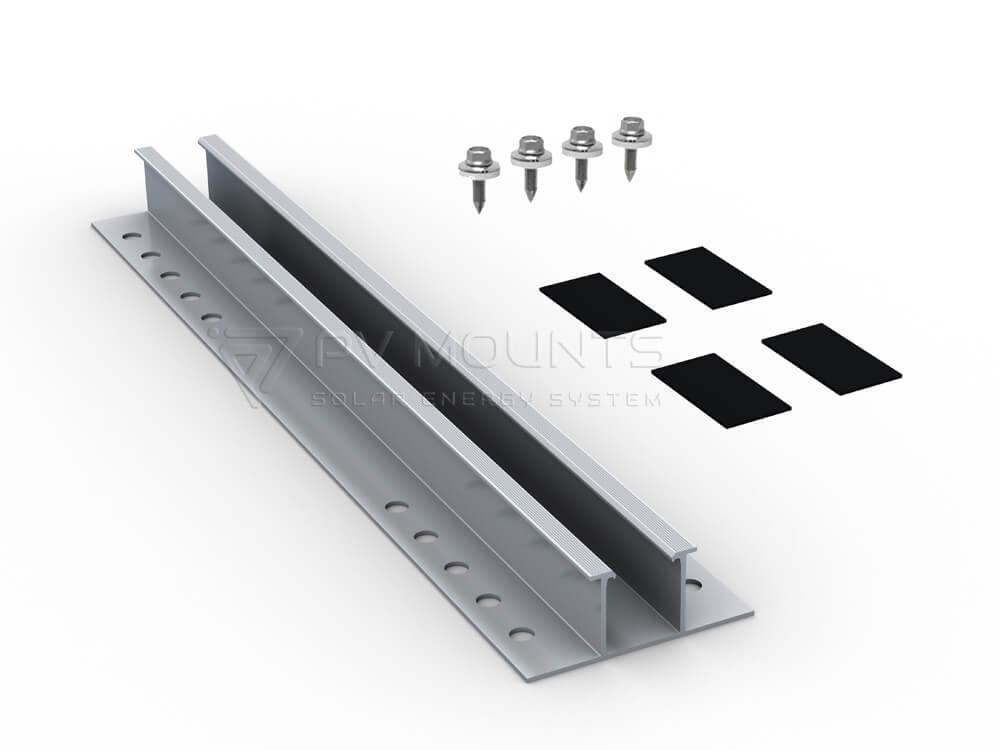
L Feet
| Item No.: | PVM-LF (L Feet) |
| Shipping Port: | Xiamen |
| Wind load: | Max 60m/s |
| Snow load: | Max 1.4KN/m |
| Inclination: | Flat Roof (Roof angle 5°~60 ° ) |
| PV module: | Framed, Unframed |
| Module Orientation: | Landscape or Portrait |
| Fastener structures: | Stainless Steel 304 |

Product Description
| Material: | 100% Anodized AL6005-T5; |
| Warranty: | 10 YEARS |
| Lifespan: | 25 YEARS |
| Finished: | Anodized AL 6005-T5; Shot peening SUS 304 |
| Standard: | JISC8955-2017 Photovoltaic Array Structure Design Guidelines |
| Color: | Natural or Black Anodizing |
| Application: | Metal Roof |
L feet have been widely used on universal corrugated or trapezoidal metal sheet roofing such as workshops or warehouses with an inclination angle of 5°~60°. It can fix to the roof rafter directly, applied with screw or hanger bolts or fitted with designing roof standing seam clamps.
It provides a simple and economical mounting solution for the installation of all the framed and frameless solar modules on the market. The advanced design minimizes the quantity of parts in the whole system and make installation simple & fast.
The simple and solid mounting structure also enables it to make full use of the existing tin roof, and the highly efficient and dense components greatly increase the installed capacity, so as to achieve energy saving and emission reduction.
L Feet Mounting Solution
| No. | Roof type | Install ways | Beam type | Solutions |
| 1 | Trapezoidal roof sheet/Metal/Tin roof | Drilling solutions | Wooden beam | L feet + wooden screw |
| Steel beam | L feet + self-tapping screw | |||
| Wooden beam | L feet + hanger bolt | |||
| 2 | Direct mounting | No damage or penetration to roof | L feet + standing seam clamp+flange scew M8X20MM |
Components
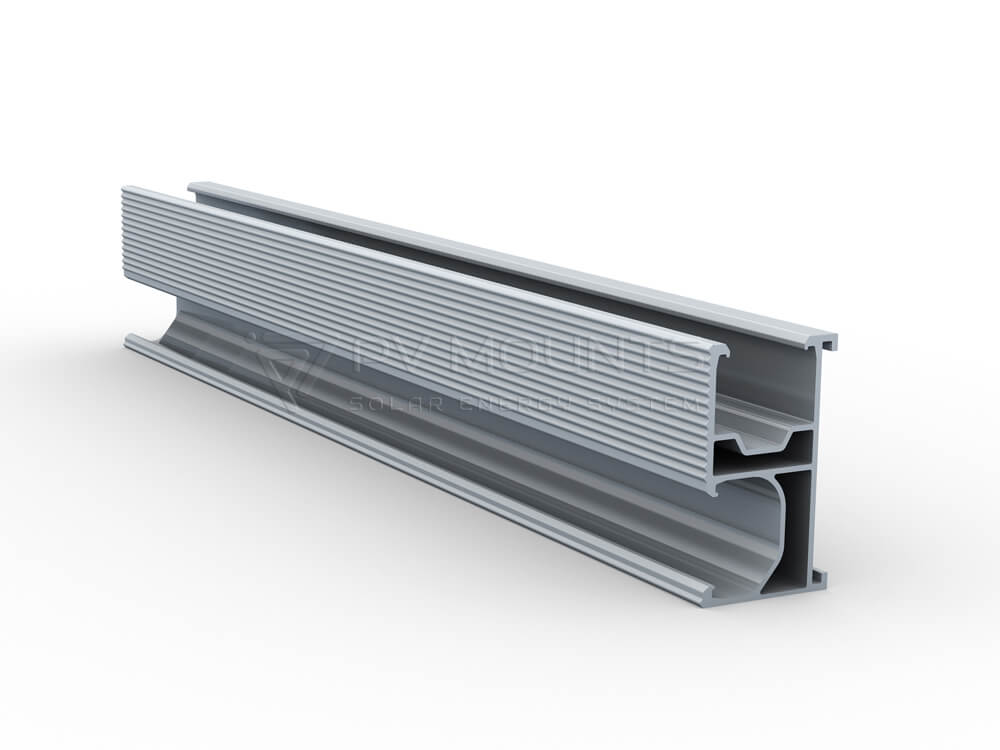
Rail
PVM-Rail-01
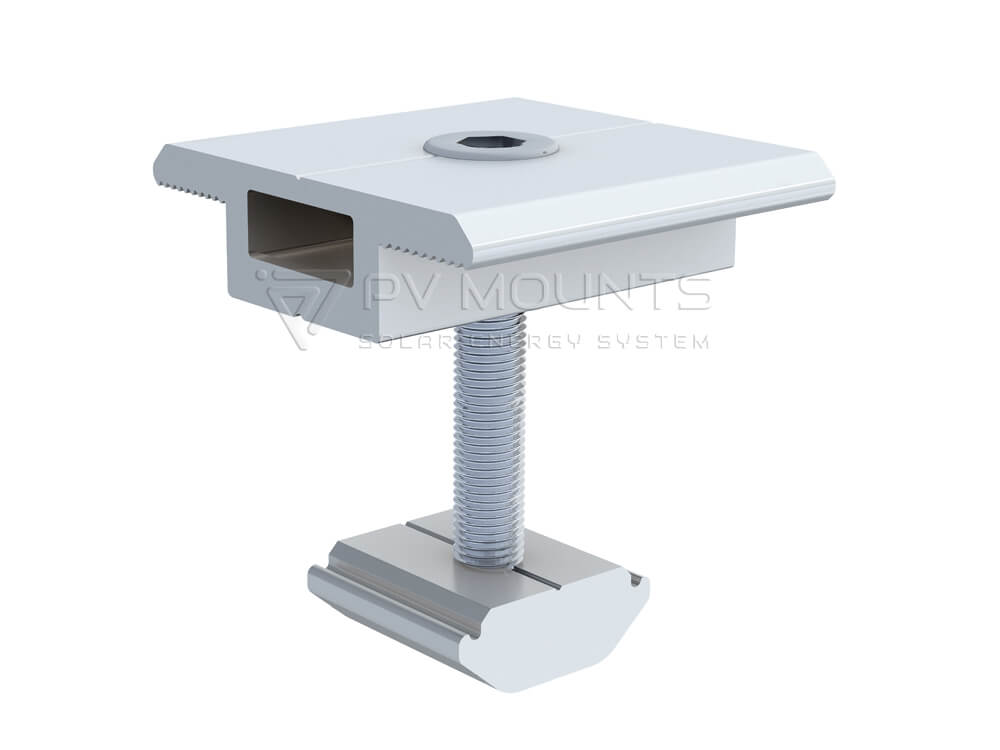
Mid Clamp
PVM-MC-A
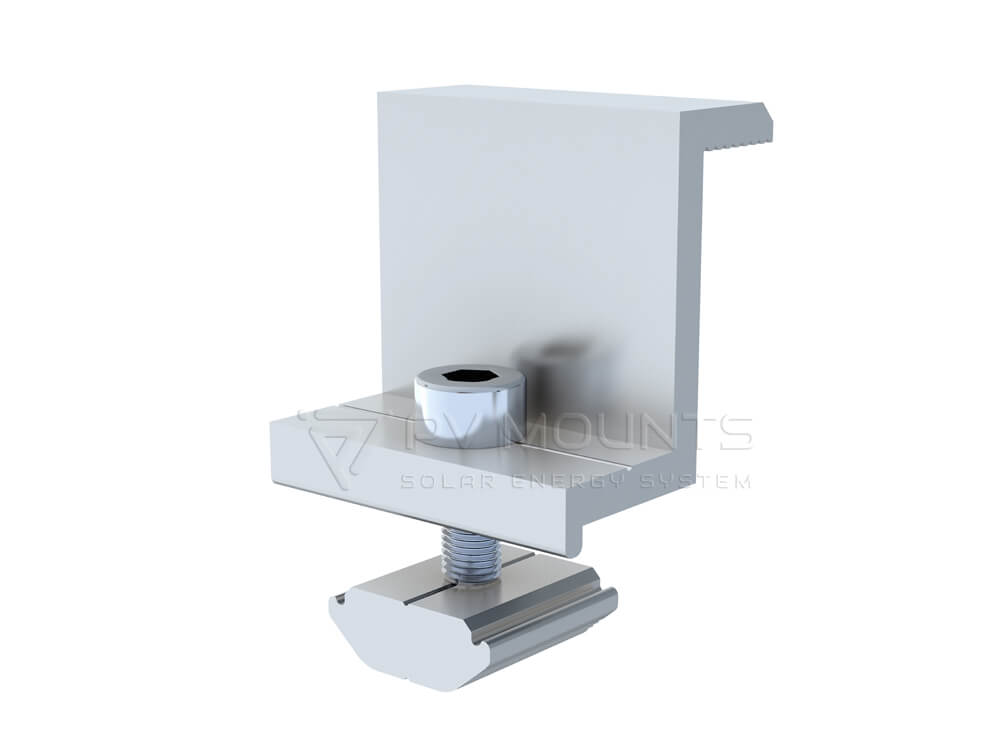
End Clamp
PVM-EC-A
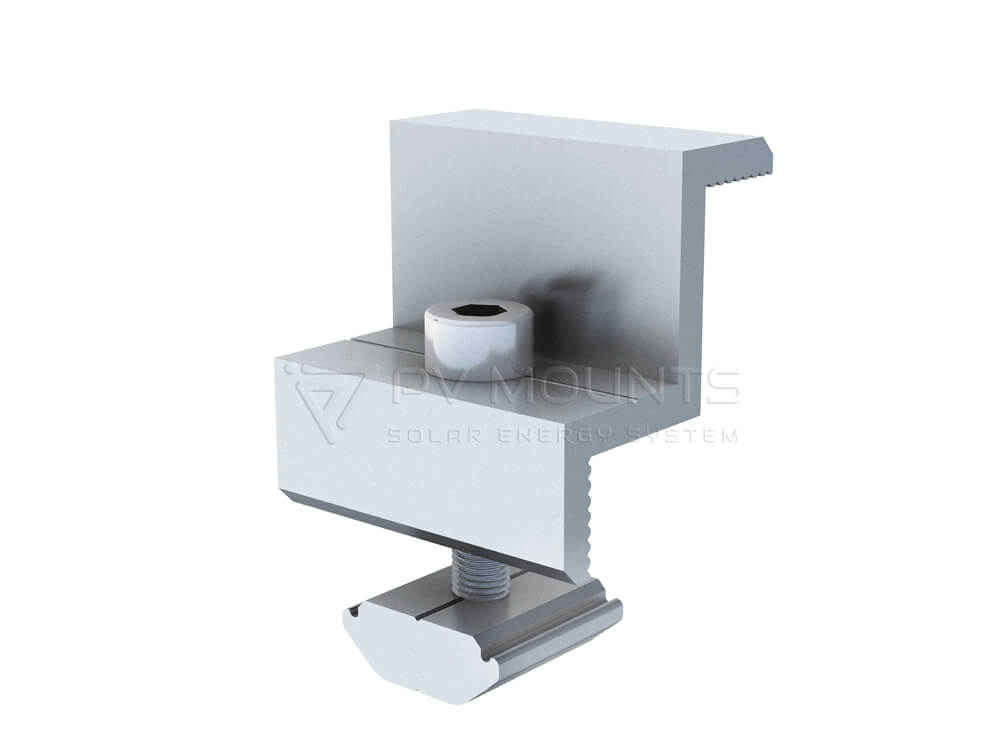
End Clamp
PVM-EC-B
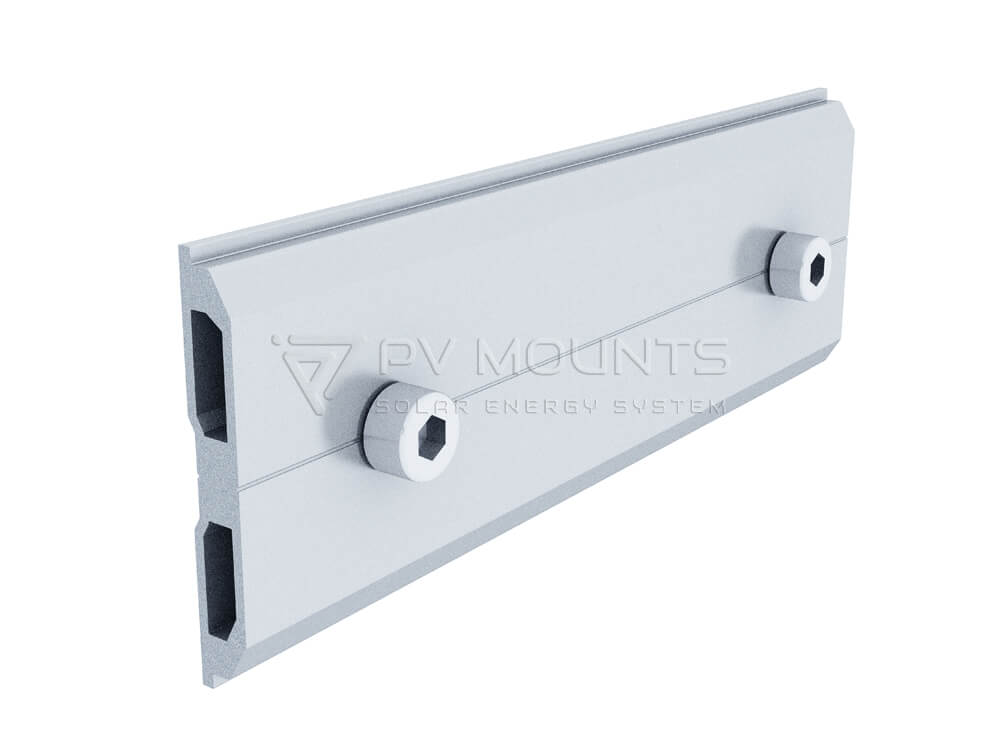
Rail Connector
PVM-RC-01
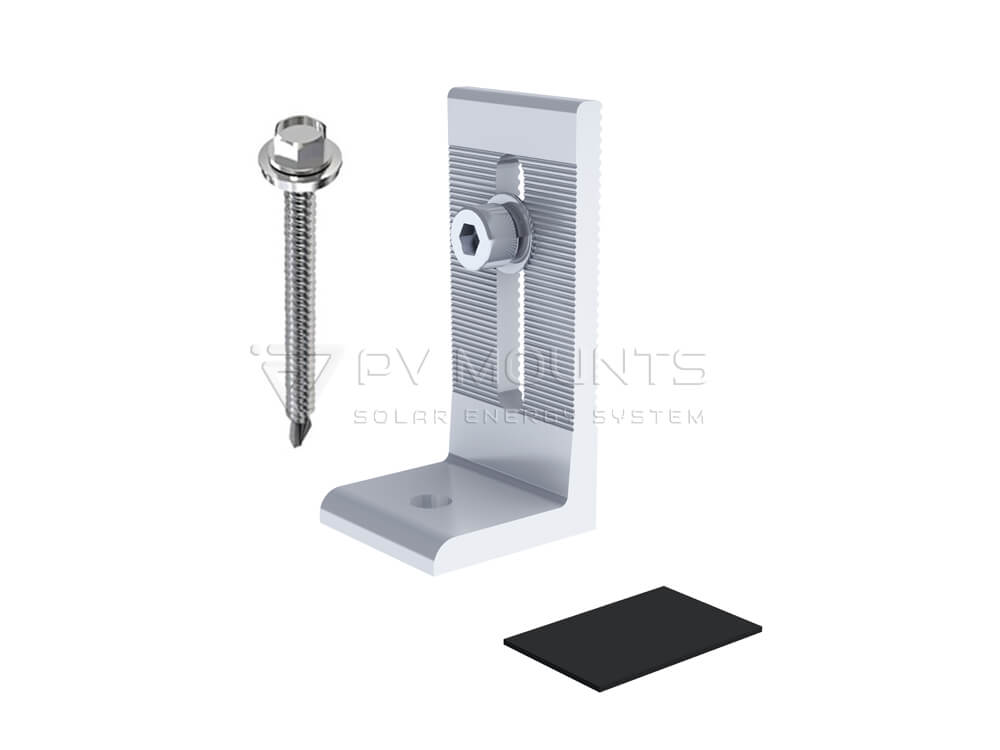
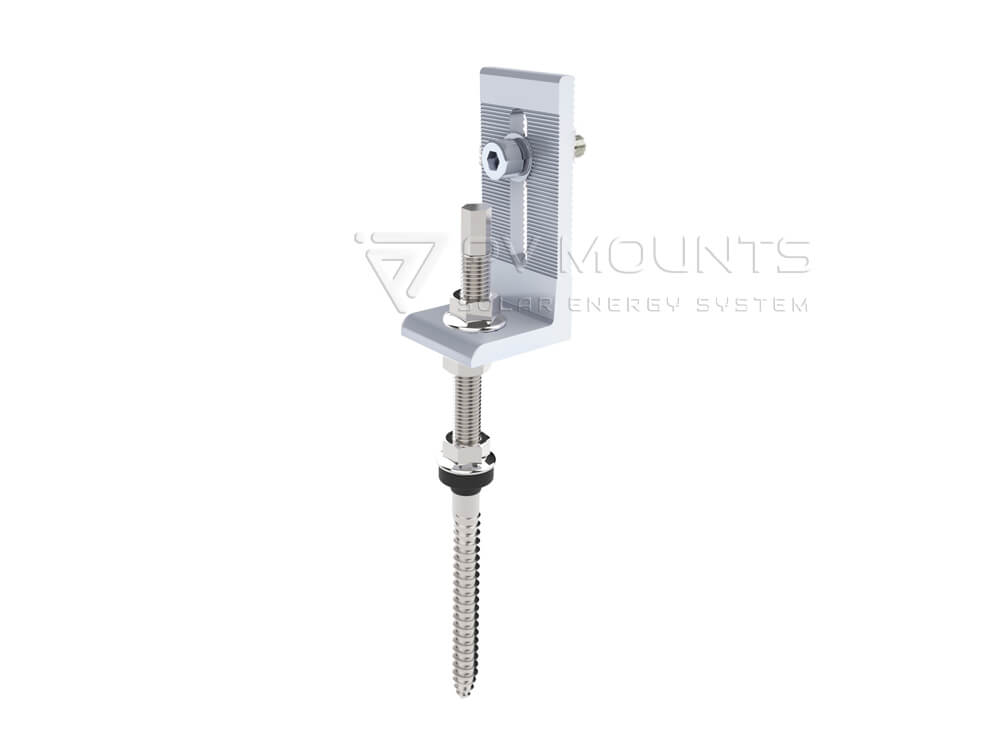
L Feet
PVM-L-01
with self-stepping screw
L Feet
PVM-L-02
with hanger bolt
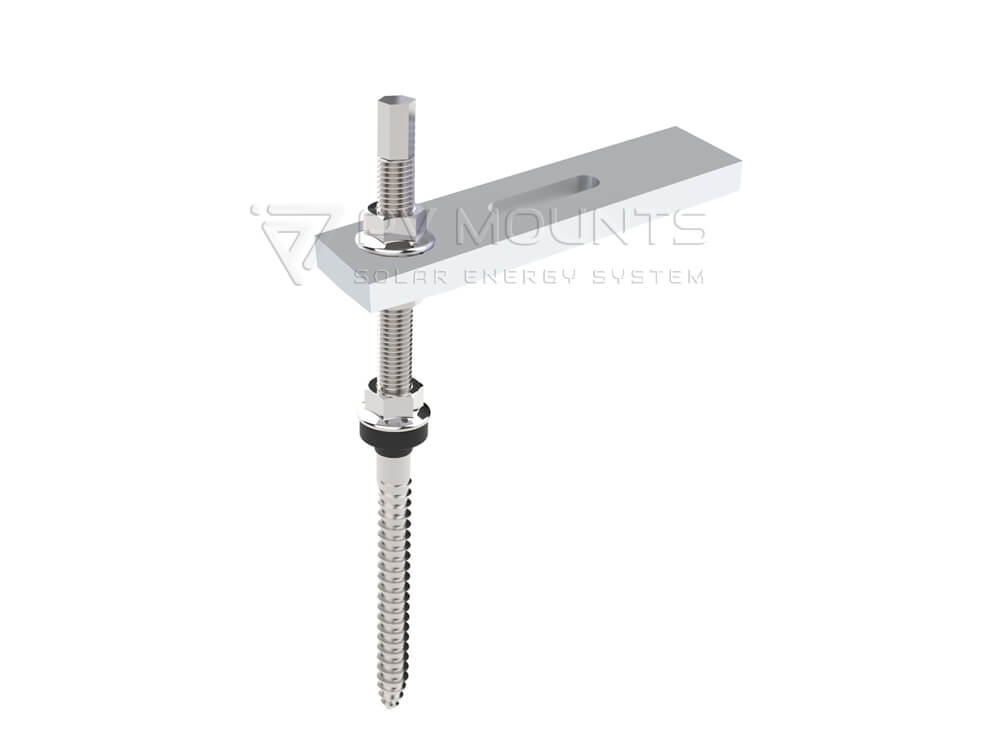
L Feet
PVM-L-03
hanger bolt with plate
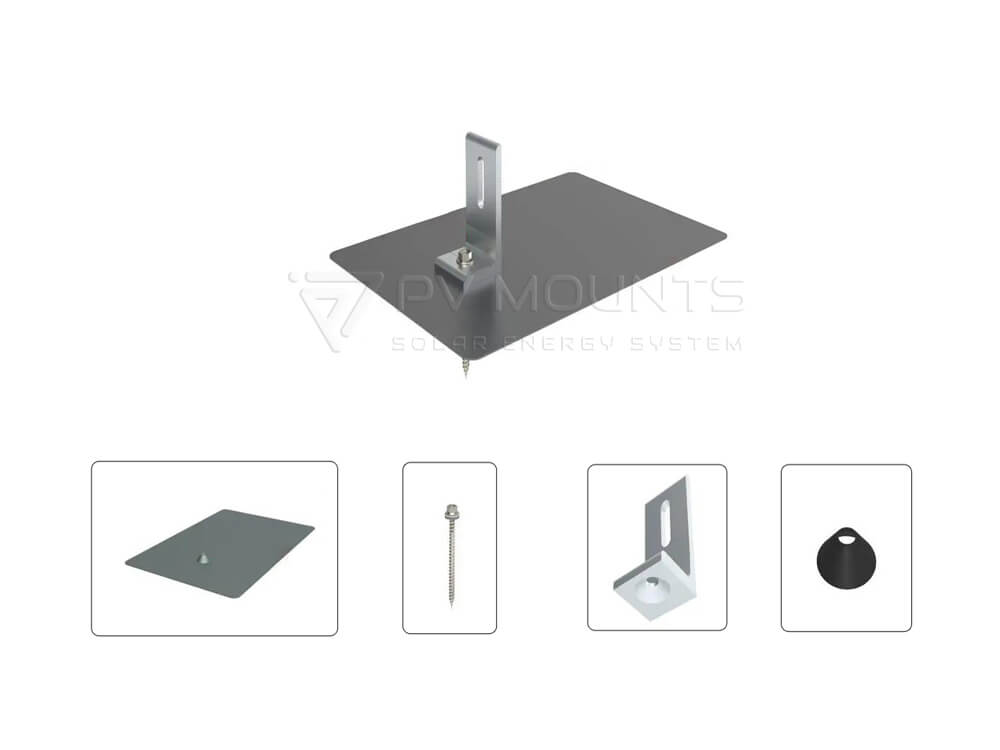
L Feet
PVM-L-04
with Asphalt shingle flashing

Hanger Bolt
PVM-L-HB
L Feet Mounting Components Manufacturing Details
Each manufacturing stage but also cater to the needs and concerns of installers and suppliers in the solar mounting solutions

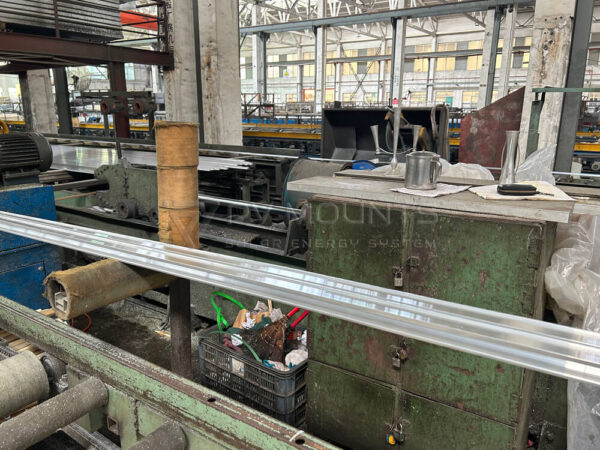
Aluminum Raw Materials
Starting with premium-grade aluminum, our L Feet components promise unmatched durability and resilience, ideal for long-lasting solar installations.
Pile Cutting
Our meticulous pile cutting process results in perfectly sized L Feet, tailored to seamlessly fit your solar mounting needs.
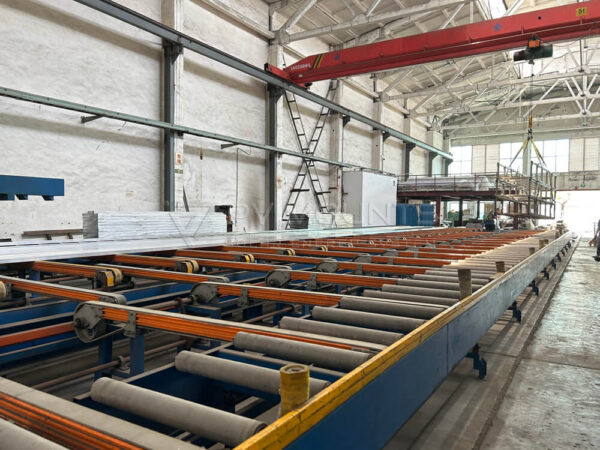
Extrusion
6 extrusion lines to ensure aluminum hardware with high quality and performance
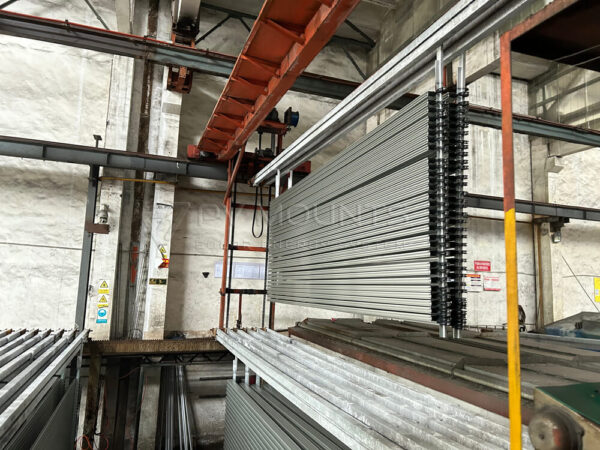
Aluminum Anodizing
Anodizing enhances corrosion resistance, increasing the L Feet's lifespan and maintaining their sleek, professional appearance in all weather conditions.
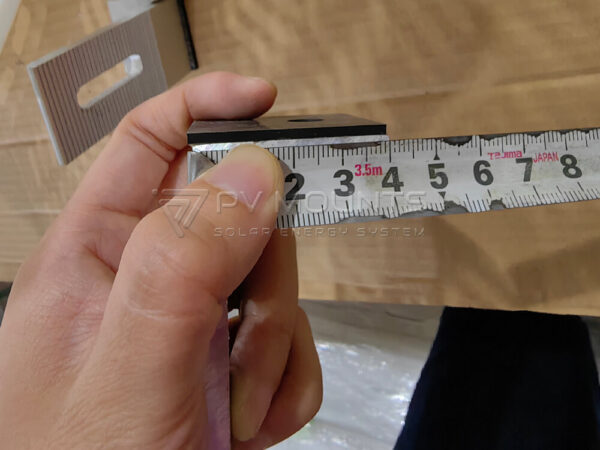
Quality Inspection
Each L Foot undergoes quality checks like sizes hardness, guaranteeing top-tier performance and reliability for secure solar panel mounting.
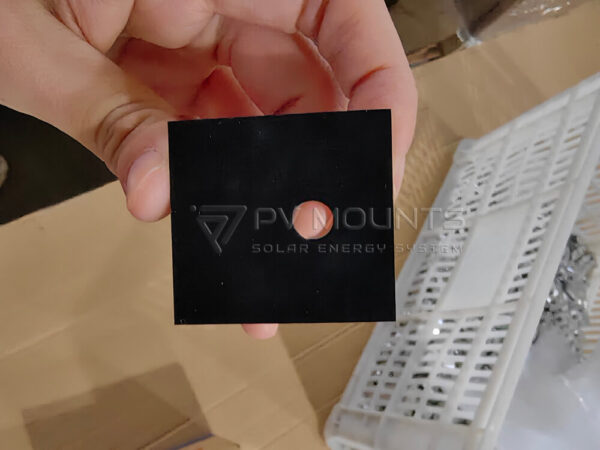
Pre-Assembly
We pre-assemble components to streamline your installation process, making setup quicker and more efficient, saving you time and effort
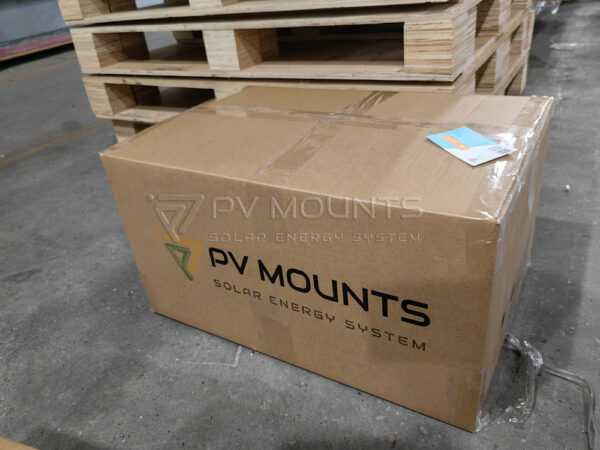
Packaging
Our eco-friendly, secure packaging(plastic bag, carton, plate etc) ensures the L Feet arrive in pristine condition, ready for immediate installation upon delivery
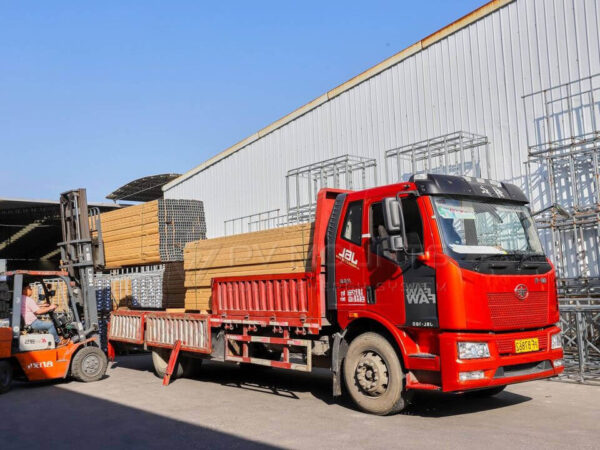
Loading and Delivery
Efficient loading and expedited shipment processes mean your high-quality L Feet are delivered swiftly and safely, right to your doorstep
Knowledge of L Feet and Solar Mounting
12 Must-Know Winter Maintenance Tips for Solar Mounting Systems
Solar Mounting Systems Maintenance in winter—picturesque snowflakes, cozy sweaters, and warm cups of cocoa! But winter can be a lot less romantic when it comes
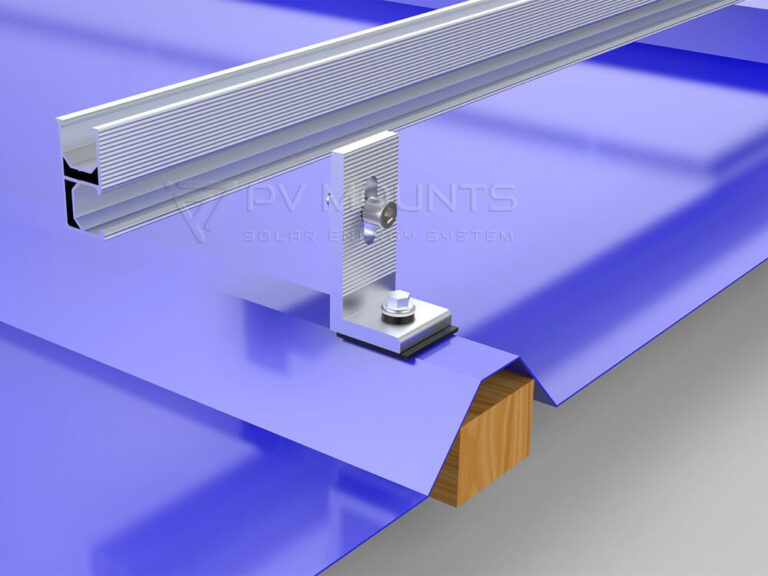
Unlocking the Full Potential of L Feet Solar Mounting Systems
Introduction: Harness the Sun’s Power Efficiently Solar energy has proven itself as a renewable and sustainable energy source. Its adaptability to various settings makes it
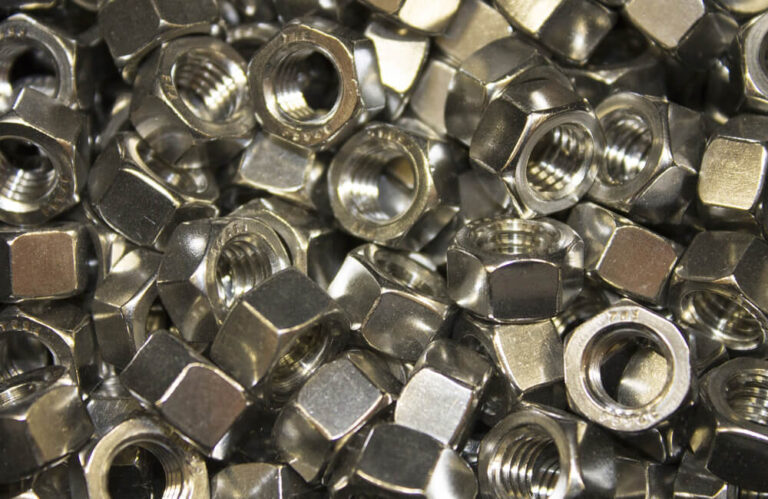
Comprehensive Guide: Stainless Steel Material for Solar Mounting Fasteners
Stainless Steel Fasteners for solar mounting systems play an important role in ensuring the system runs securely and stably. But what type of stainless steel
FAQ
A: Please provided these details as posssible as you can. Thanks.
| 1 | The dimension of the solar panel: | _________(Length*Width*Thickness) |
| 2 | How many solar panels do you plan to install for the project? | ______pcs. |
| 3 | Solar panel array layout. If no available, please send size (Length and Width) of your installation site. | |
| 4 | What is the optial tilt angle for solar panel?: | _______degree. |
| 5 | What’s wind speed and snow load? | ___m/s anit-wind speed and____KN/m2 snow load. |
| 6 | What installation orientation for solar panel? | _______(Horizontal or Vertical). |
| 7 | Latitude and longitude of installation site? | |
| For roof mounting system | ||
| 8 | Type of rooftop | tin/flat/tile? or please send clear roof photo. |
| For ground mounting system | ||
| 9 | Which foundation you need for your coming ground mounting system? | ______( ground screw/concrete/pile/pole ) |
| 10 | How tall is the lowest height from the solar panel to the ground? | _______mm |
A: Yes. Free sample are available for checking quality at your express cost. Delivery cost will be refund after order confirmed.
A: It depends on your order quantity and requirement. Usually within 7~15 working days after received the deposit.
| Quantity (pieces) | 1 – 500 | 501 – 5000 | 5001 – 50000 | > 50000 |
| Lead time (days) | 7 | 10 | 15 | To be negotiated |
| Payment Term | T/T | Small order | 100% T/T in advance |
| EXW | |||
| DAP | |||
| FOB | 30% T/T in advance, 70% balance paid before shipment. | ||
| CNF | 30% T/T in advance, balance paid against copy of B/L | ||
| CIF | |||
| Delivery Method | By express, By air, By Sea or By train | ||
A: We offer 10 years warranty and lifespin up to 25 years.
A. Yes of course.
We can offer installation page(links), videos steps by step.
Here we can also offer full guide here for your reference:
1. Fix L Feet on the roof metal Sheet
- Drill a hole in the correct position as planned, and install EPDM rubber and L Bracket.
- Fasten the L foot onto the roof with a self-tapping screw, and align the L fee according to the mark line.
- (Tip: it is recommended to mark a chalk line so that L foot can be fixed in line.)
2. Repeat Step 1 and fix all L feet on the metal rooftop.
- L-bracket horizontal spacing can be up to 2m.
- The L bracket’s upward spacing is about 1/2 or 3/4 the length of the solar panel.
- Spacing between solar panel: 18mm
- (Tip: Please be careful not to destroy the beam below during installation.)
3. Fix rail on L feet with bolts and nuts
- Plug the bolt through the groove of L feet.
- Attach the bolt to the rail groove and rotate the bolt to engage the groove.
- Fasten the bolt to fix the rail, make sure the mark at the bottom of the bolt is vertical to the groove.
4. Repeat step 3 and fix all rails on L feet
- Using a rail connector can extend the length of the rail.
5. Install solar modules and fix them with mid clamps and end clamps
6. Finish installation of solar modules
Yes, our L-Feet Components are designed with versatility in mind. They are compatible with most solar panel models and roofing materials, making them ideal for a wide range of installations.
Our L-Feet are made from high-grade, corrosion-resistant aluminum, ensuring durability and strength. This makes them suitable for long-term outdoor use in various environmental conditions.
Absolutely. Our L-Feet Components are engineered to endure extreme weather, including high winds and heavy snow loads, maintaining the integrity of your solar installations.
Certainly! We can tailor our L-Feet Components to meet specific project requirements. Contact us with your project details, and our team will work closely with you to provide customized solutions.
Product Category
GET A QUOTE
How We Can Help
- Factory Visits
- Fully Itemized Quotation
- Q/C Inspection
- Short Lead Time
- Free Mounting Consult
- Free Design Drawing
- Free Bom List
- Free Sample


