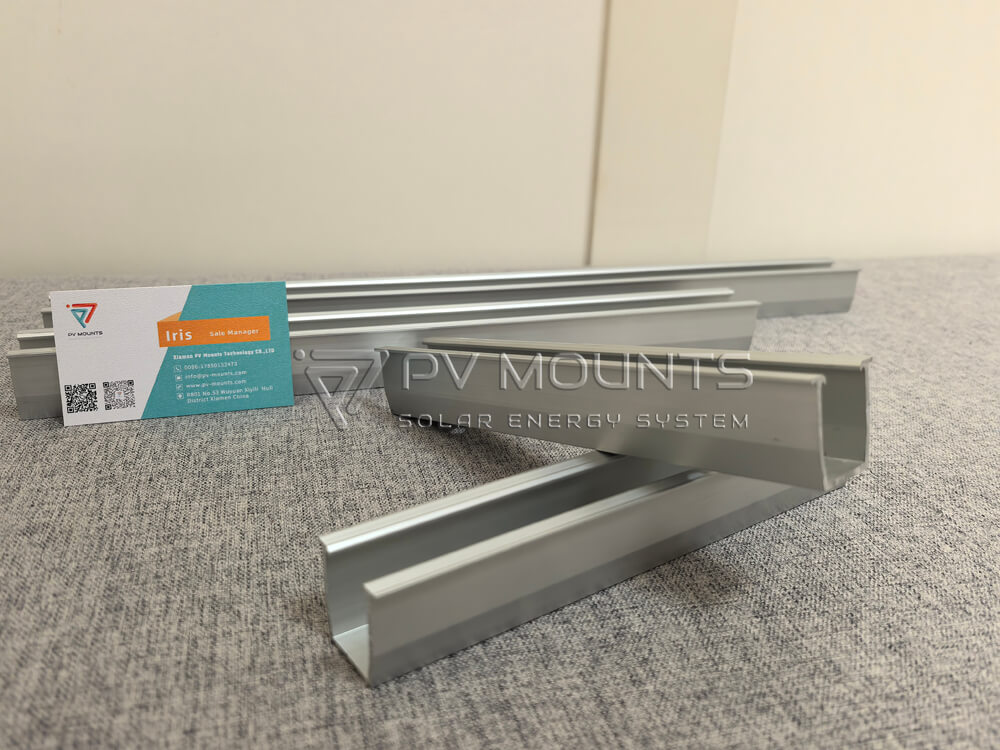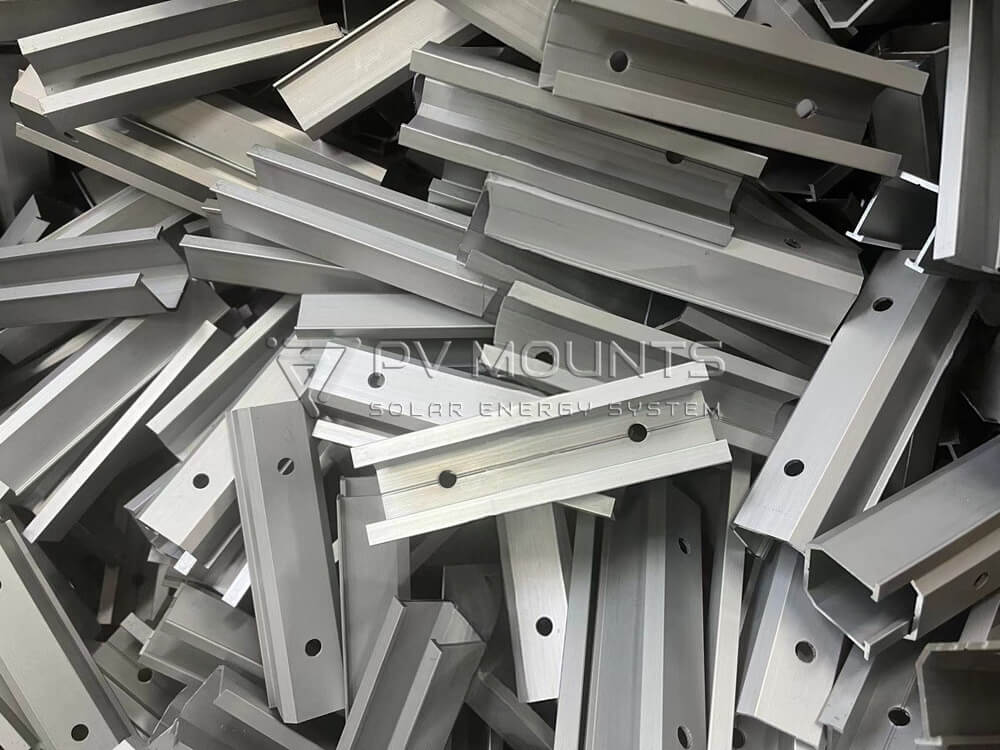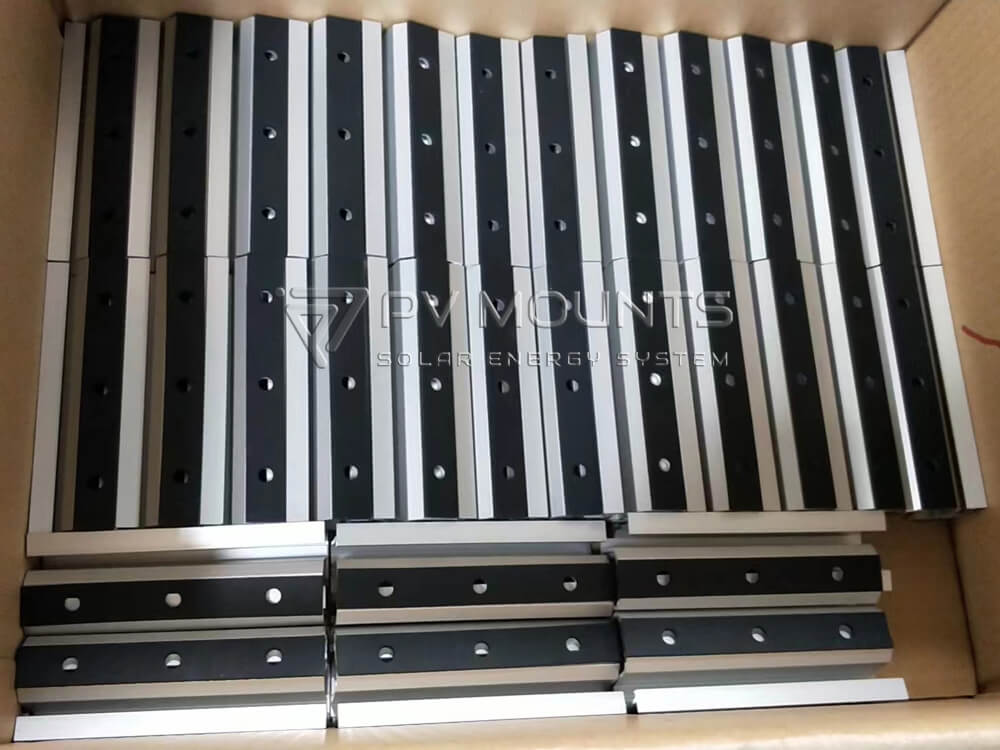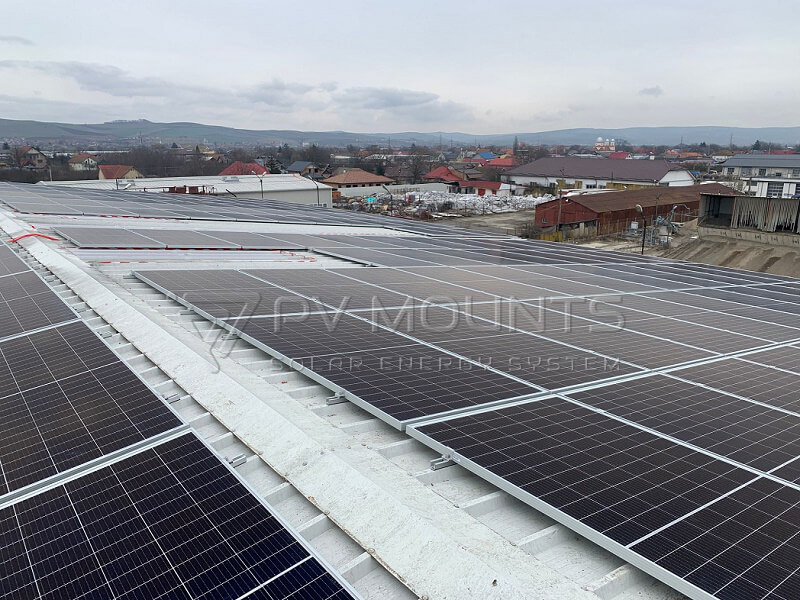
Cost-effective: Less material than full rails.Ideal for cost-sensitive projects with metal roofs.
Quick installation: Fewer components and faster assembly.
Lightweight: Reduces structural load on the roof. Versatile for different PV module types.
| Parâmetros técnicos | |
| Carga de vento: | Máximo de 60 m/s |
| Carga de neve: | Máximo de 1,4KN/m |
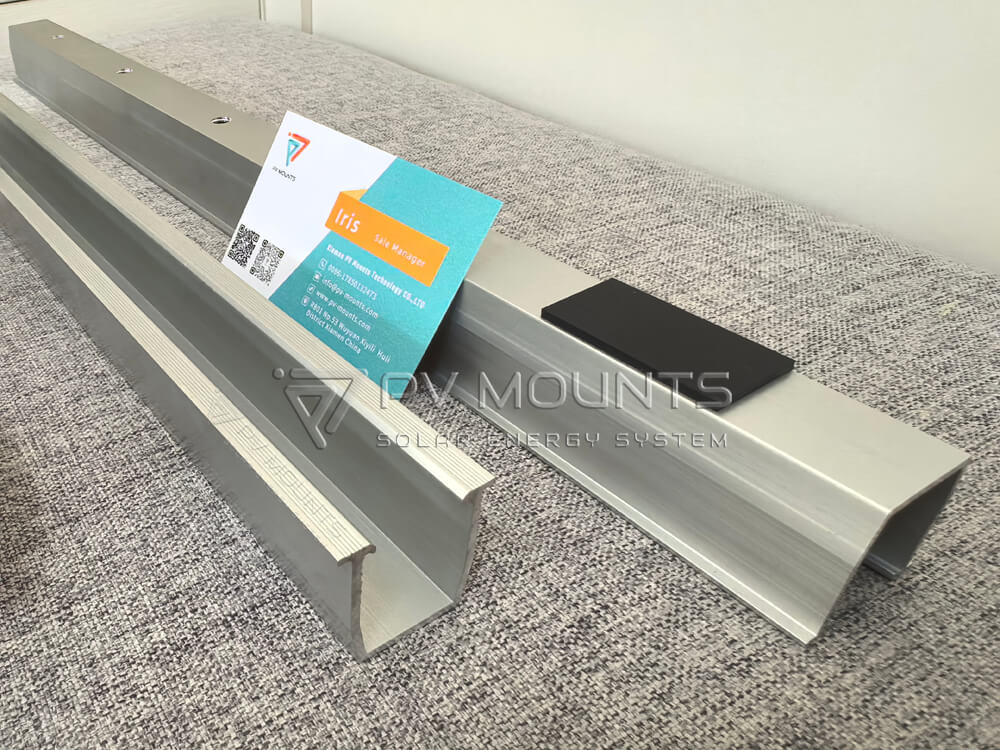
| Superfície: | AL 6005-T5 Anodized / SUS 304 Shot blasting |
| Serviço: | OEM/ODM |
| Local de instalação: | Telhado inclinado |
| Ângulo de inclinação: | 5°-60° |
| Inclination | Parallel to the roof |
| Solar Panel Layout | Horizontal or Vertical |
| Applicable Solar Panels | Framed & Frameless modules |
| Module orientation | Paisagem ou retrato |
| Adequado para: |
|
| Padrão | AS/NZS 1170.2/JIS C 8955:2017/ISO9001/UL1565/DIN 1055 |
Keywords: aluminum solar mini rail | trapezoidal roof mounting rail | solar panel rail for metal roof | solar tin roof mounting | metal roof solar mounting system | OEM solar mounting brackets

Cordless drill
Tape measure
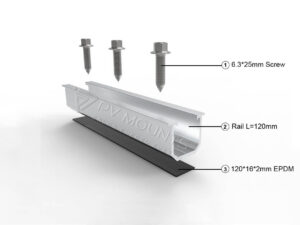
Self-tapping screws
Torque wrench
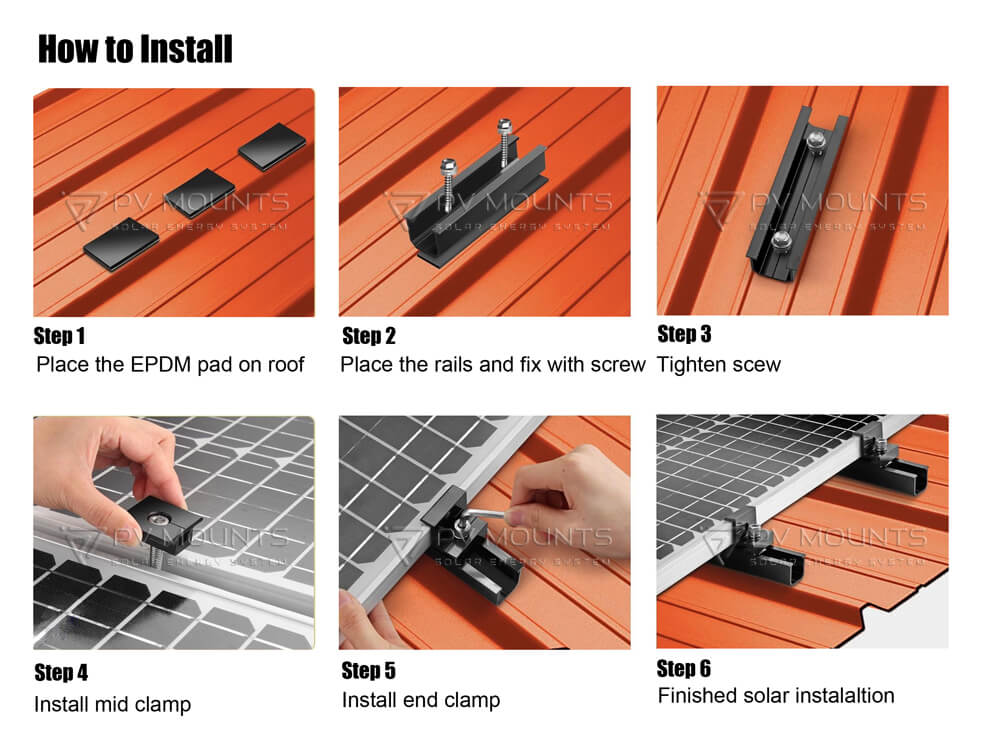
EPDM sealing pad (if not pre-attached)
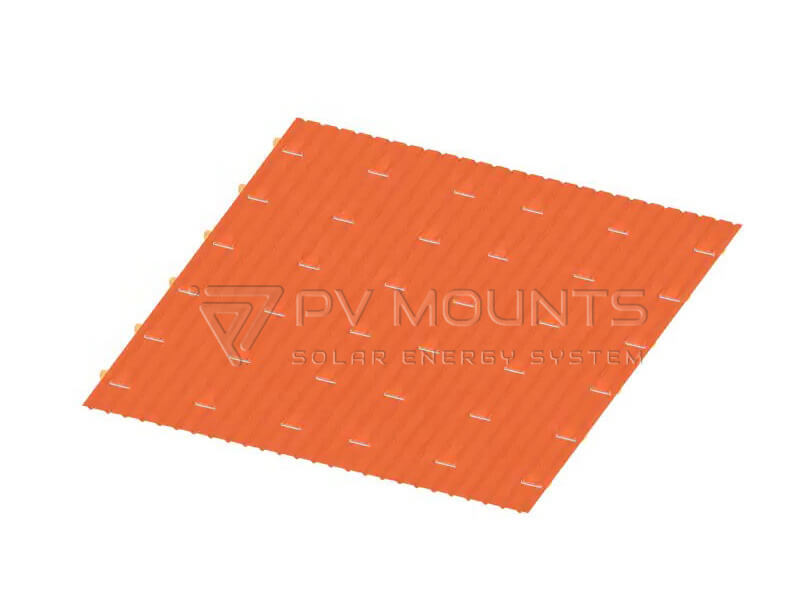
Measure and mark the positions where each solar panel will be installed.
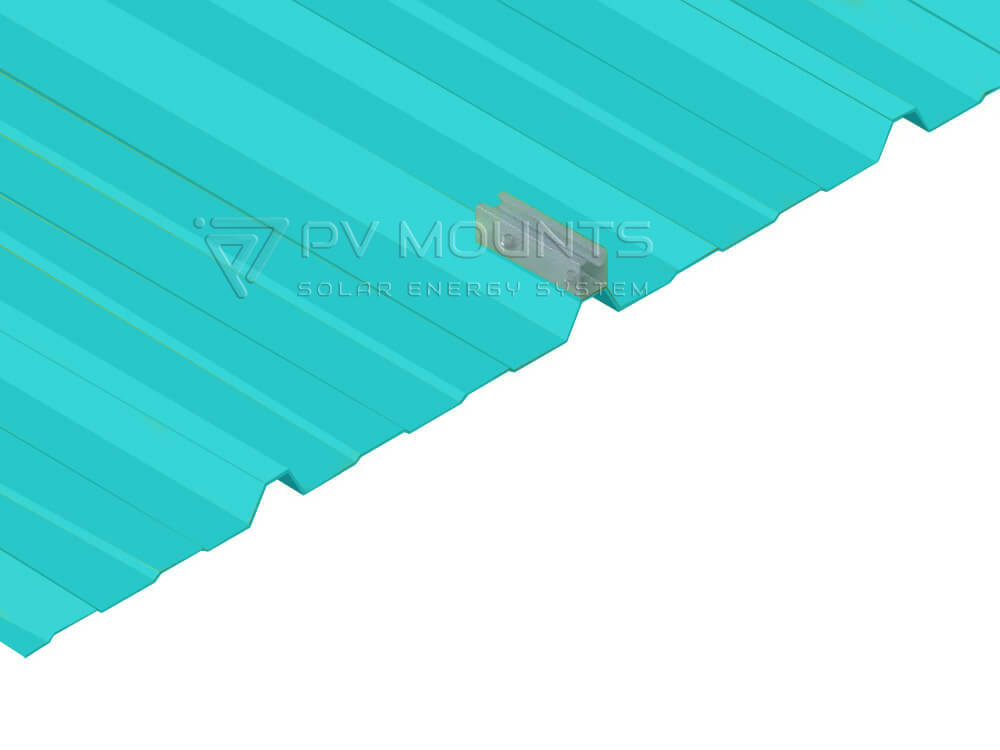
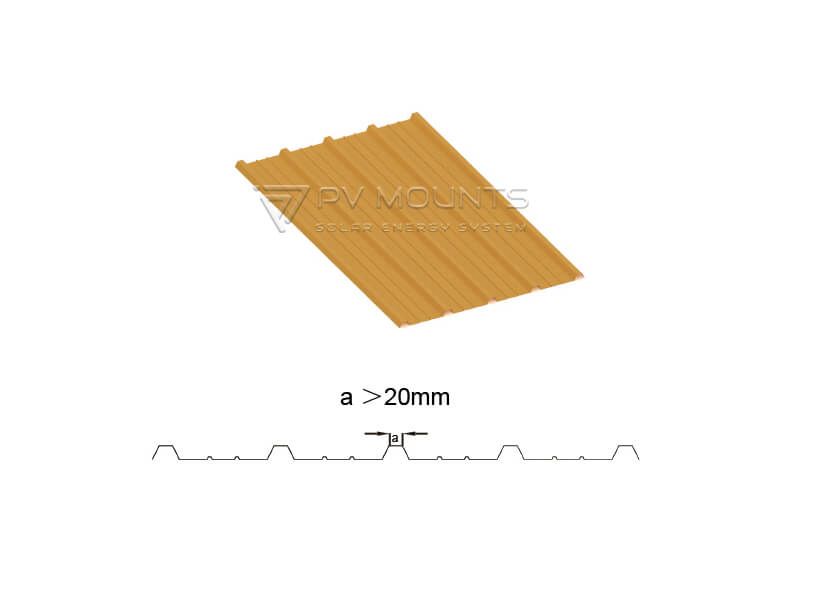
Align these positions with the ribs of the metal roof to ensure secure attachment points.
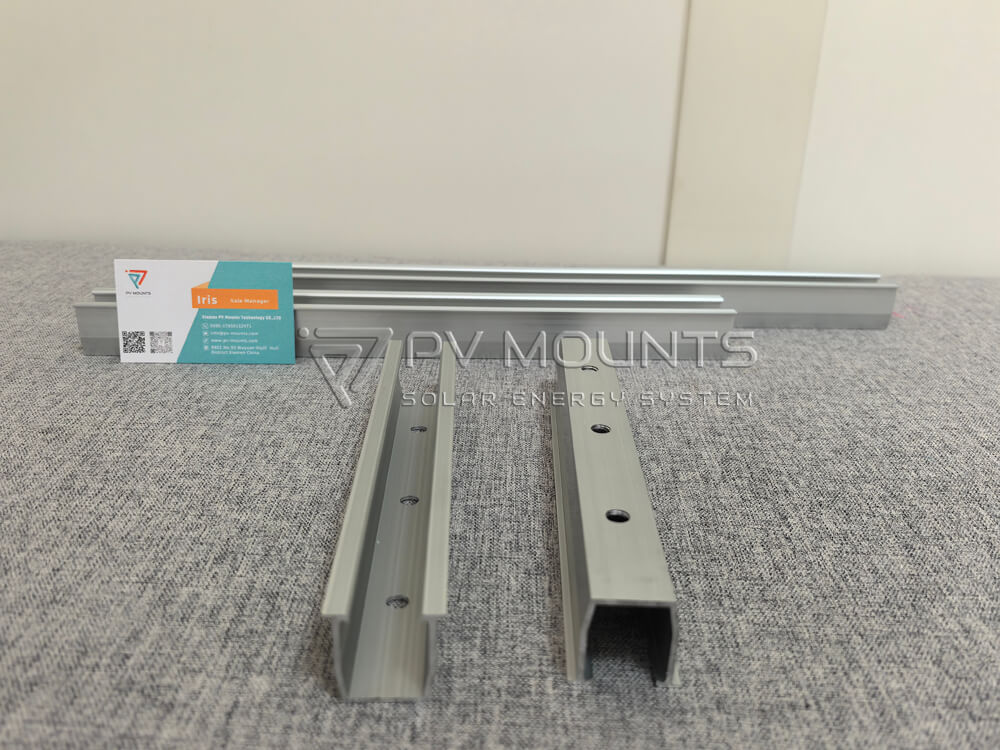
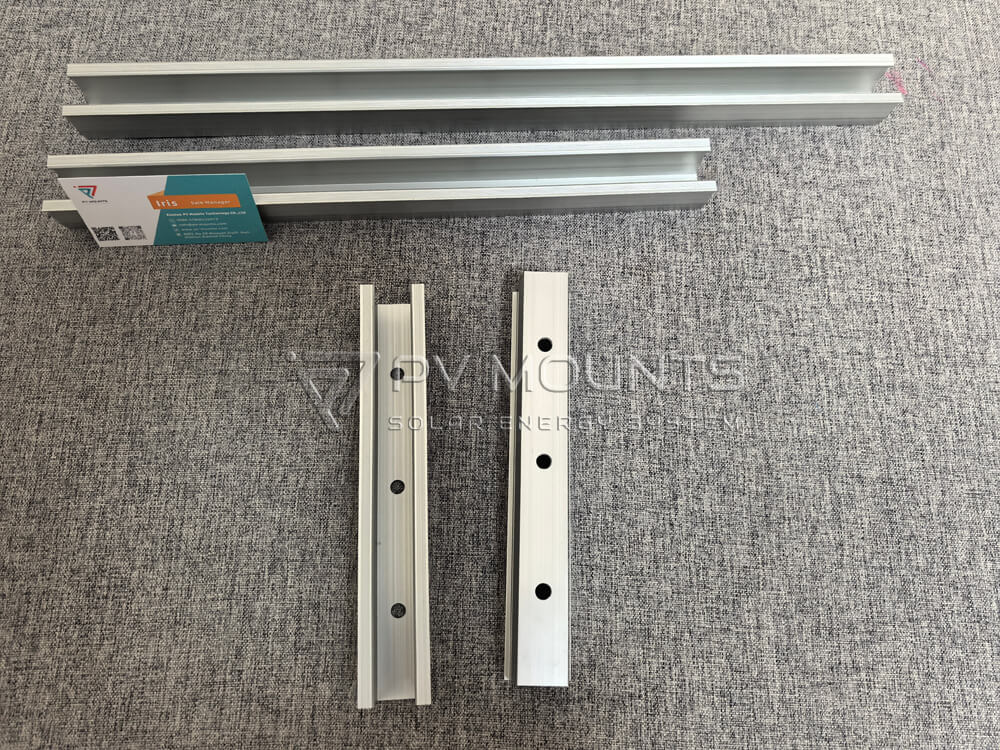
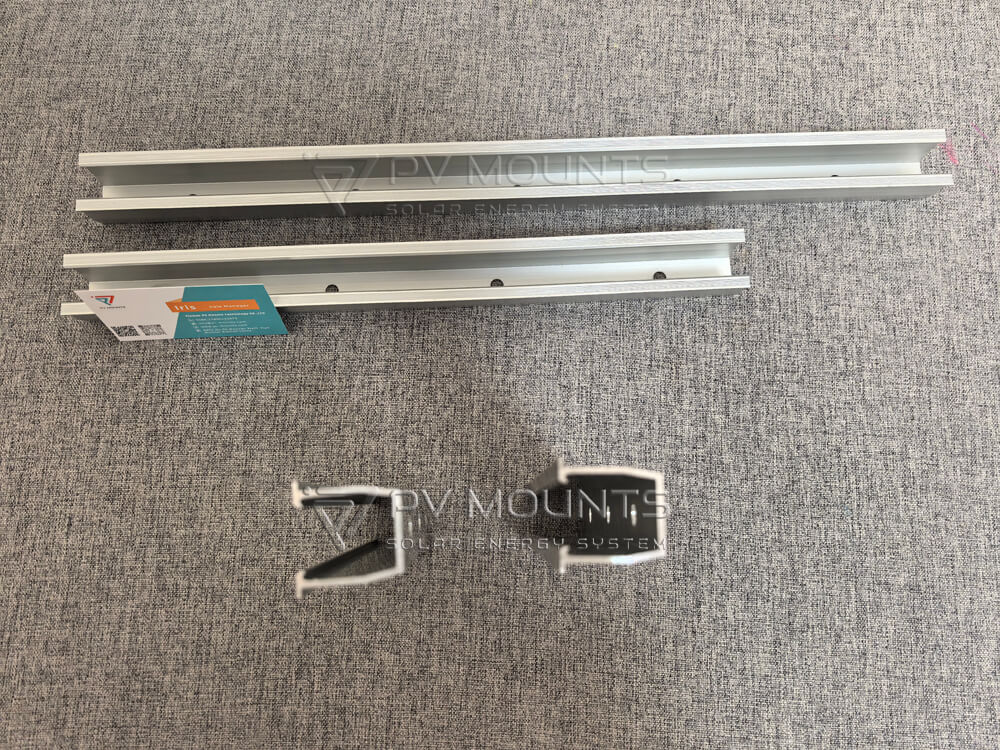
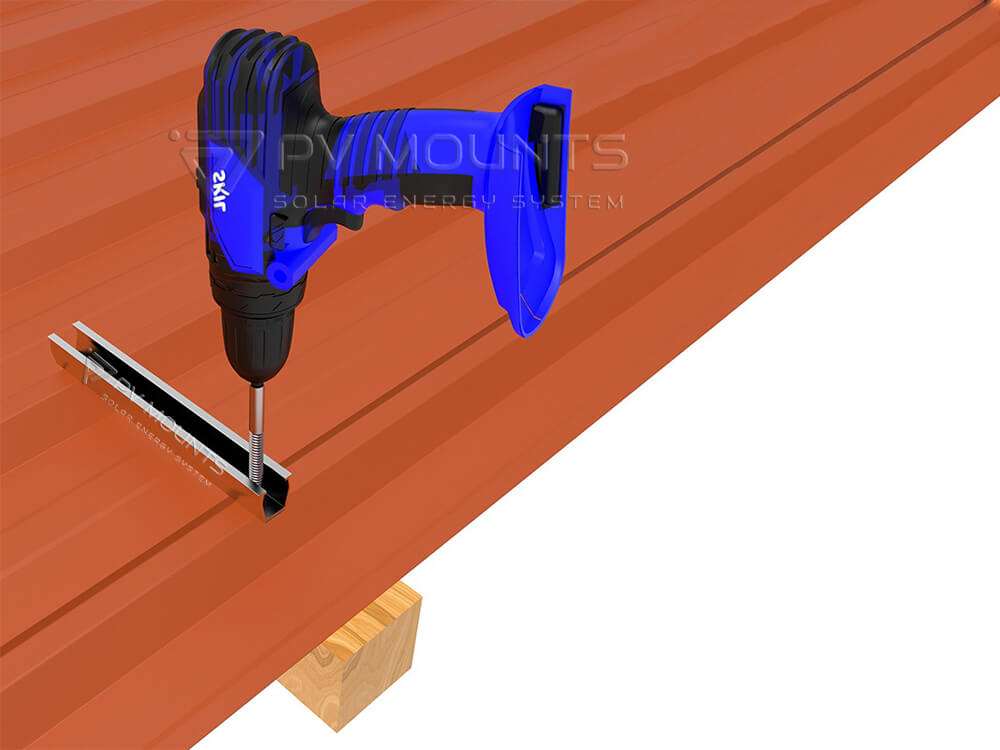
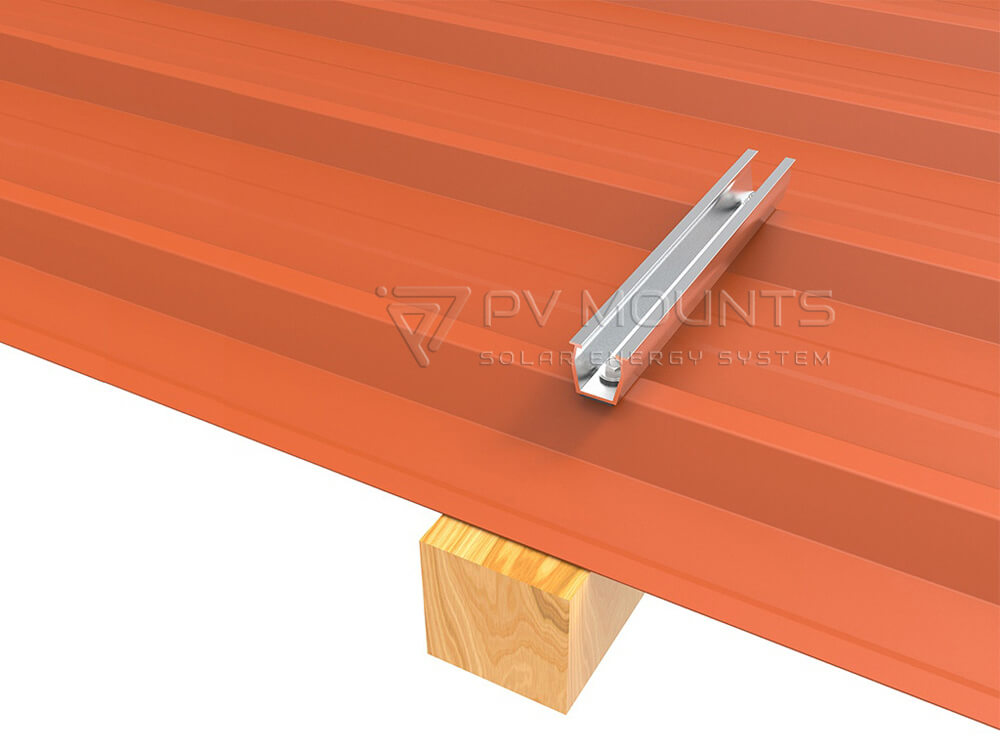
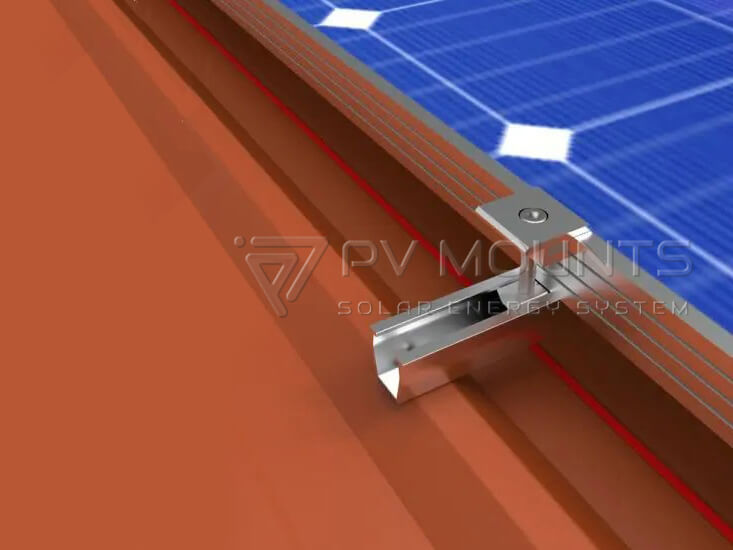
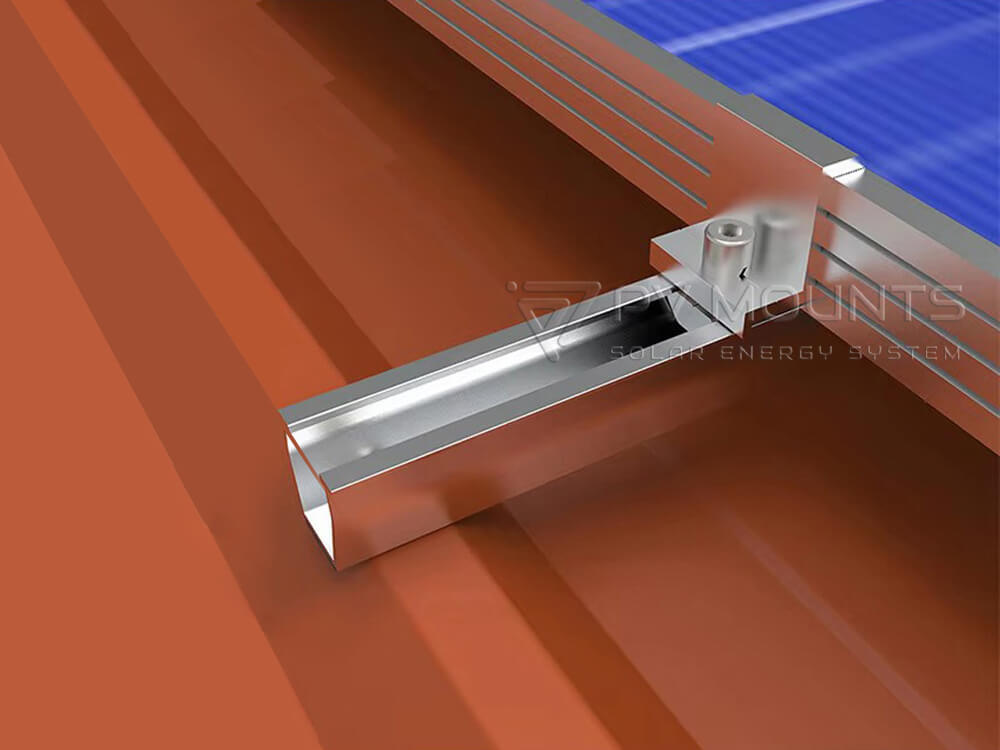
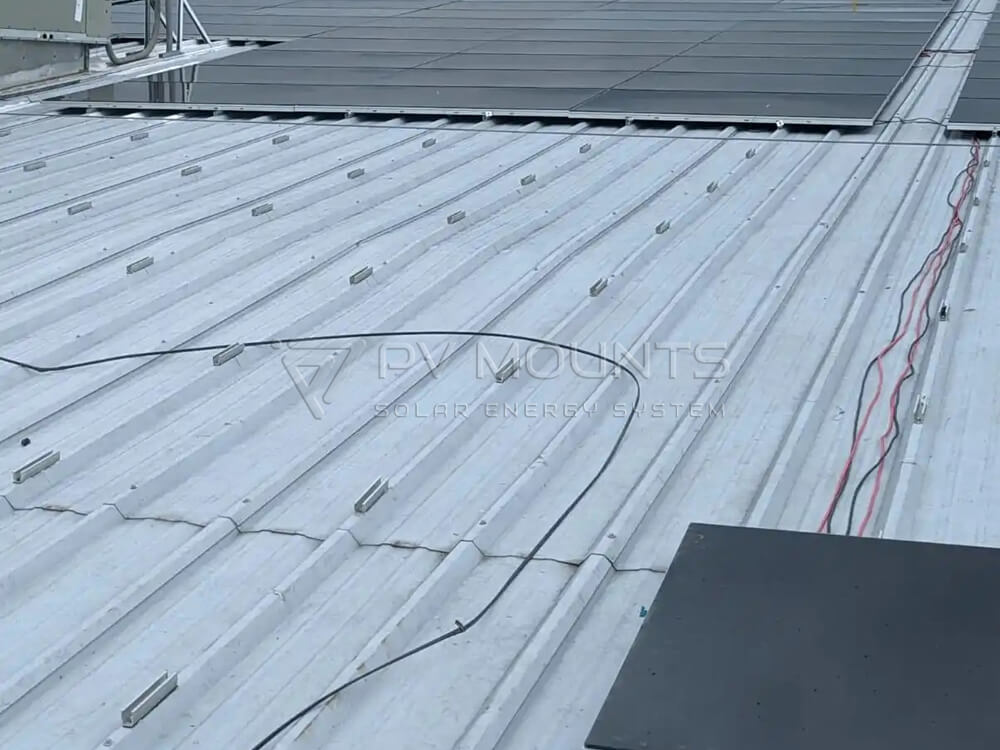
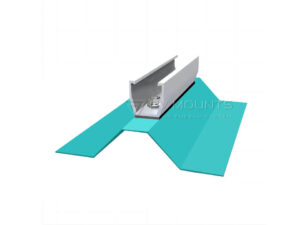
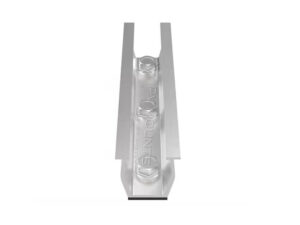
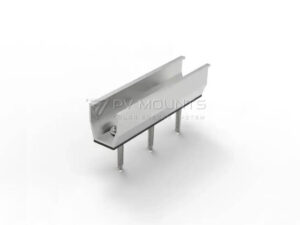
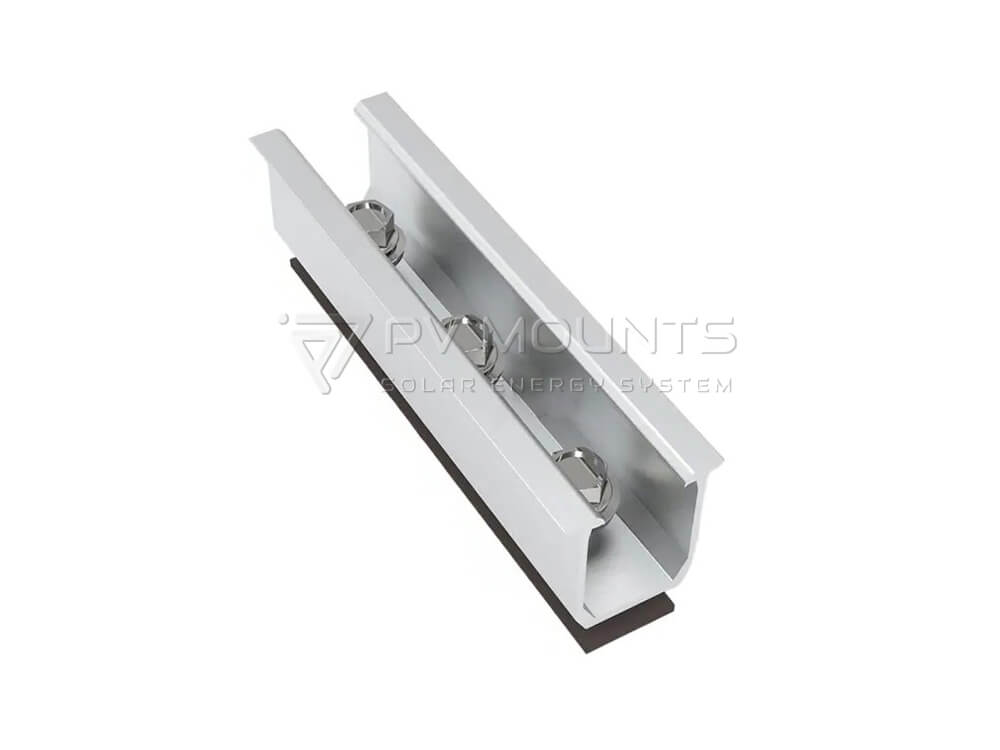
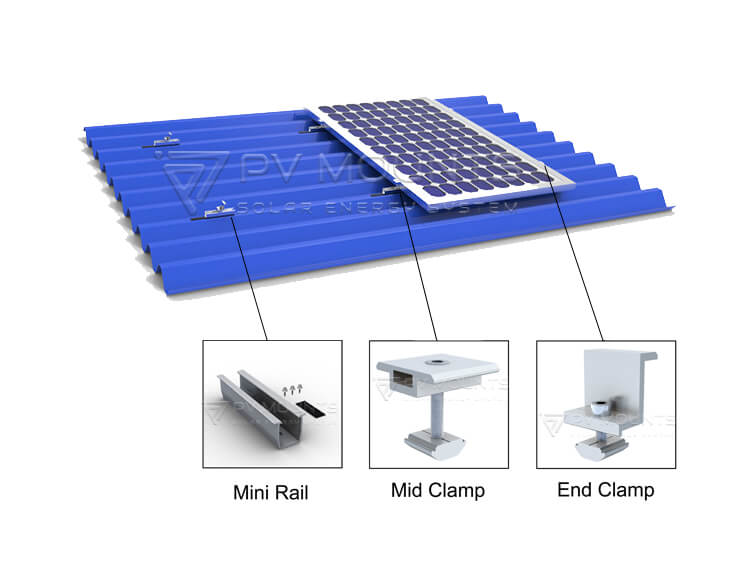
Place the U-shaped mini rail across the roof ribs according to your module size and mounting layout.
Ensure the rail is aligned parallel and level to maintain the correct tilt and spacing.
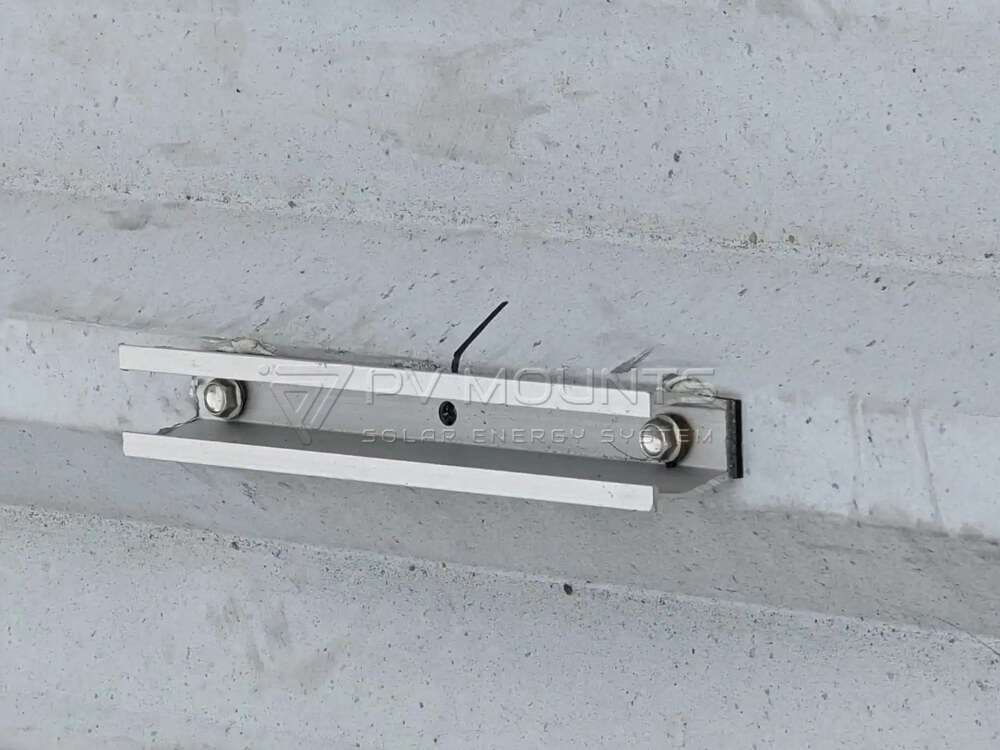
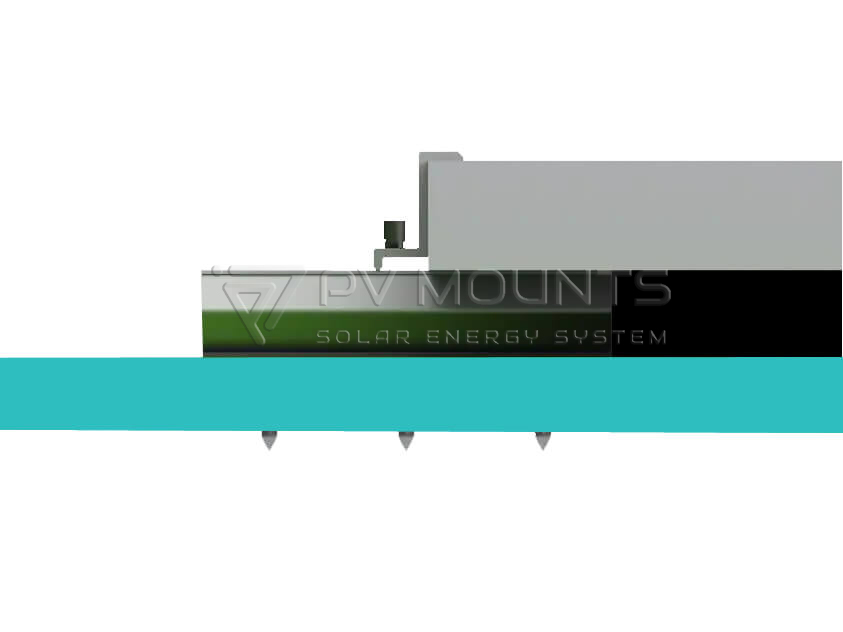
Use parafusos auto-roscantes (with EPDM sealing washers) to fasten the mini rail directly onto the roof sheet rib.
Tighten using a torque wrench, but do not overtighten to avoid deforming the roof panel or striping the screw thread.
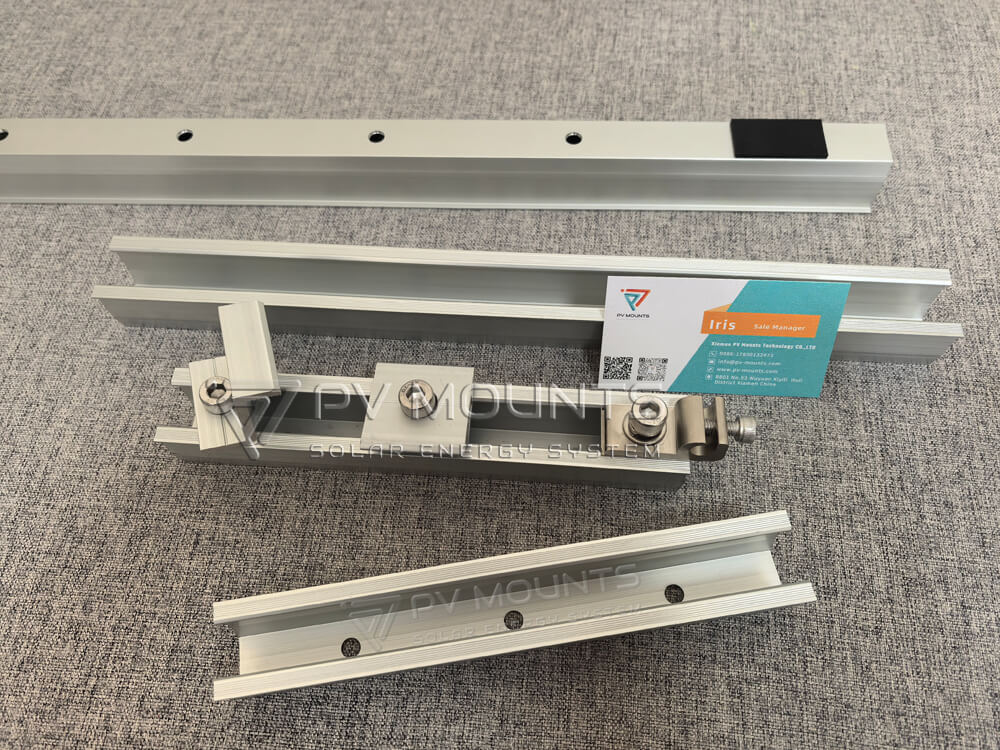
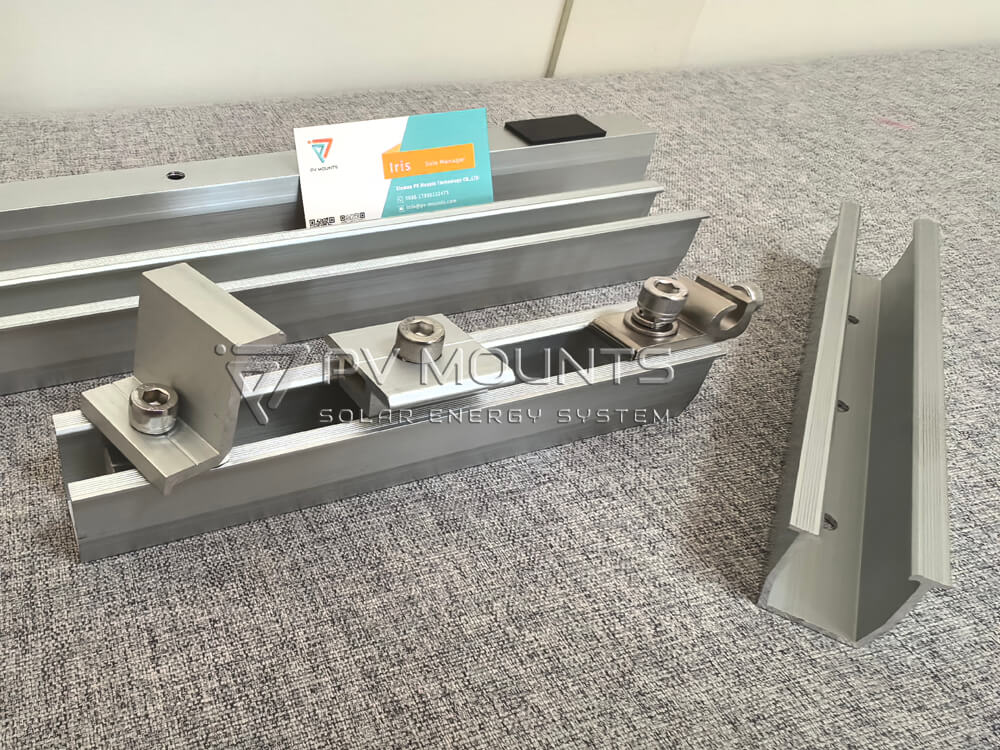
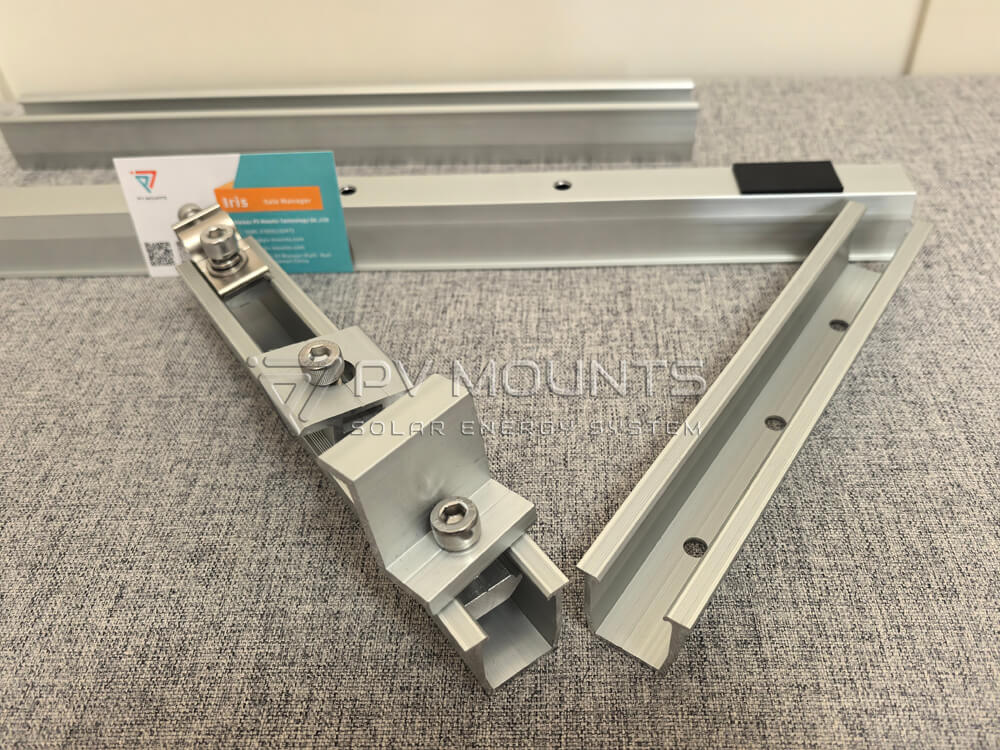
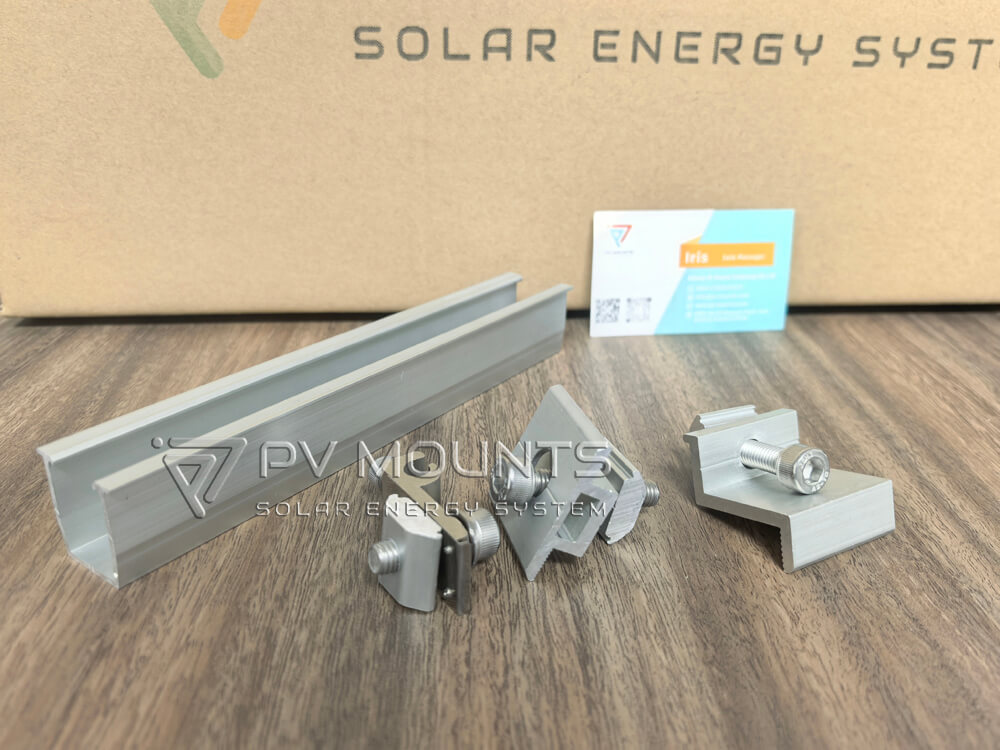
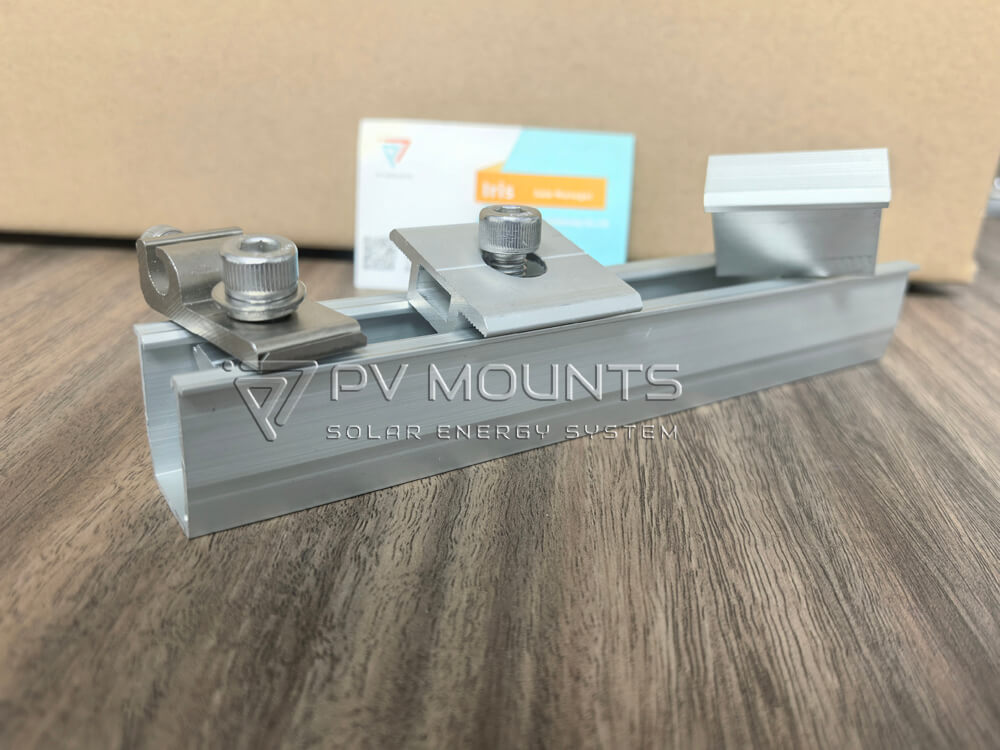
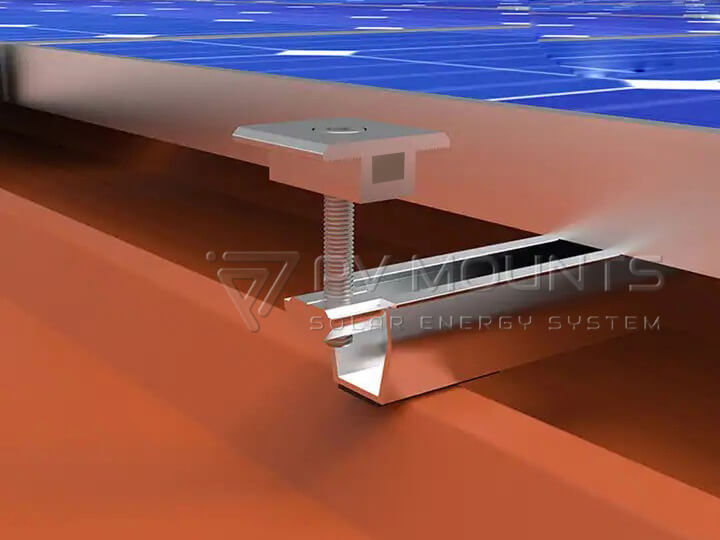
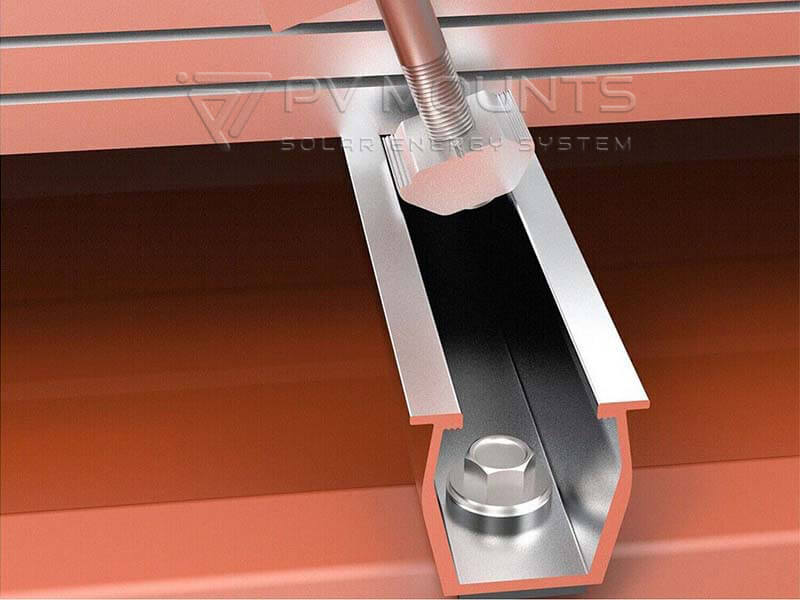
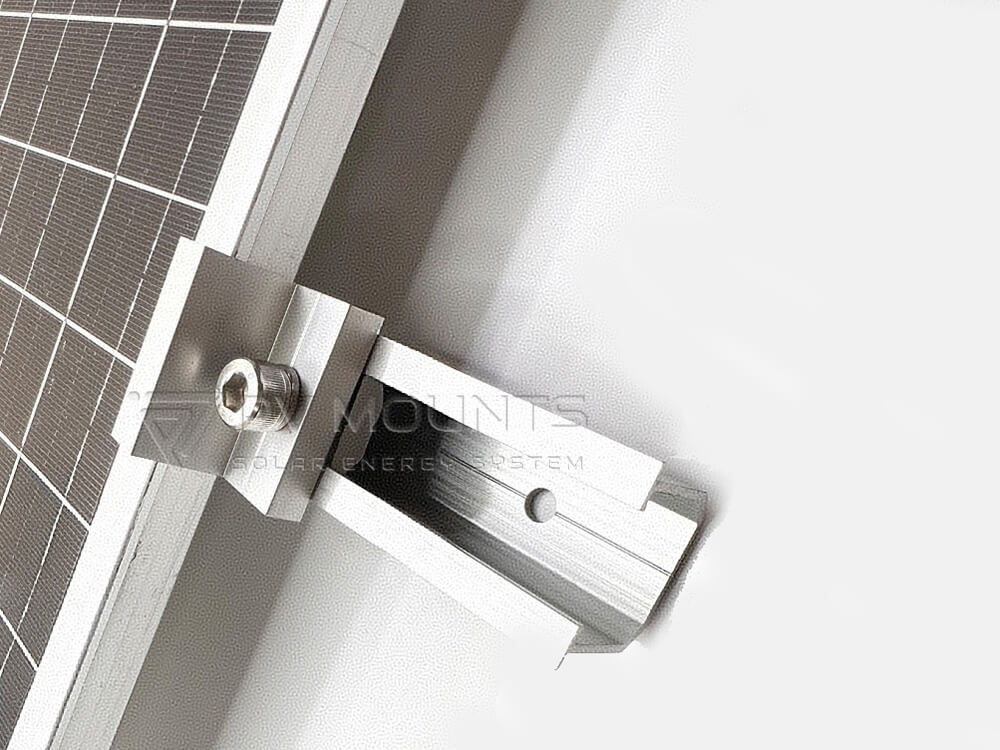
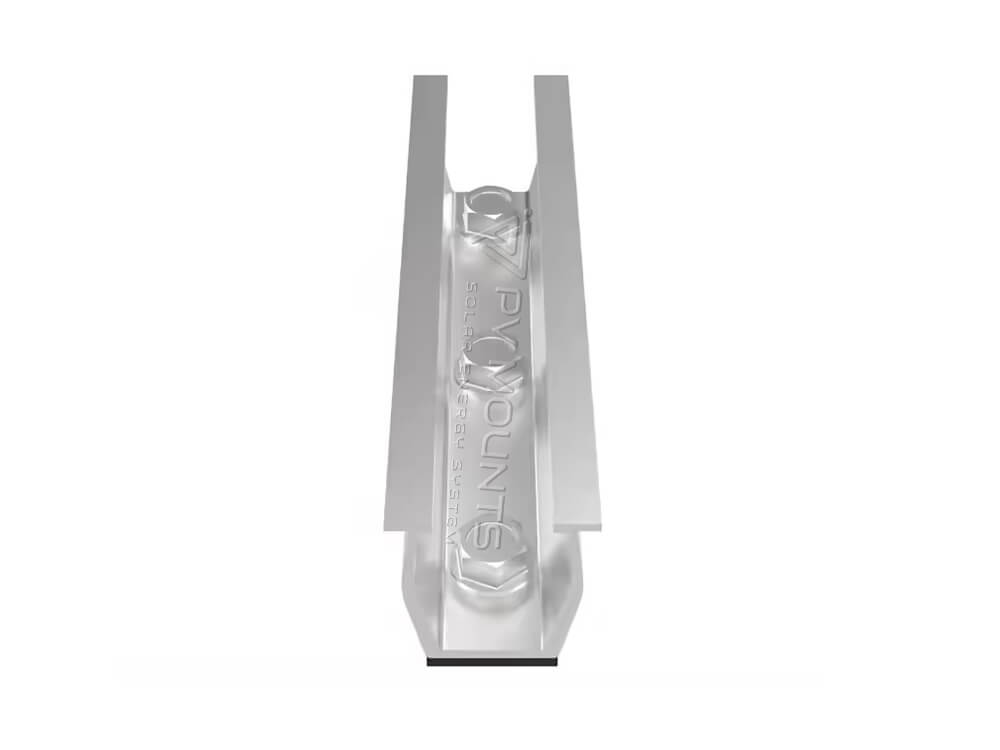
Slide the mid/end clamp into the U-groove of the rail.
Align with the panel’s mounting holes or frame edge.
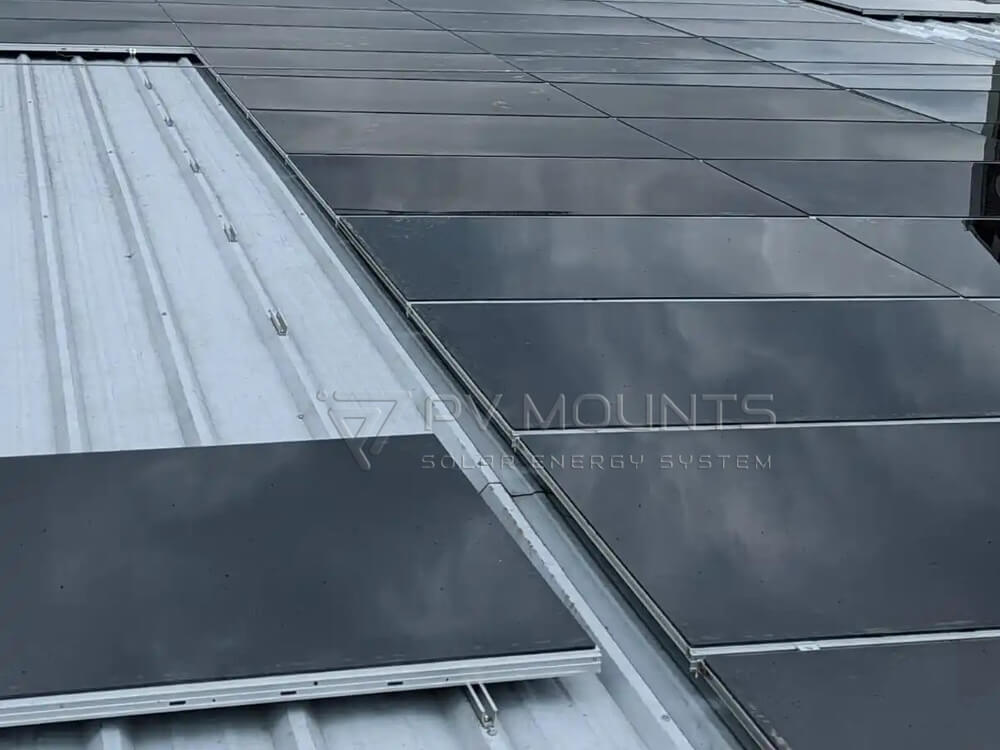
Lift and position the solar panel onto the mounted U rails.
Secure using mid clamps between panels and end clamps at both ends.
Tighten all clamps to the recommended torque setting.
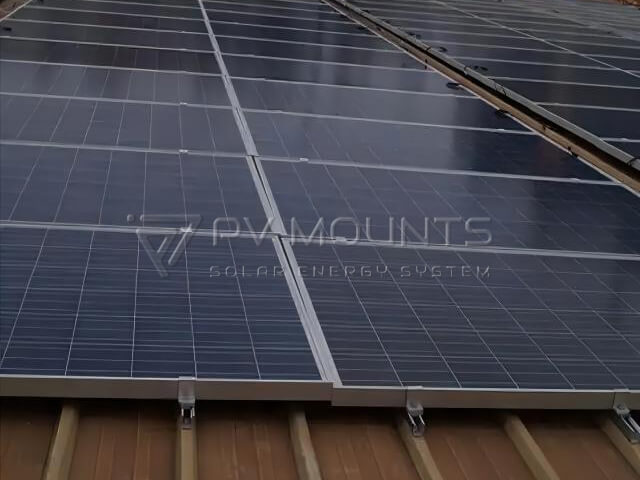
Double-check all clamps and screws for tightness.
Ensure the panels are straight, evenly spaced, and firmly secured.
Clean any debris or metal shavings from the roof area.
Repeat the above steps across your roof, adjusting for rib spacing (e.g., 2 / 4 / 5 / 8 ribs).
Modular and flexible for fast deployment in large-scale B2B or residential projects.
Pre-drill holes if working on thicker roof sheets.
Use anti-corrosion paste for fasteners in highly humid or coastal areas.
Always follow local building codes and solar PV mounting standards.
Would you like an illustrated diagram ou installation video script to go with this guide?
One stop manufacturer specialized in solar mounting system and components for your solar mount projects.
PVMOUNTS has all kinds of solar mounting accessories designed for using on almost every roof and ground with excellent compatibility. Customized order is acceptable.
We can produce different solar panel mounted components including but not limited in: