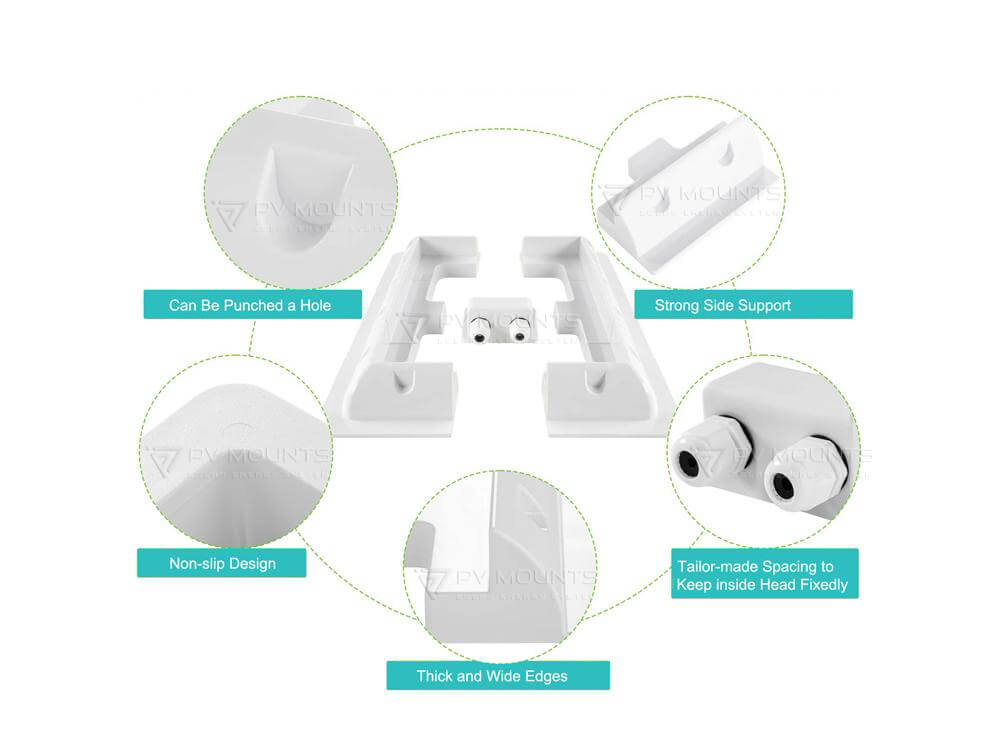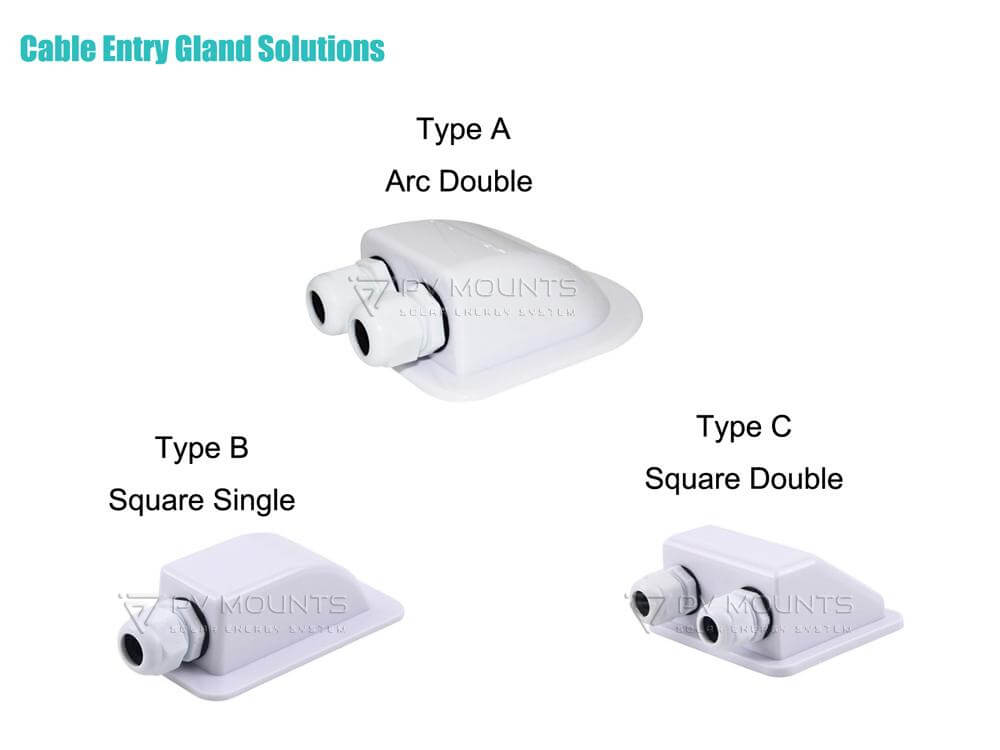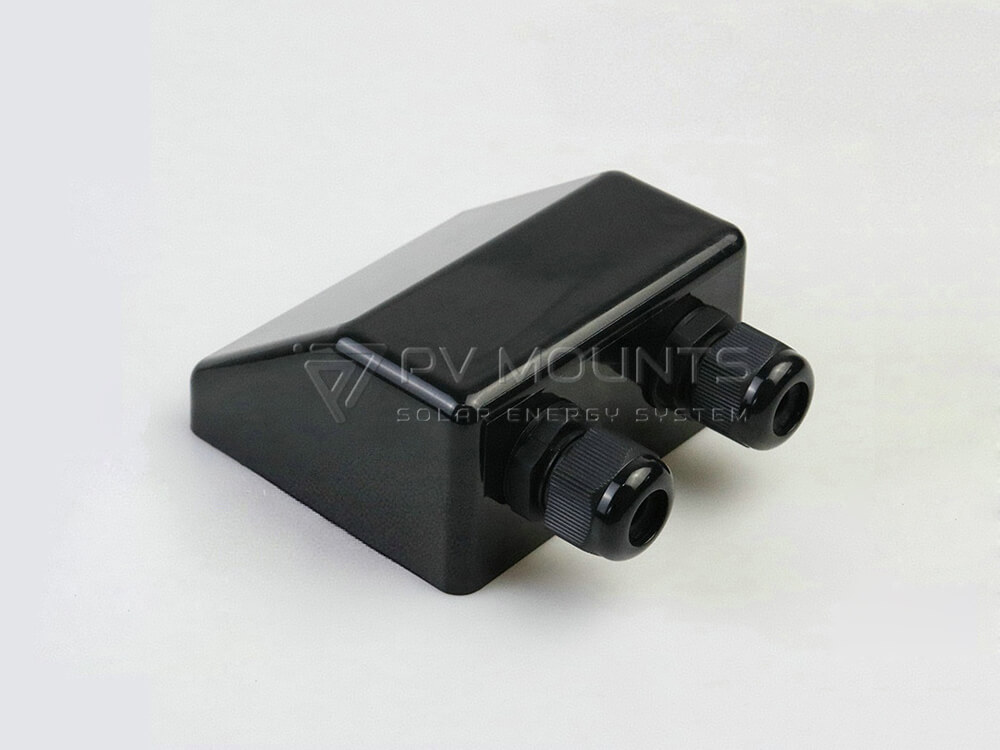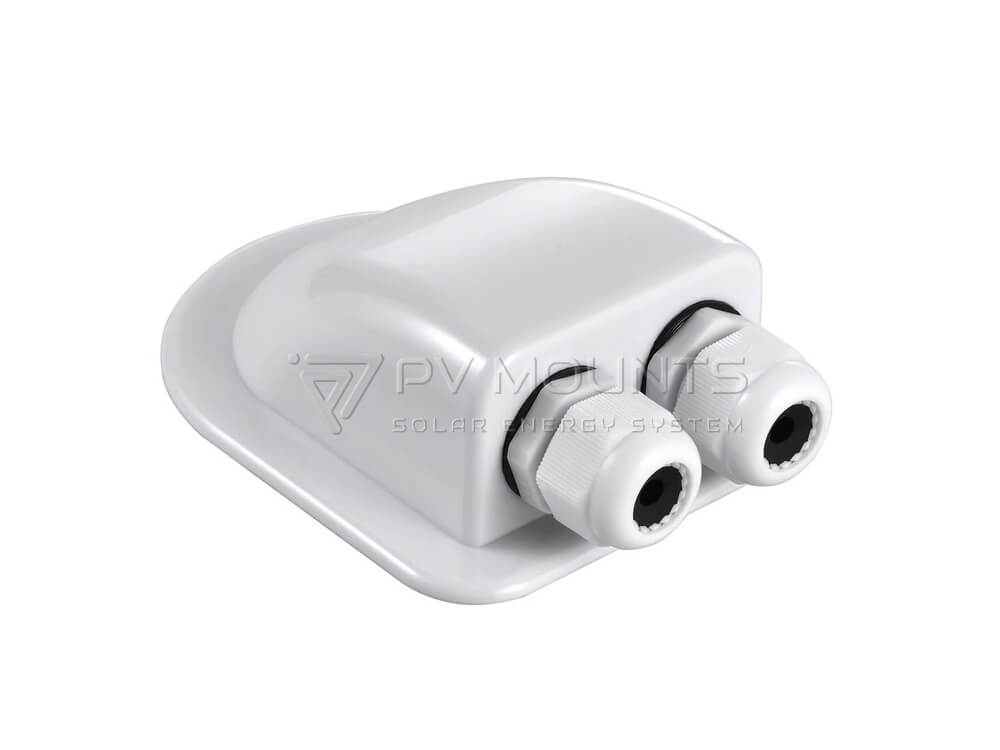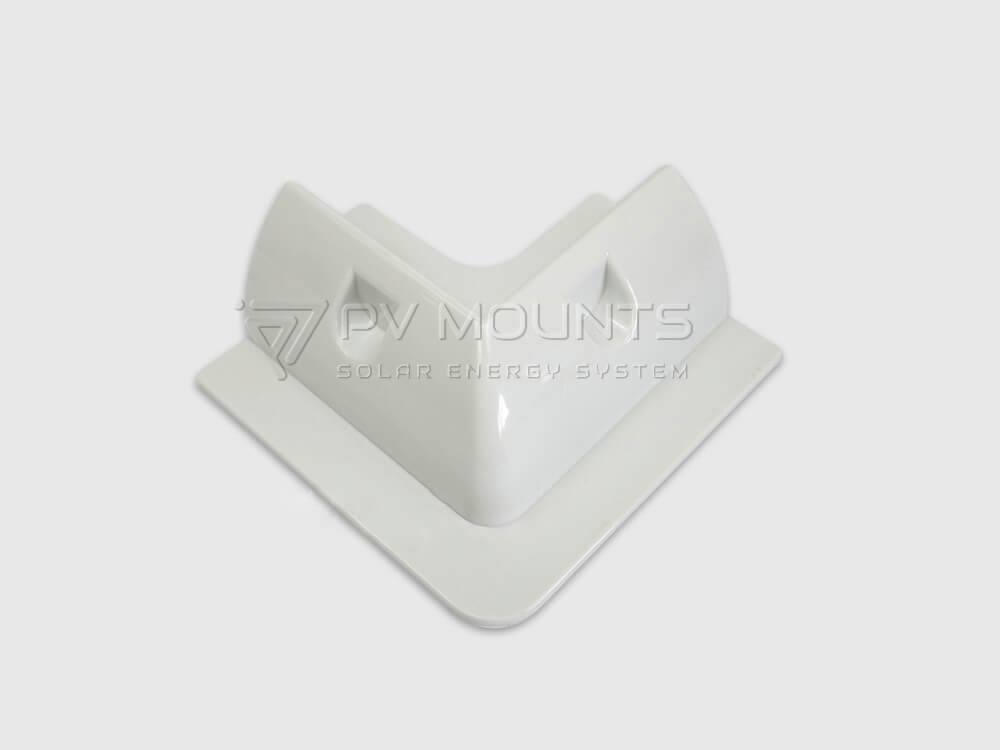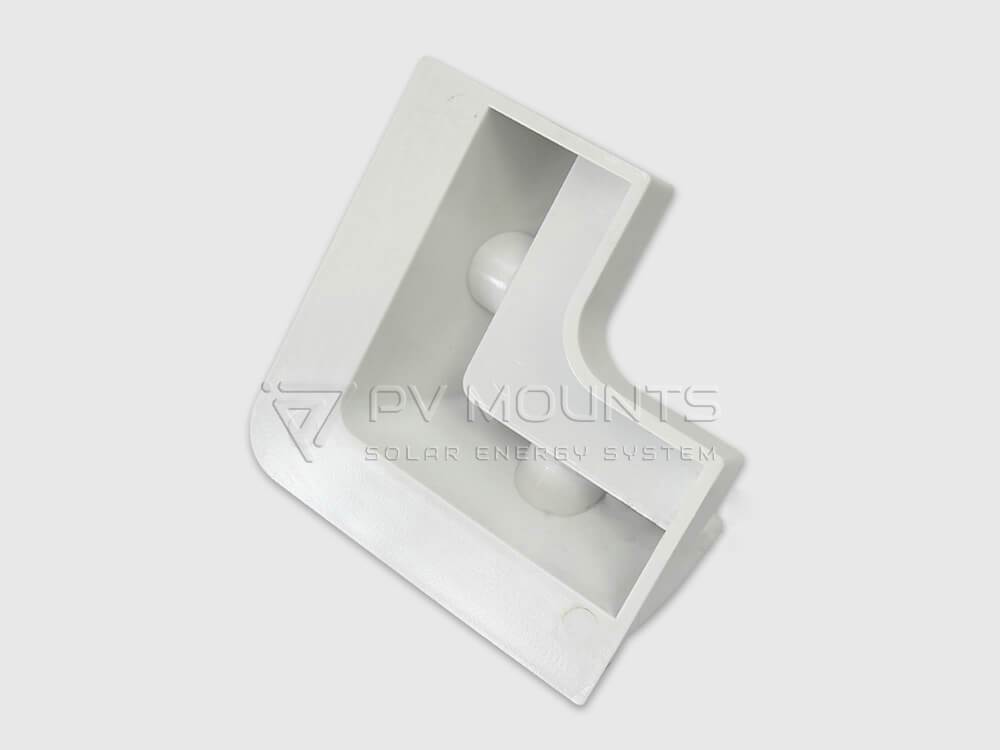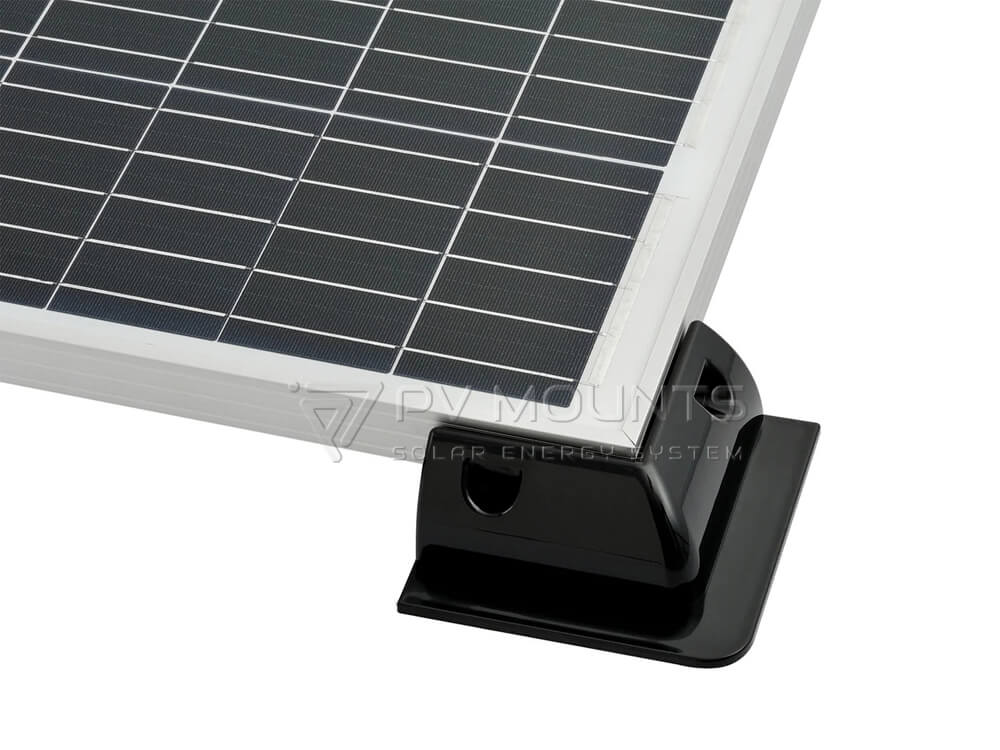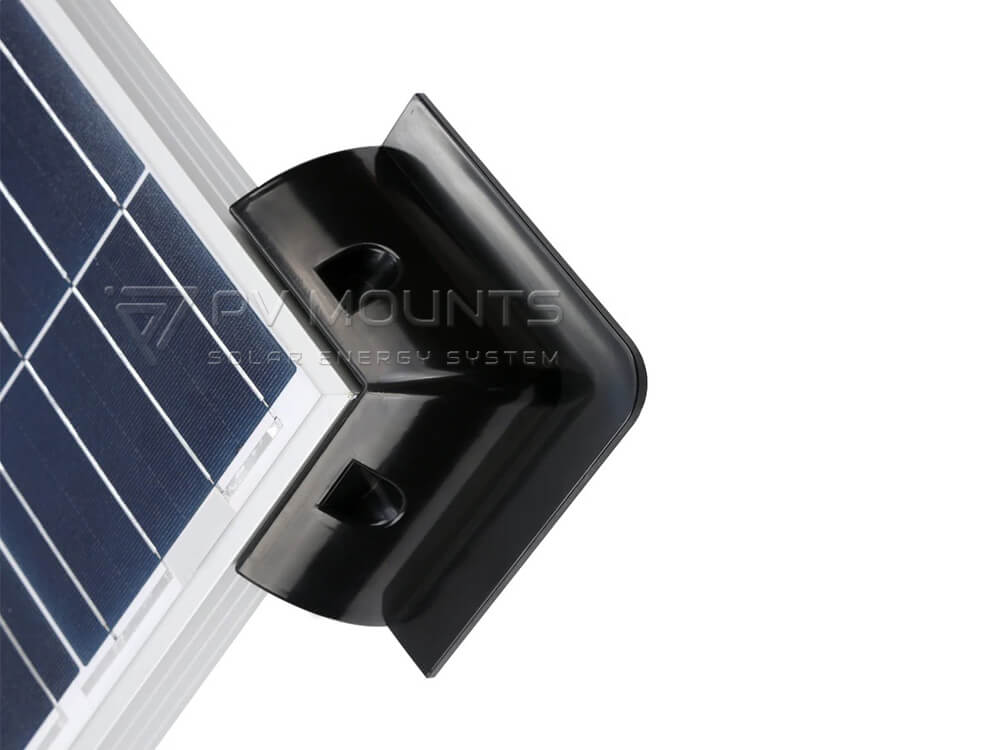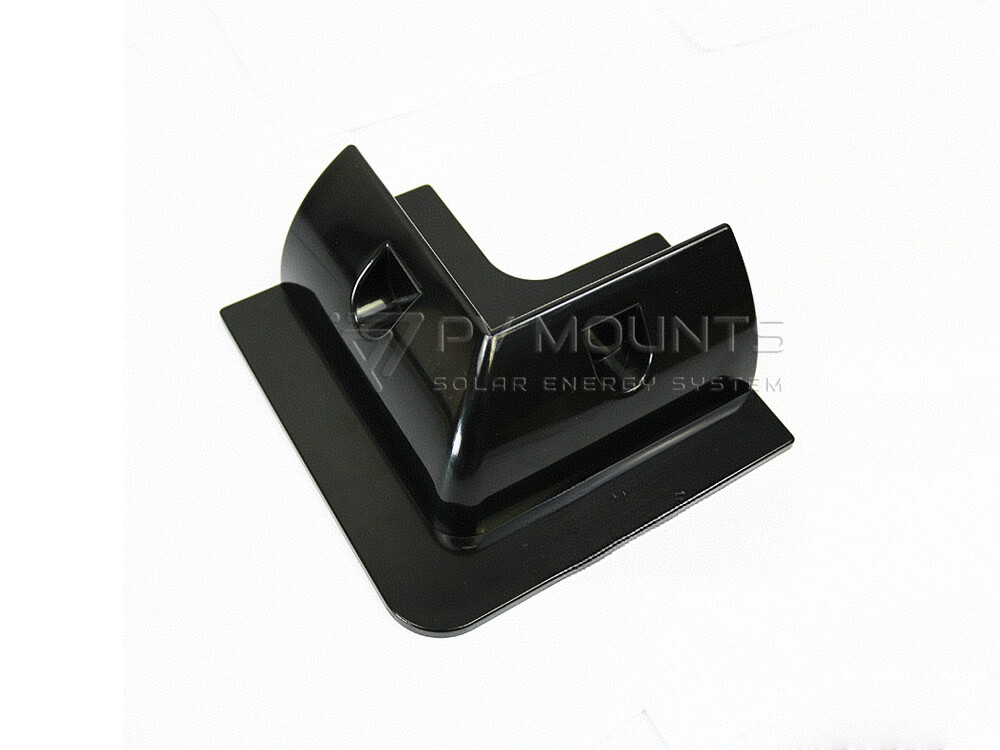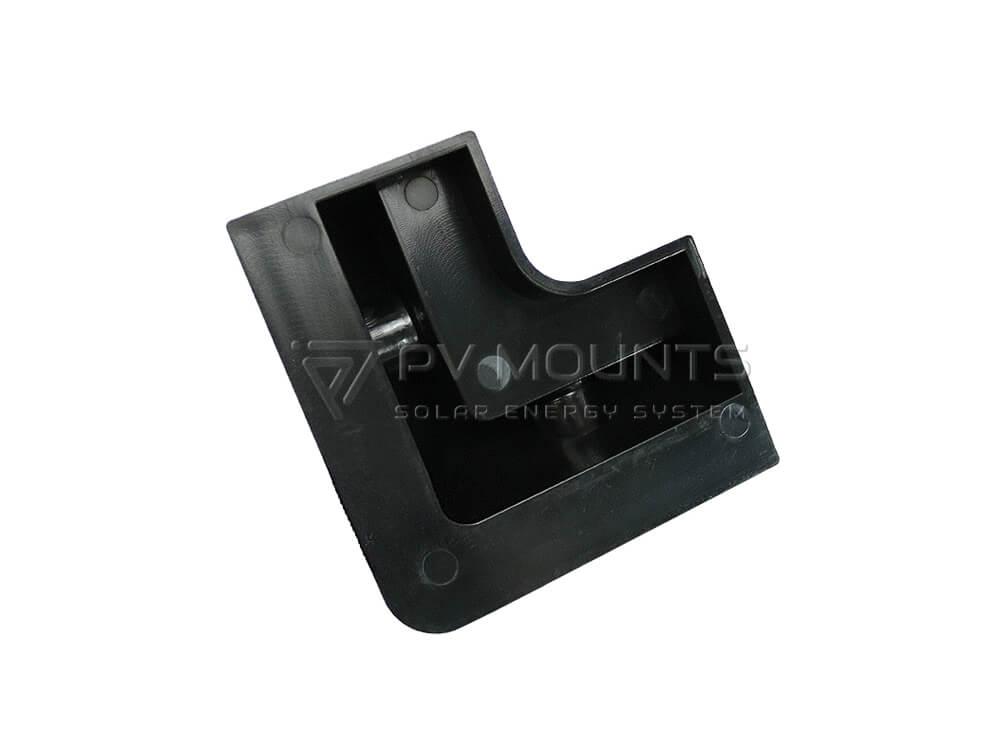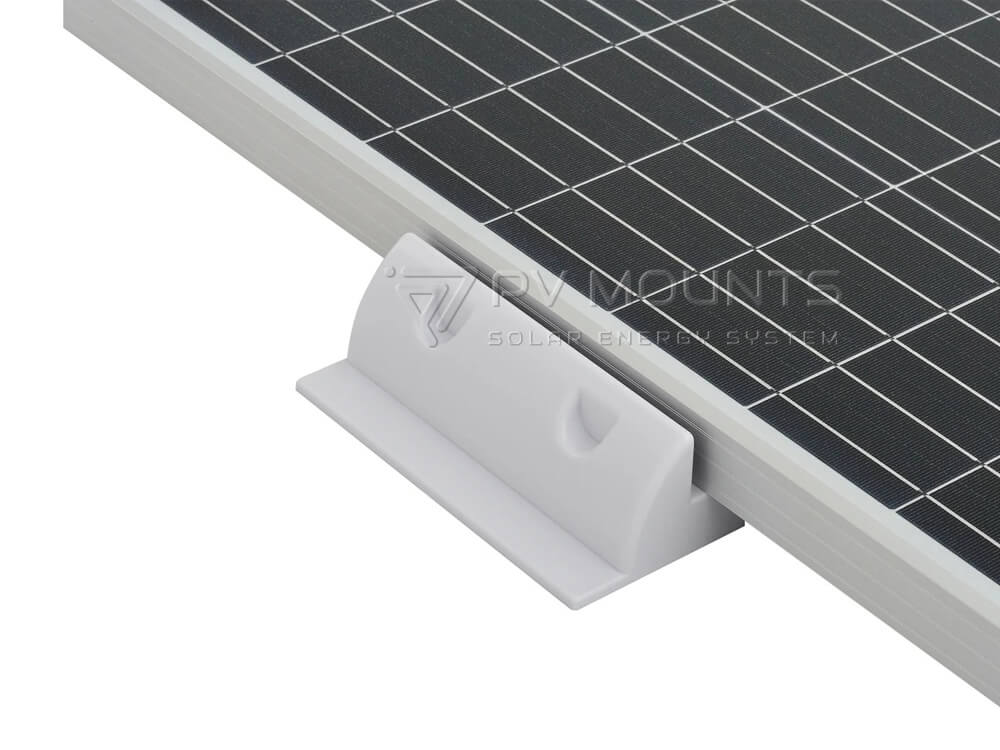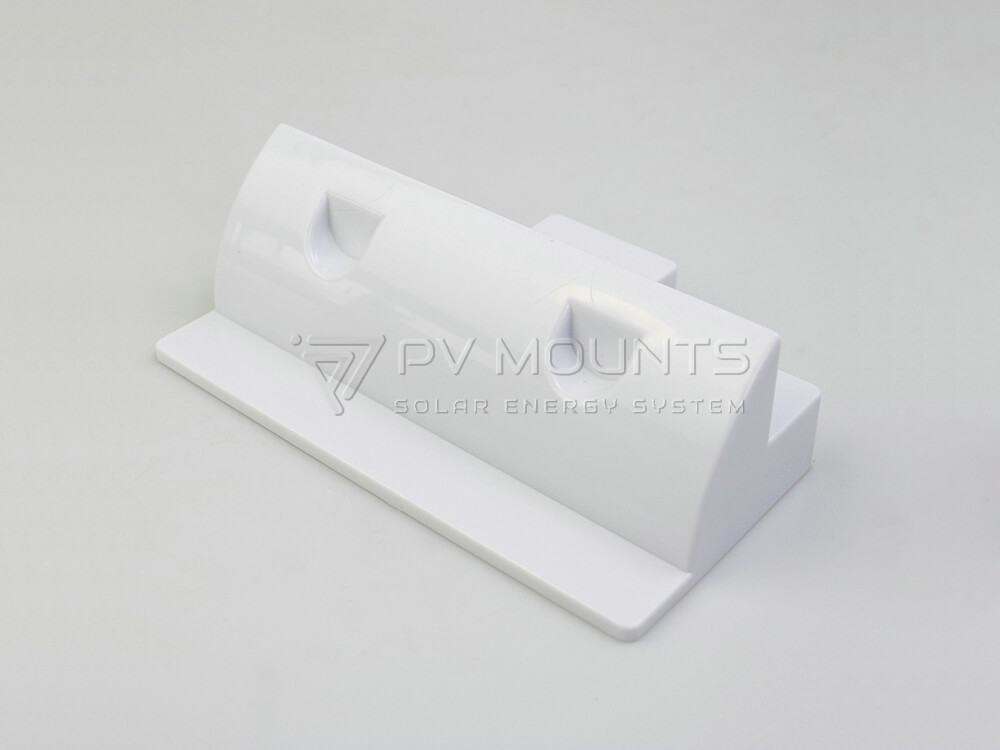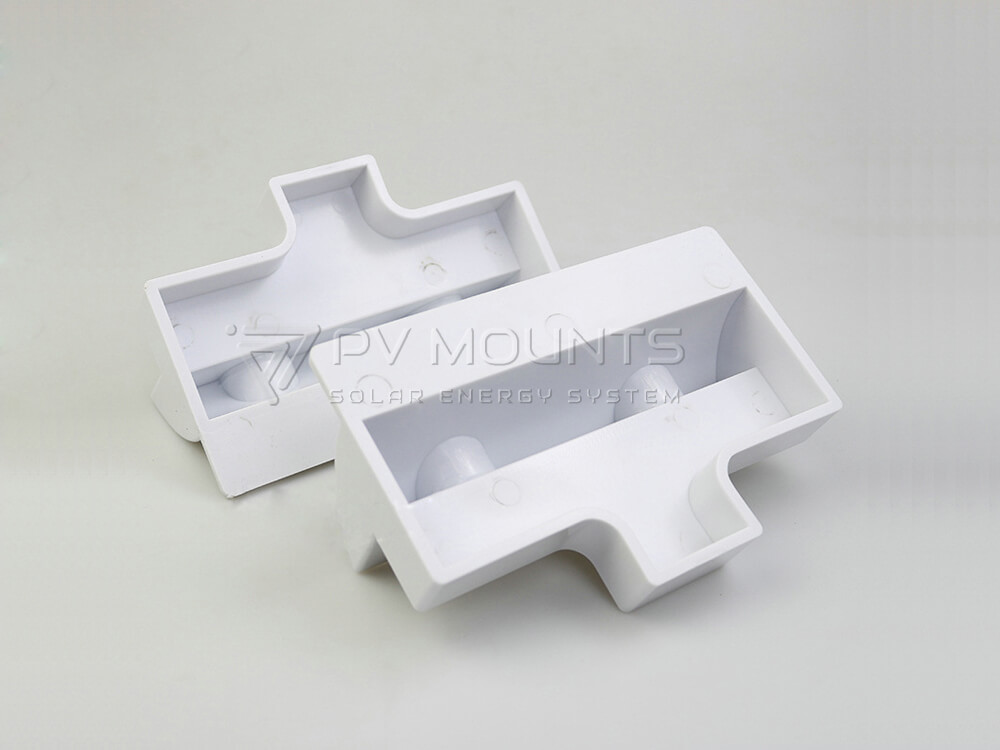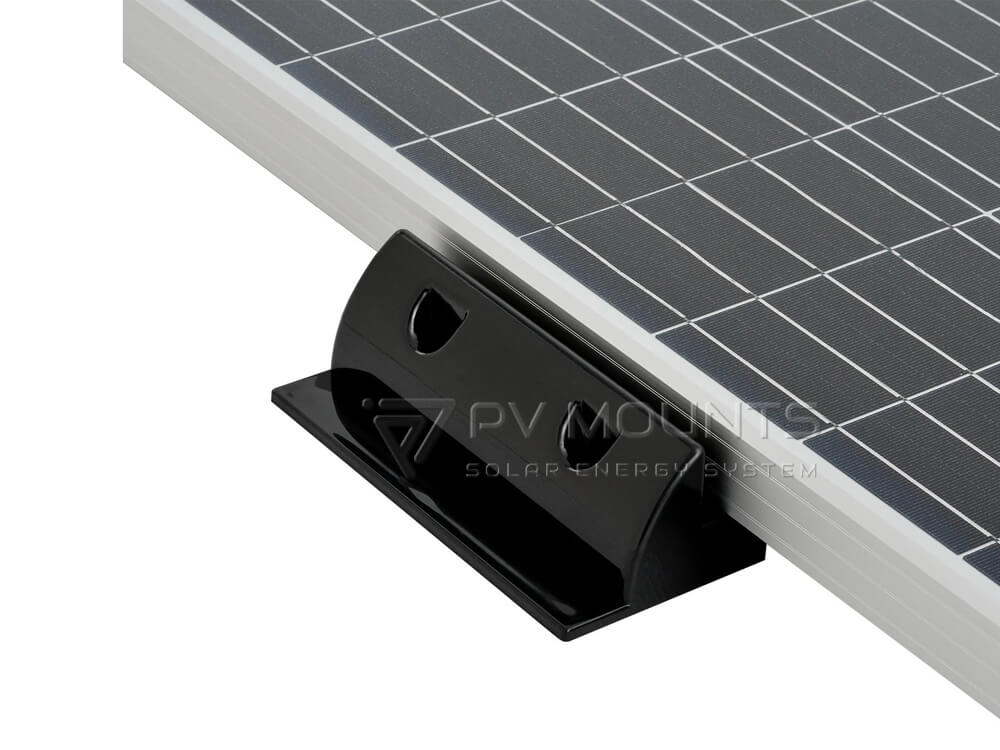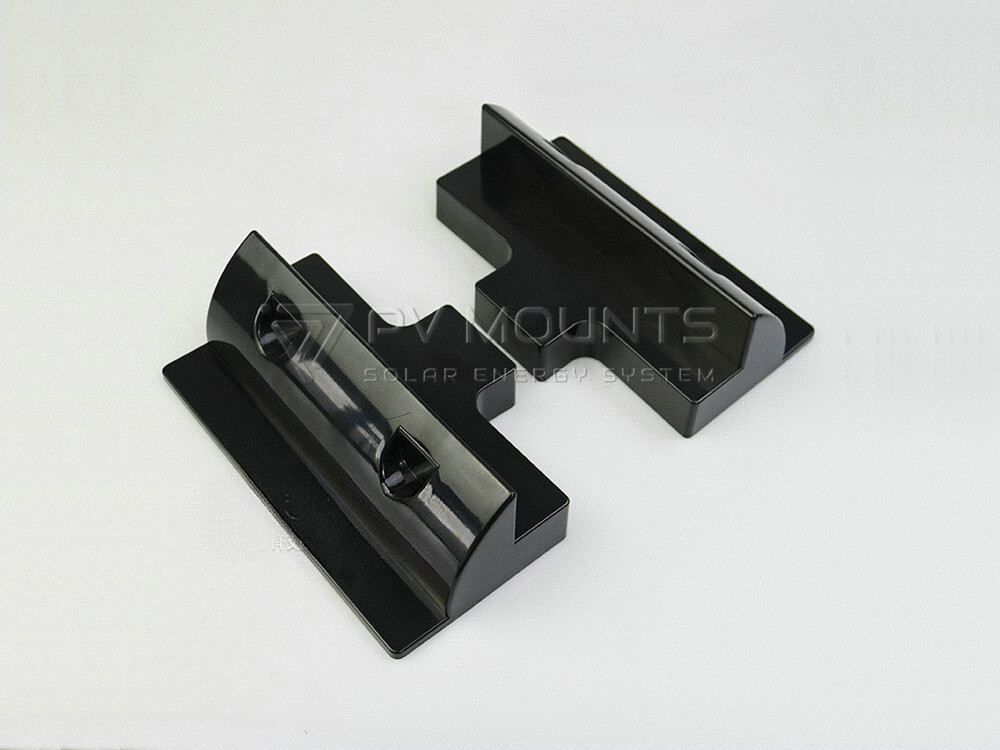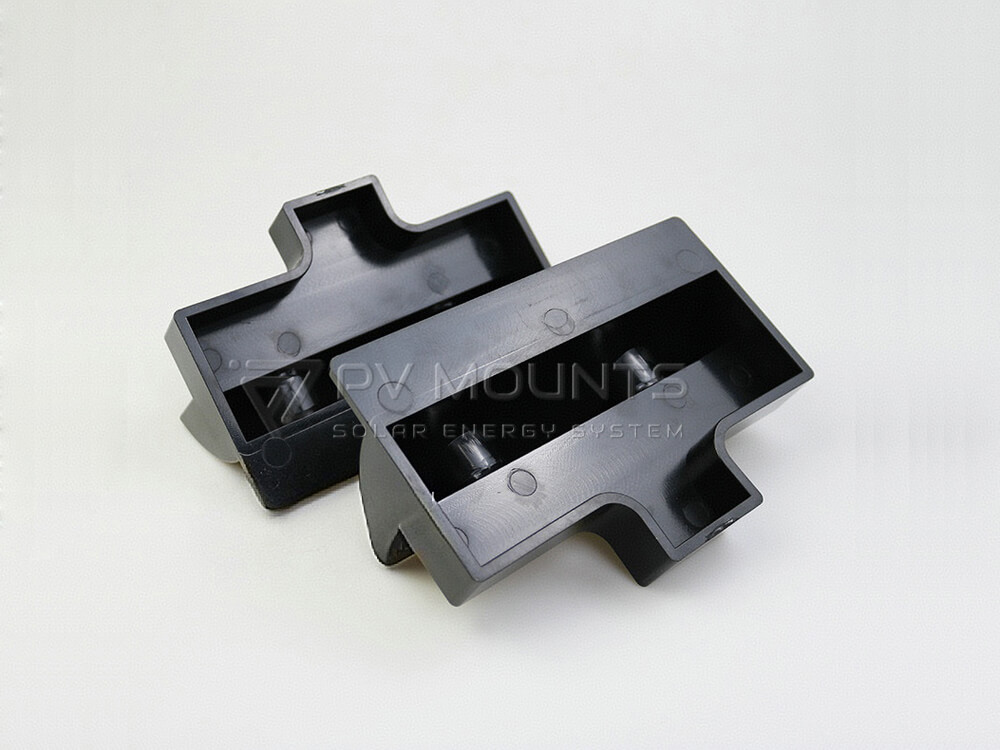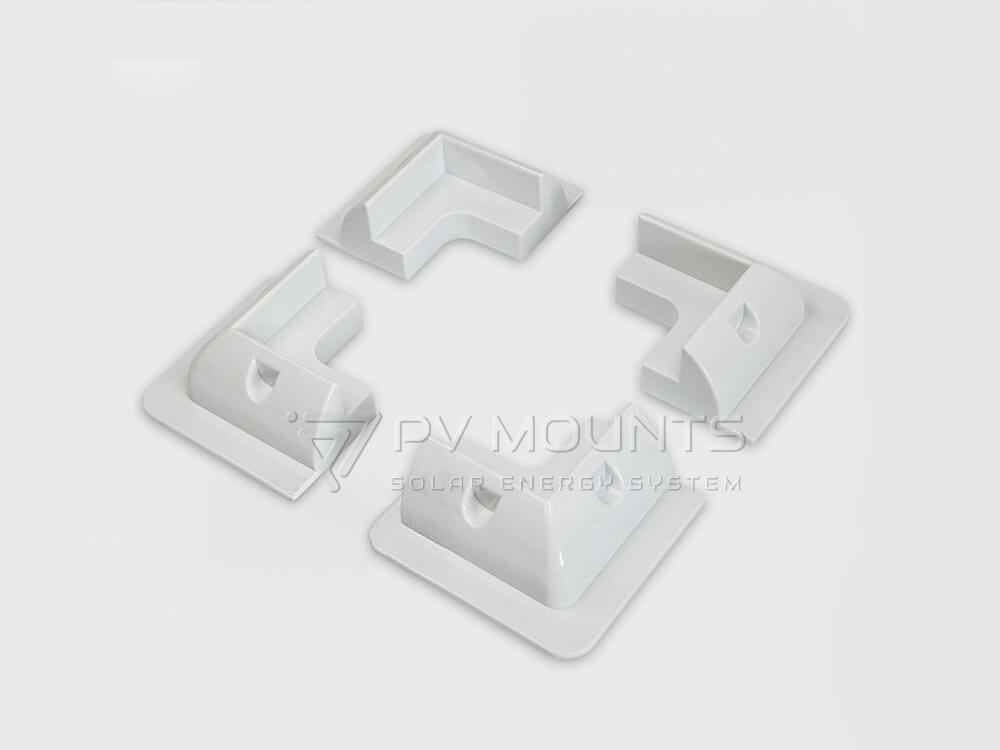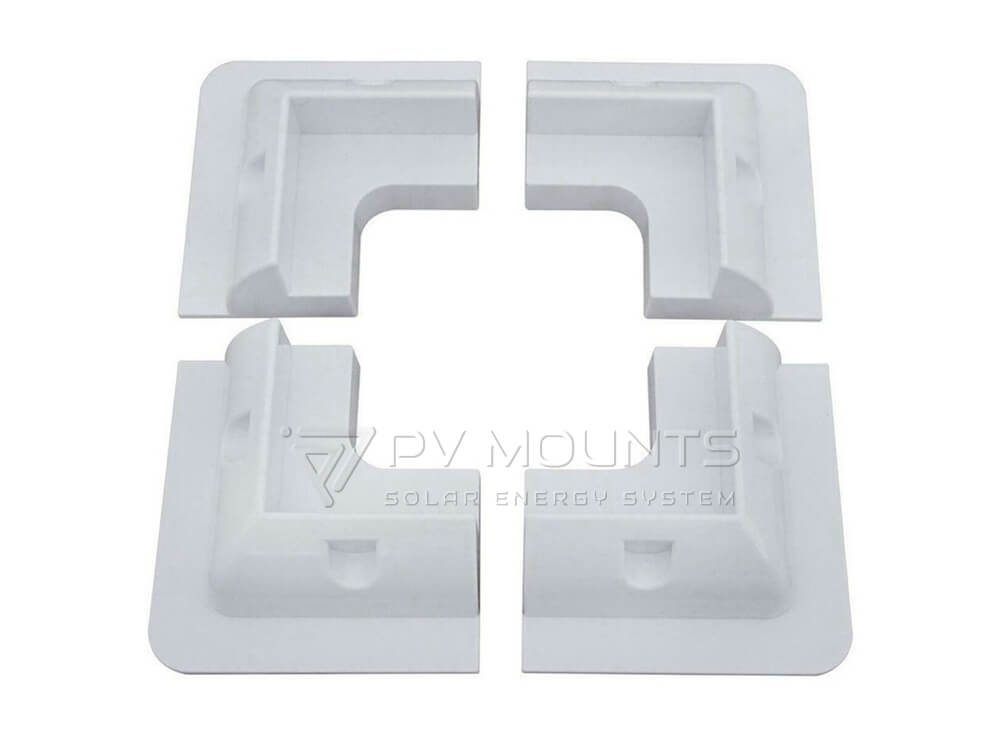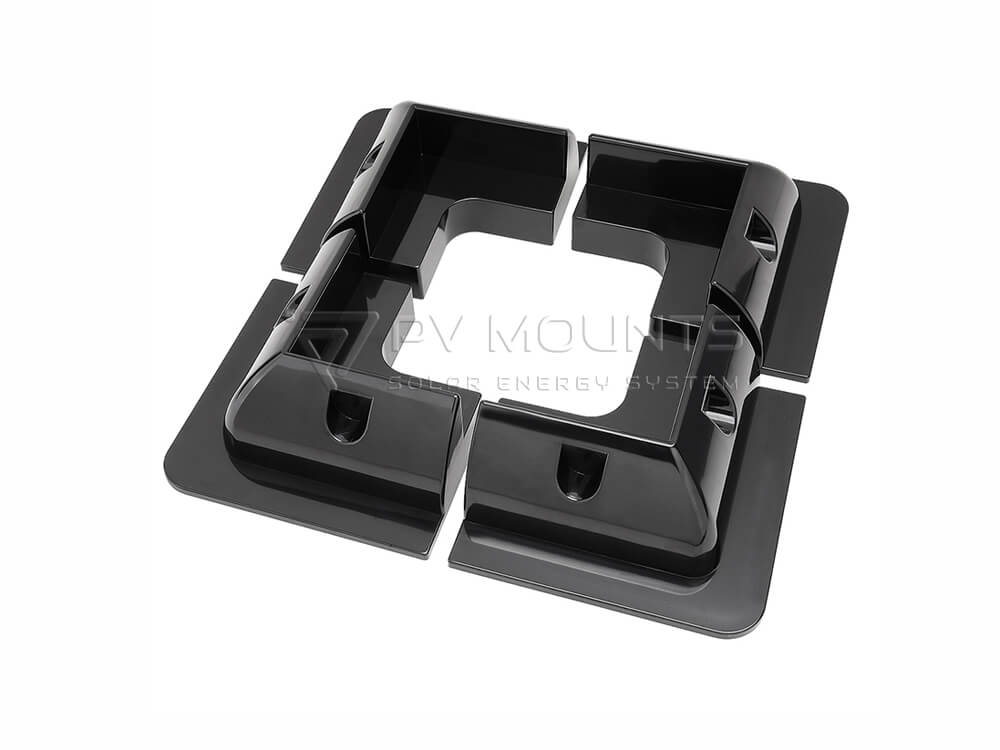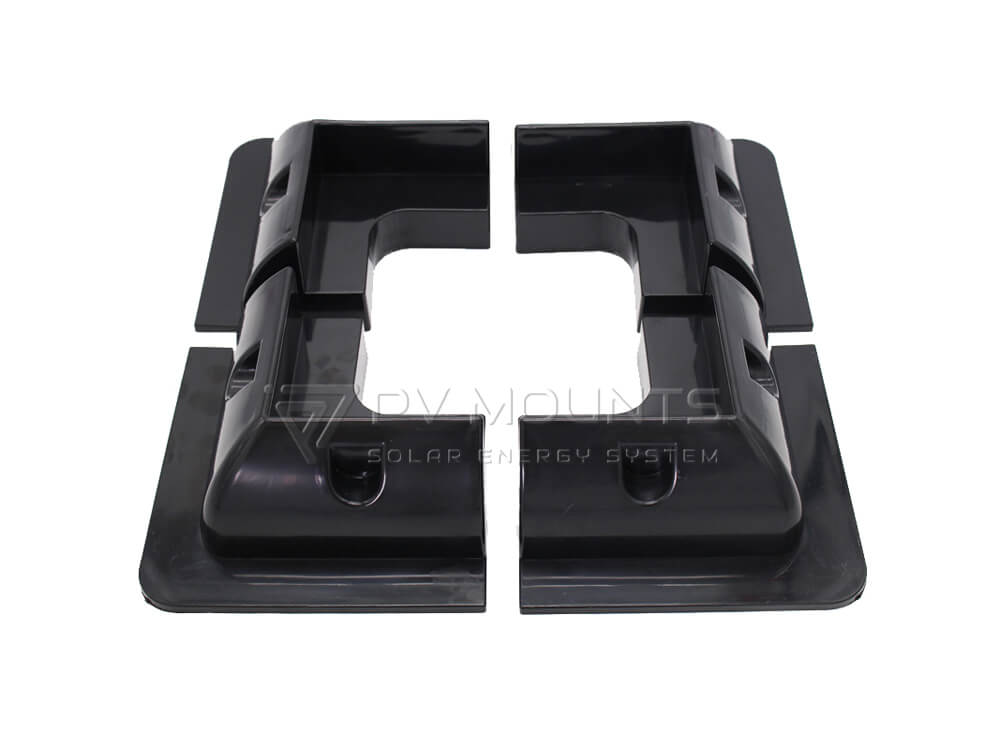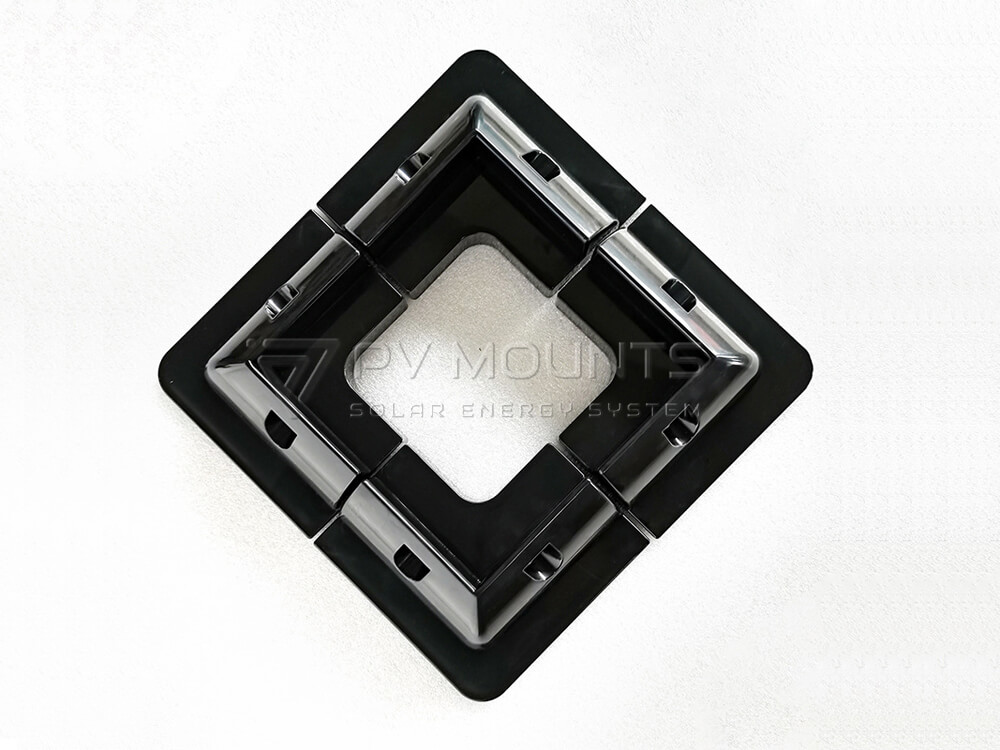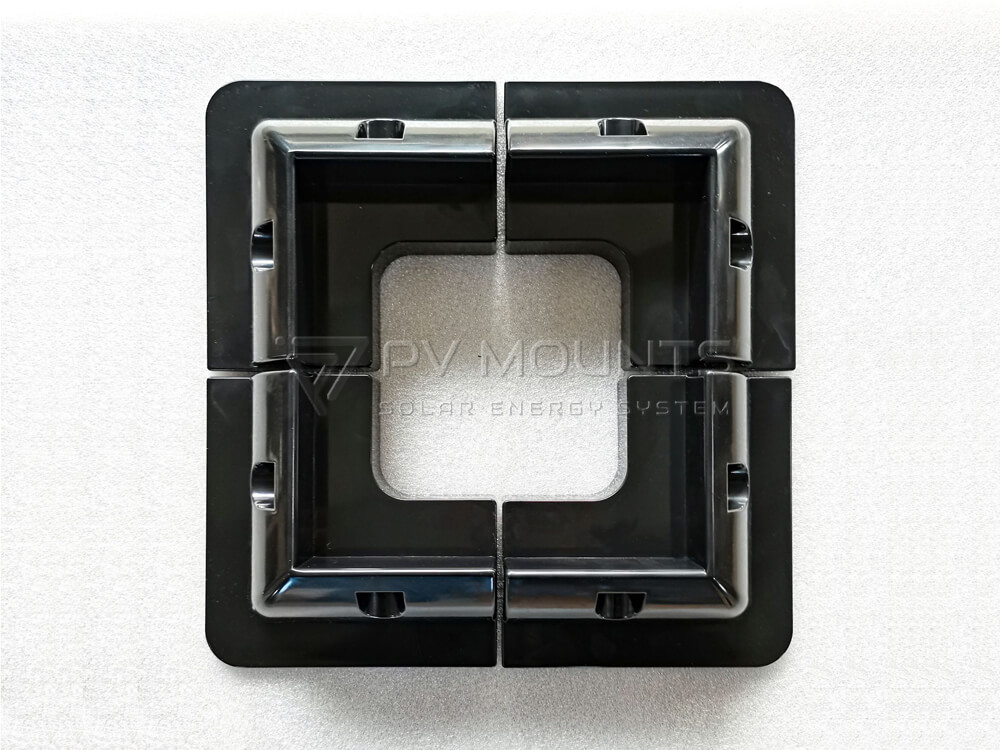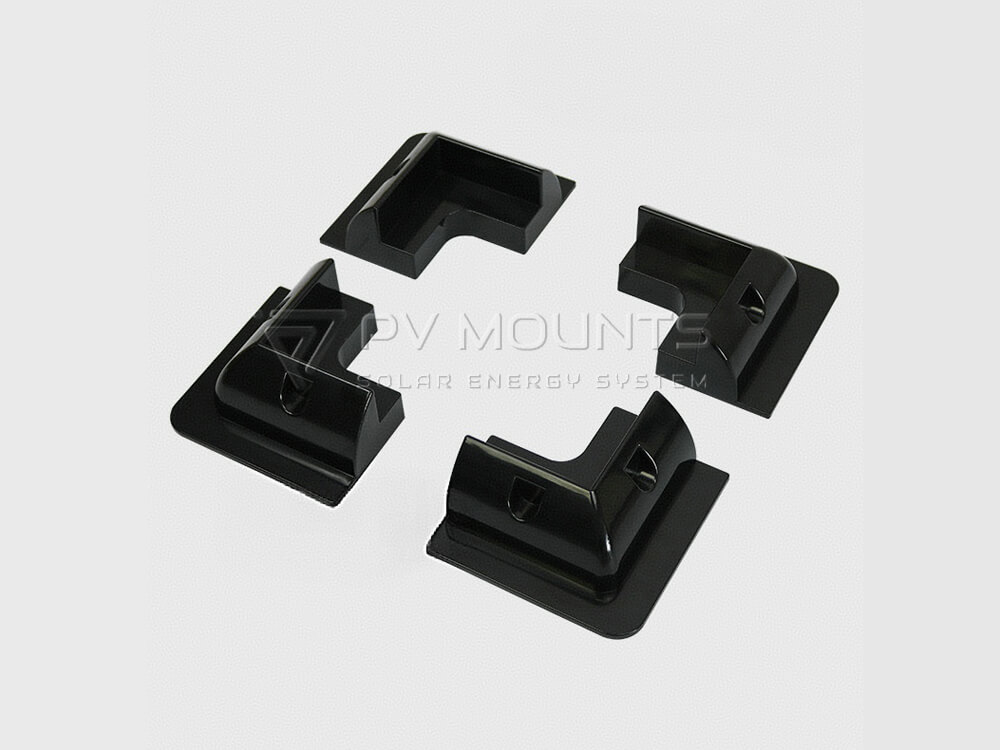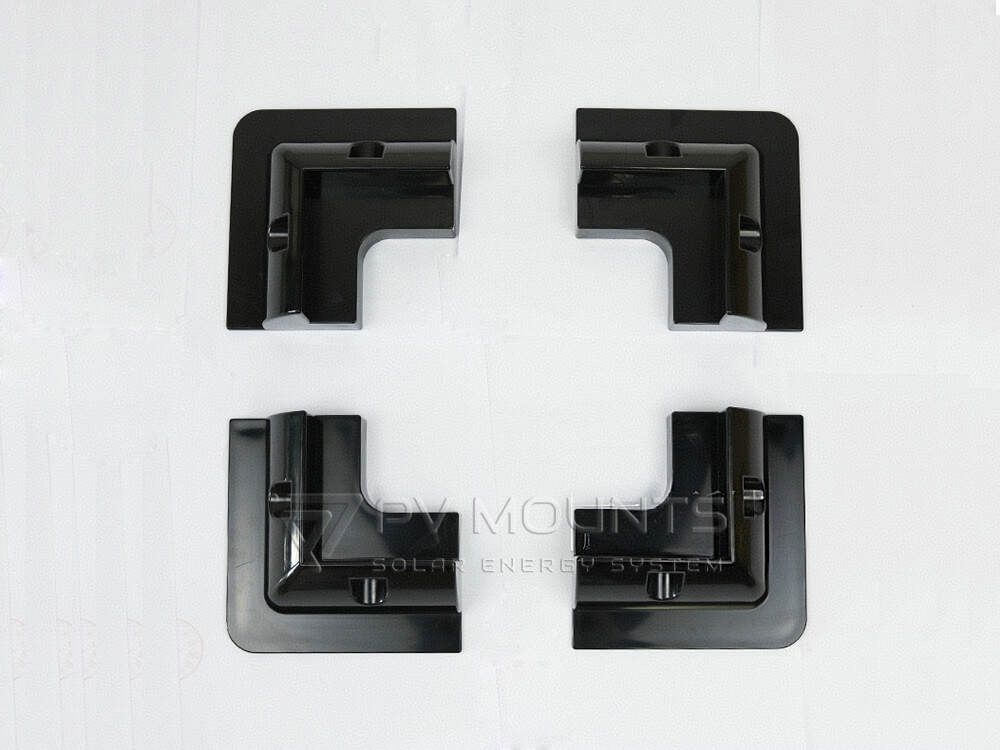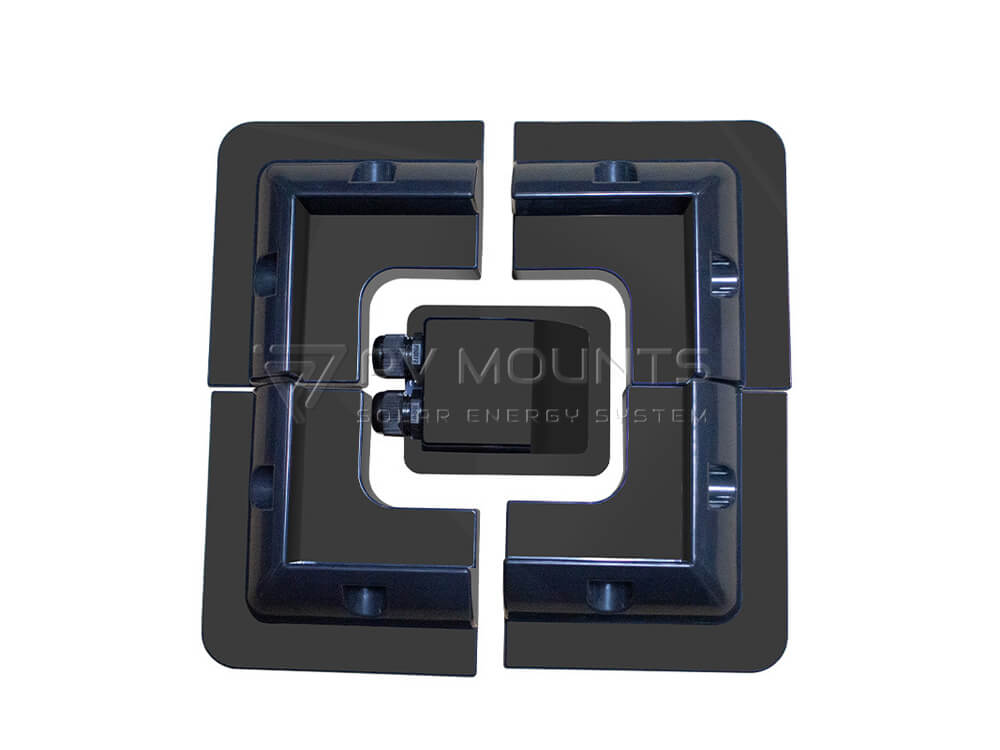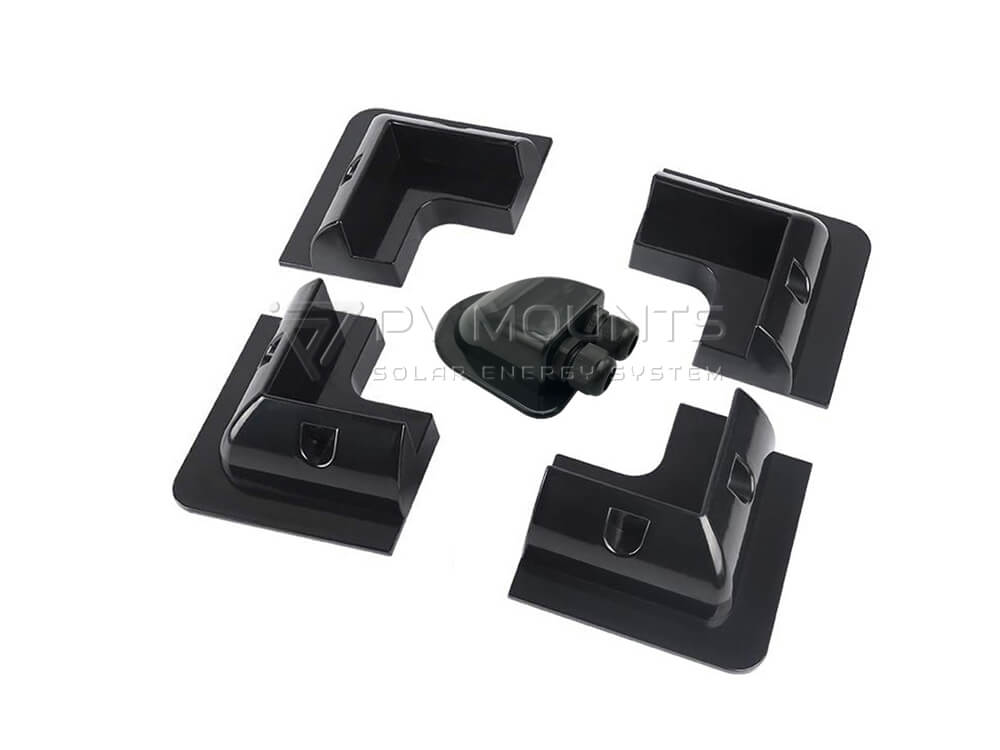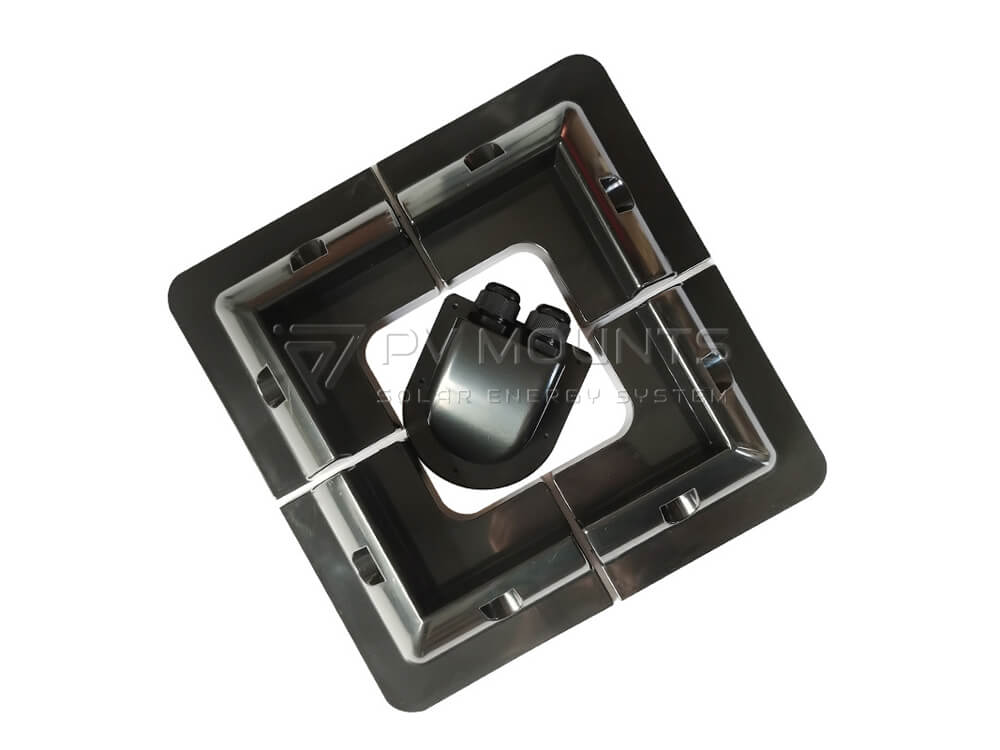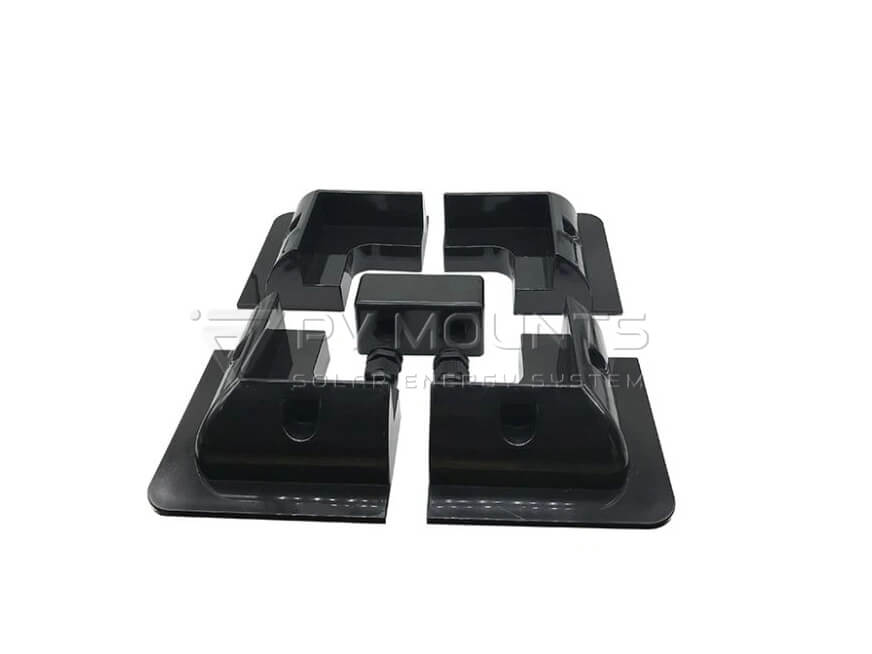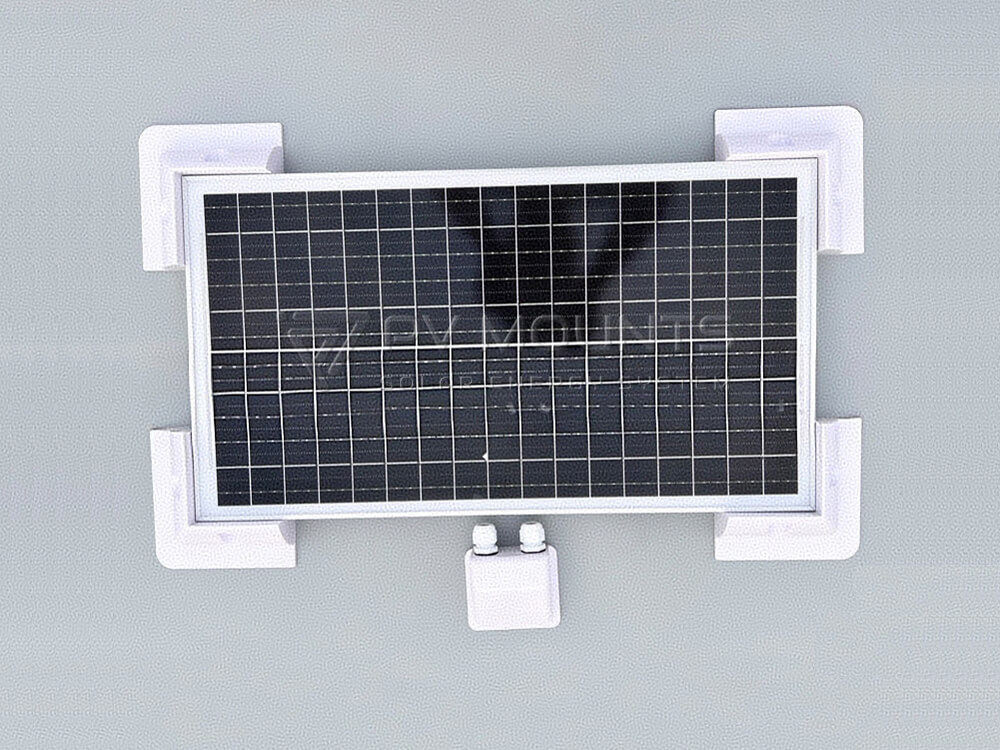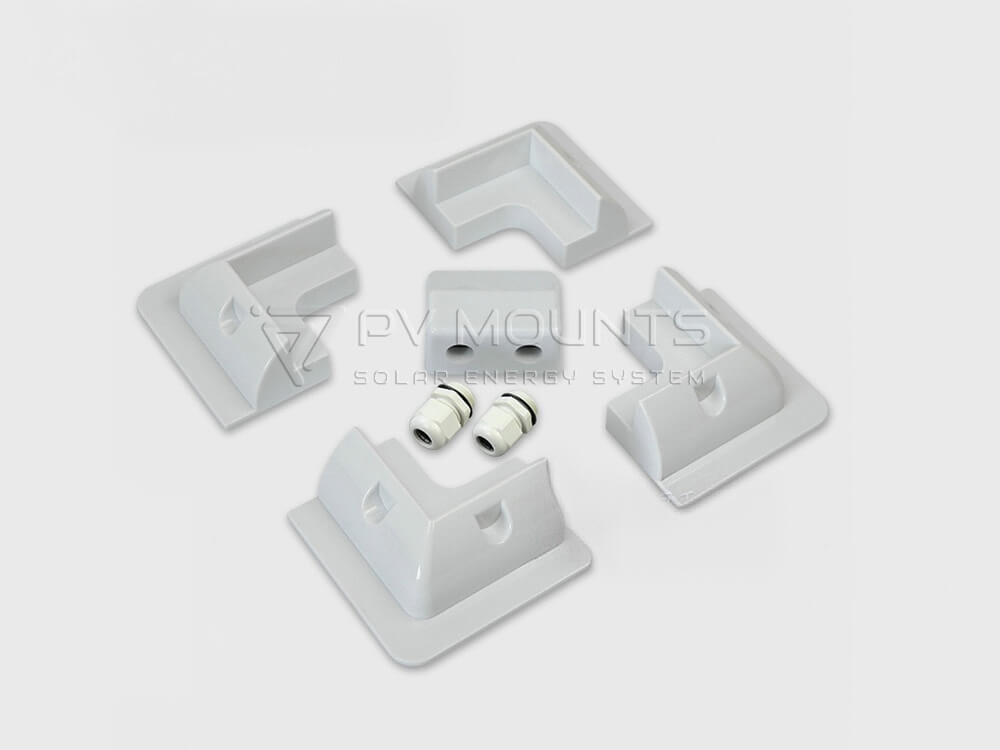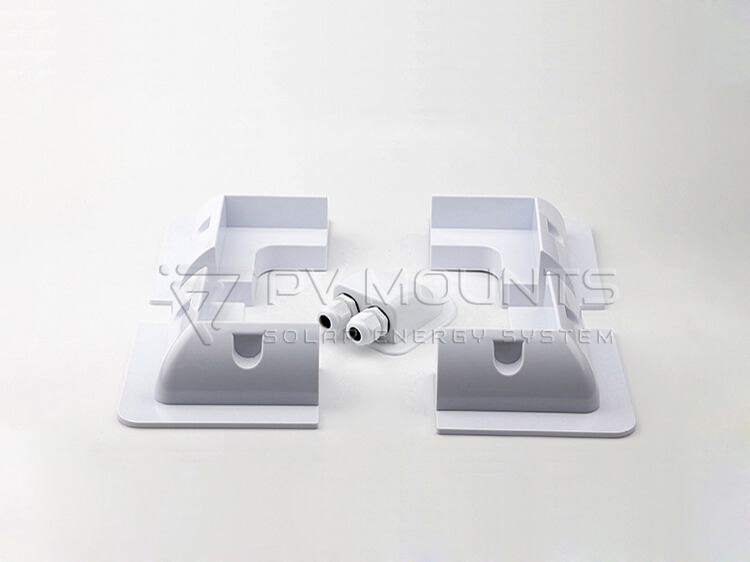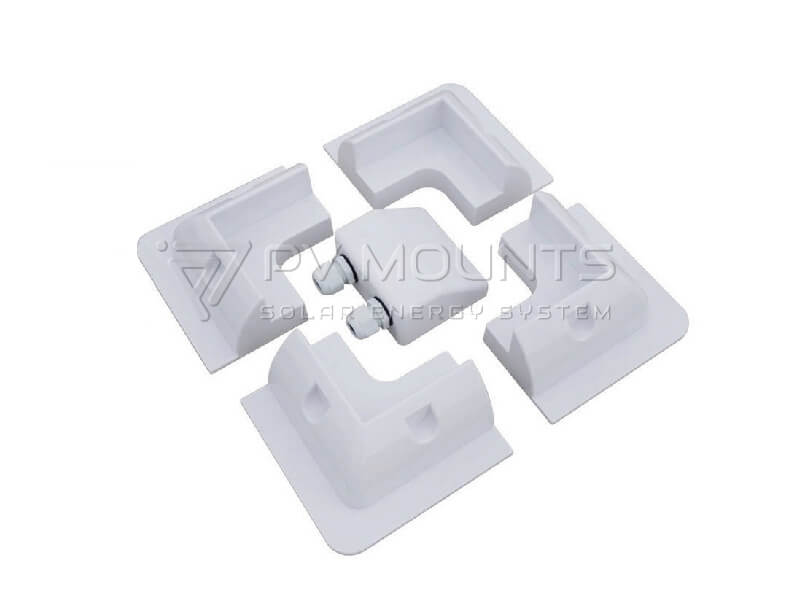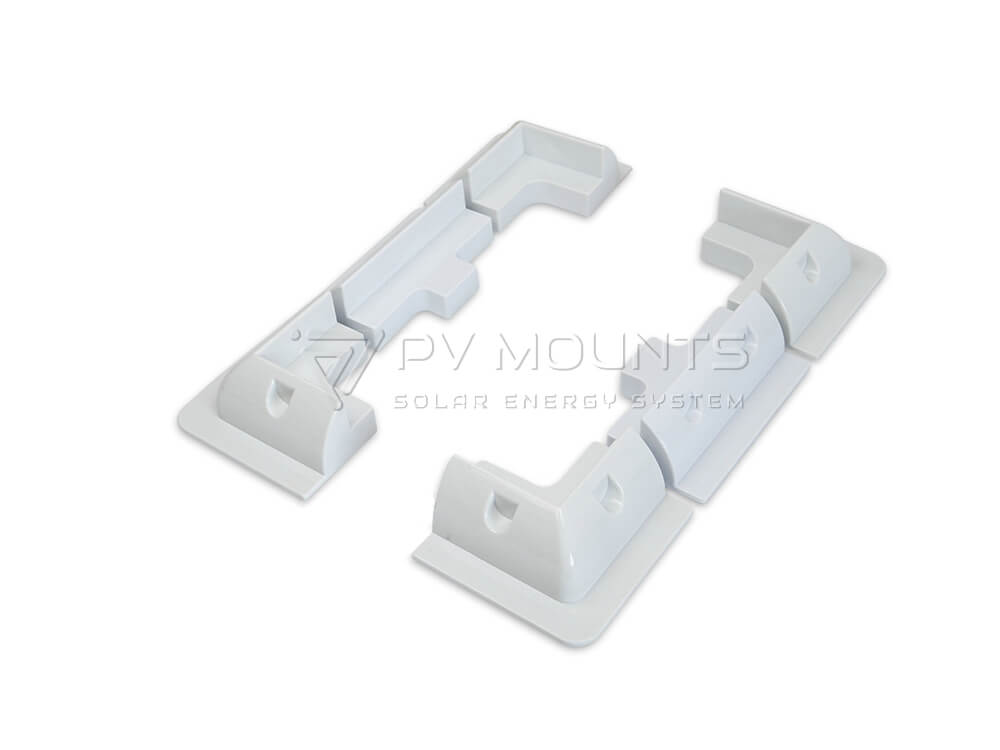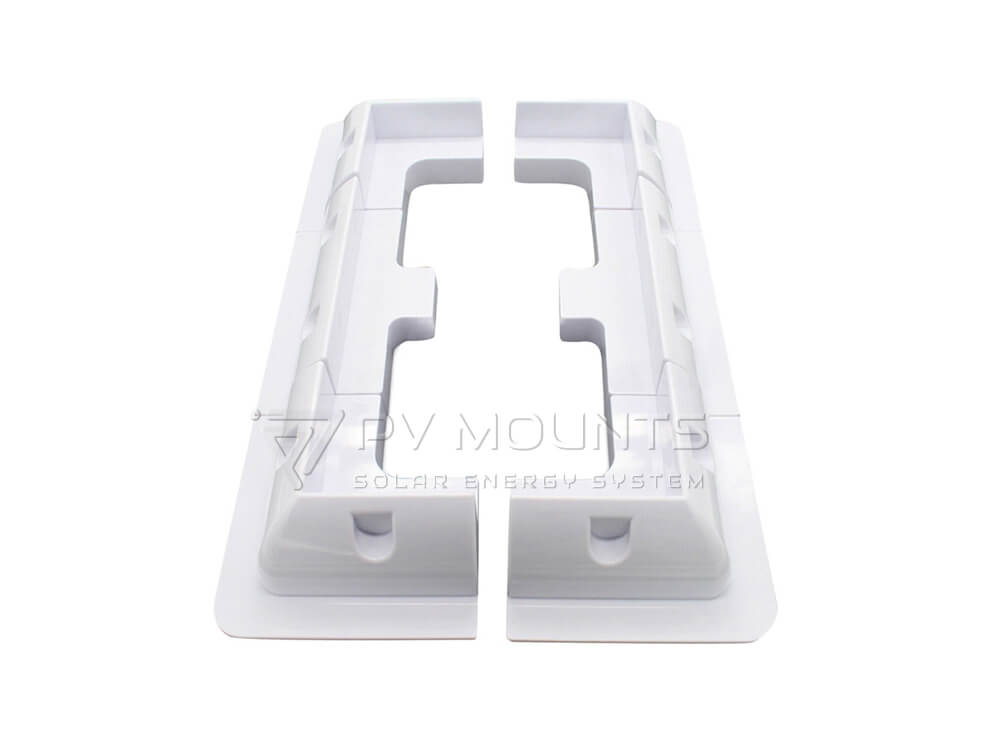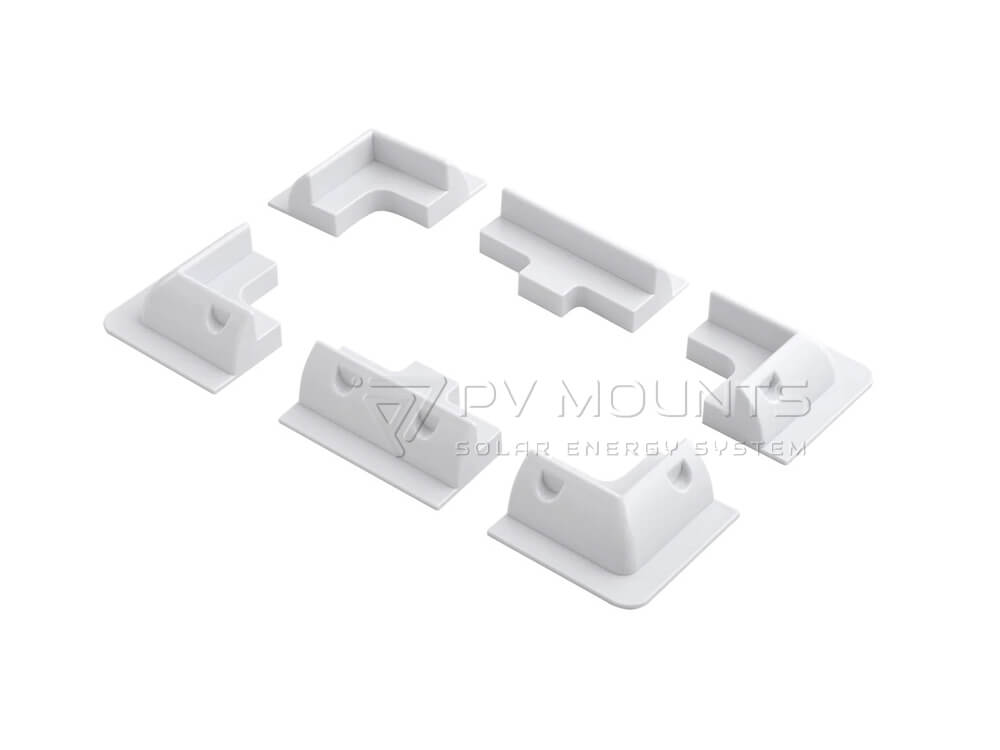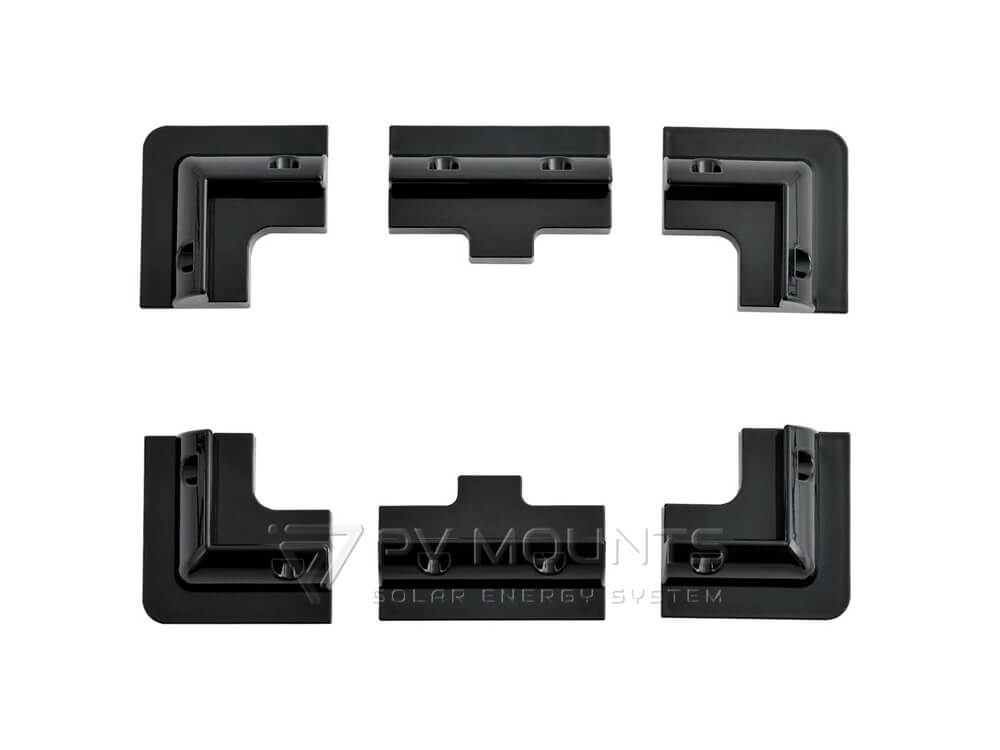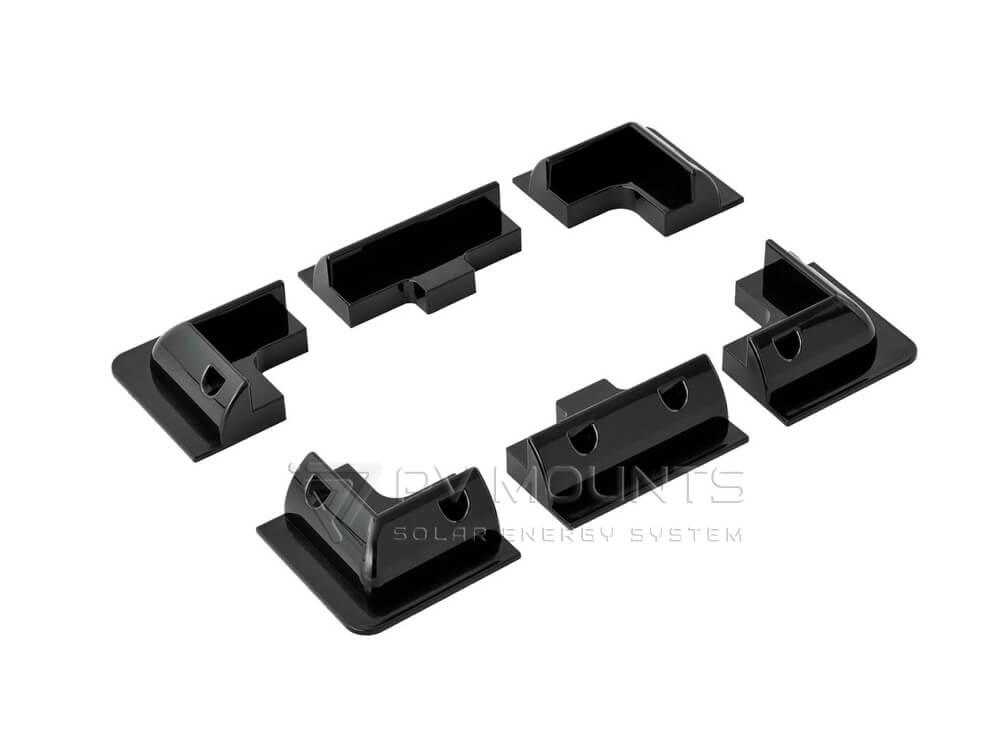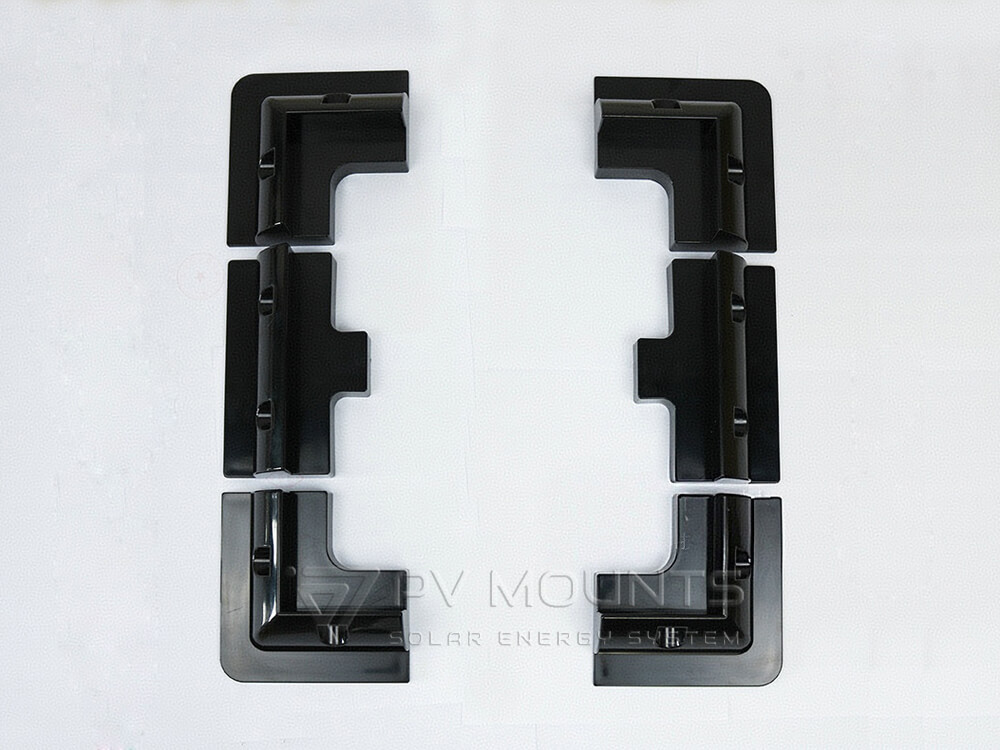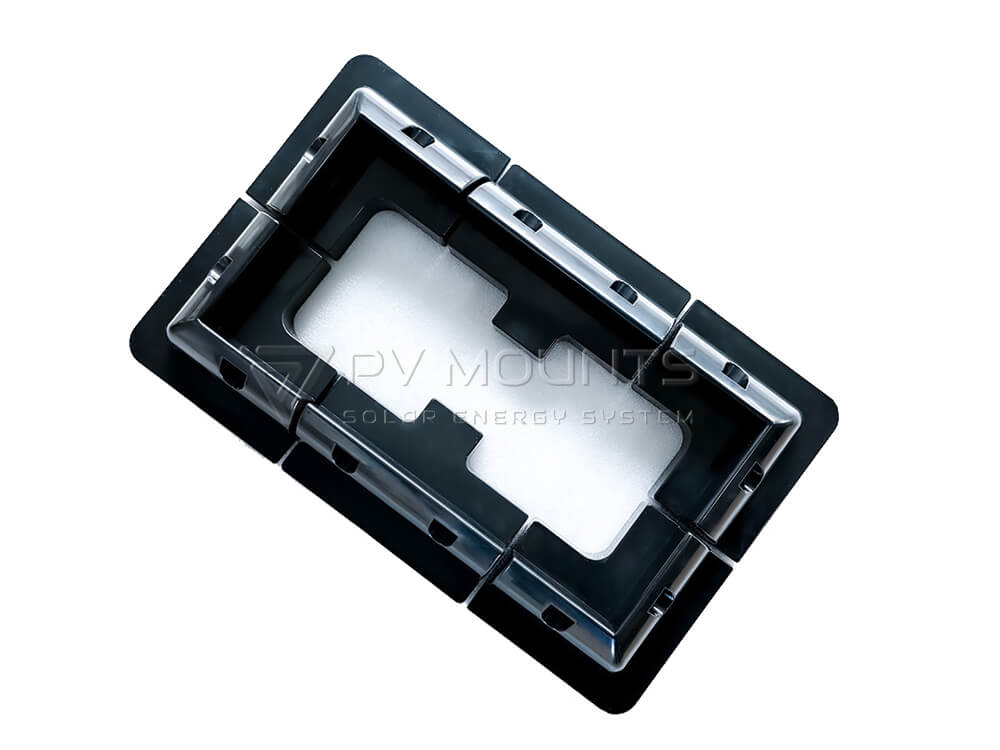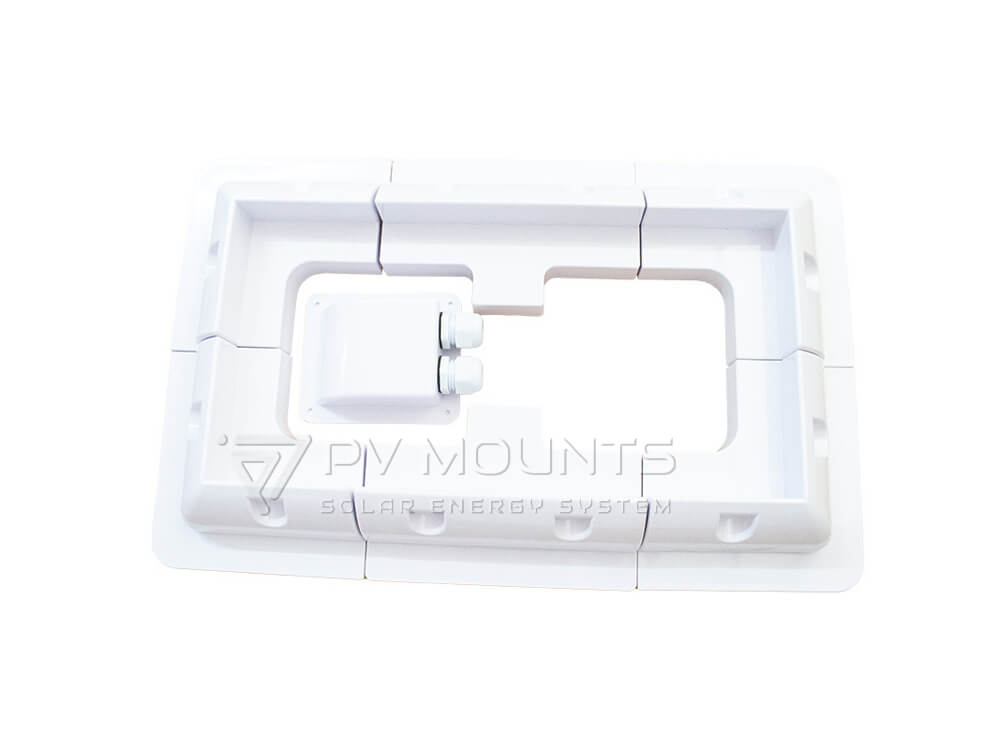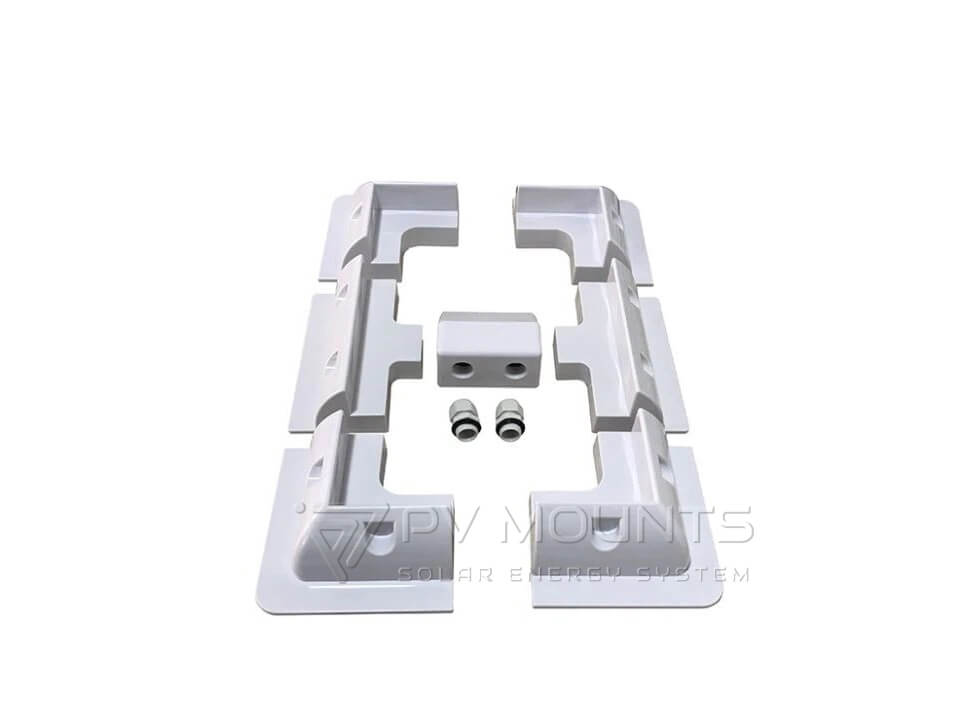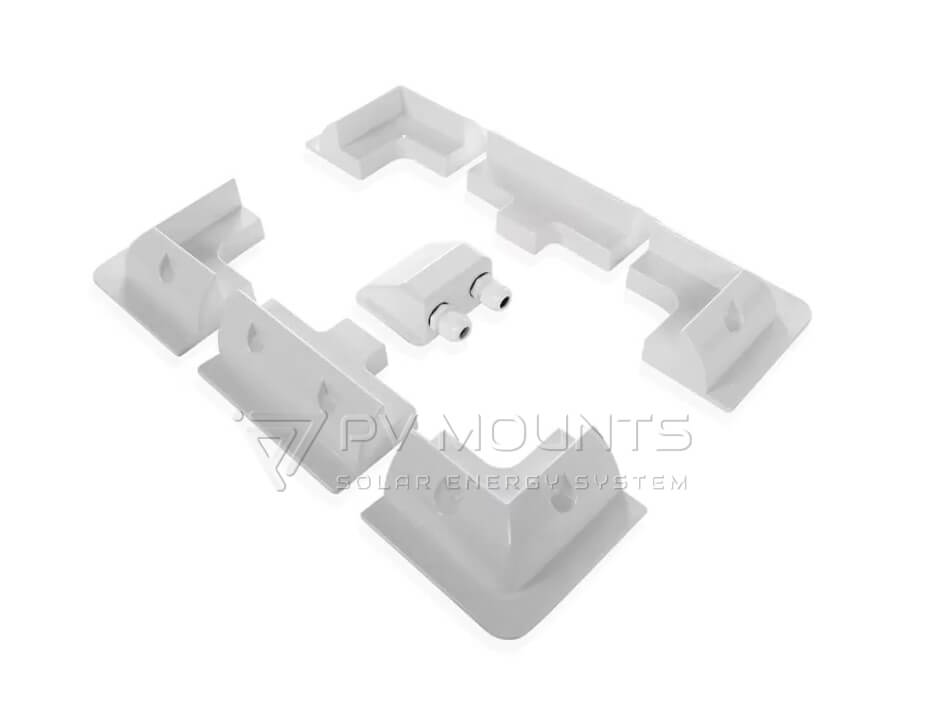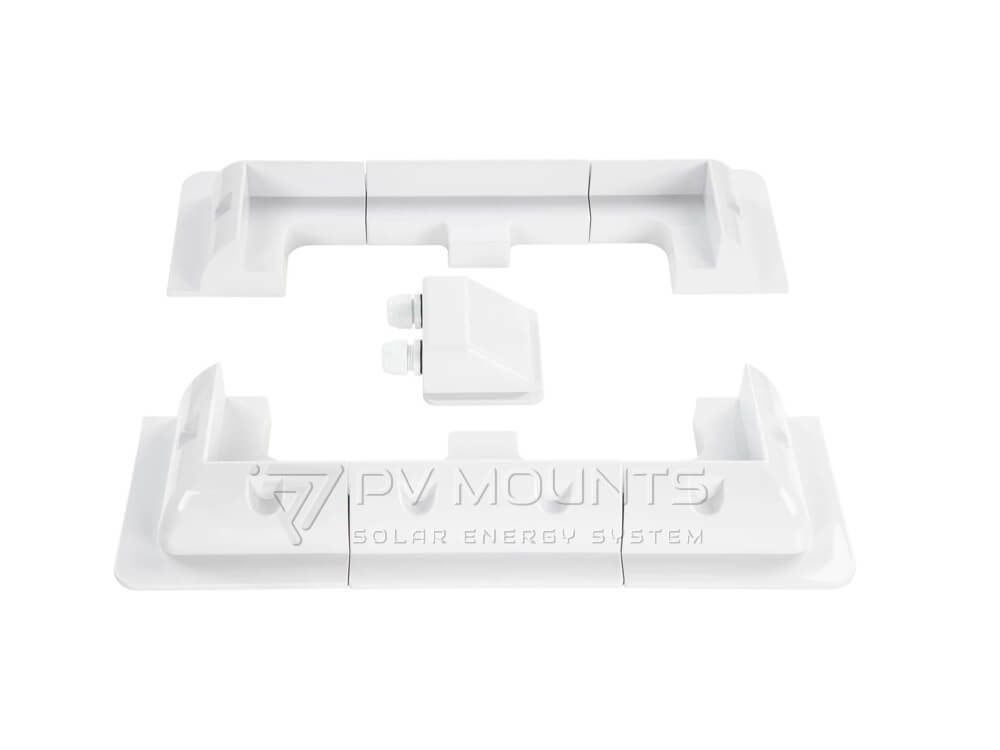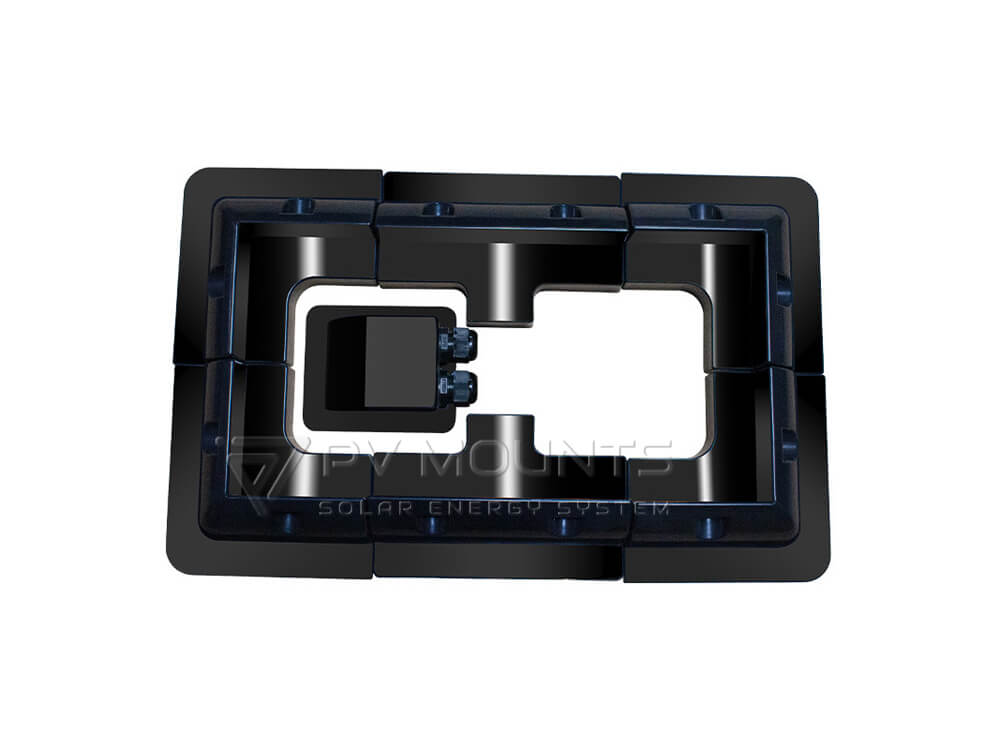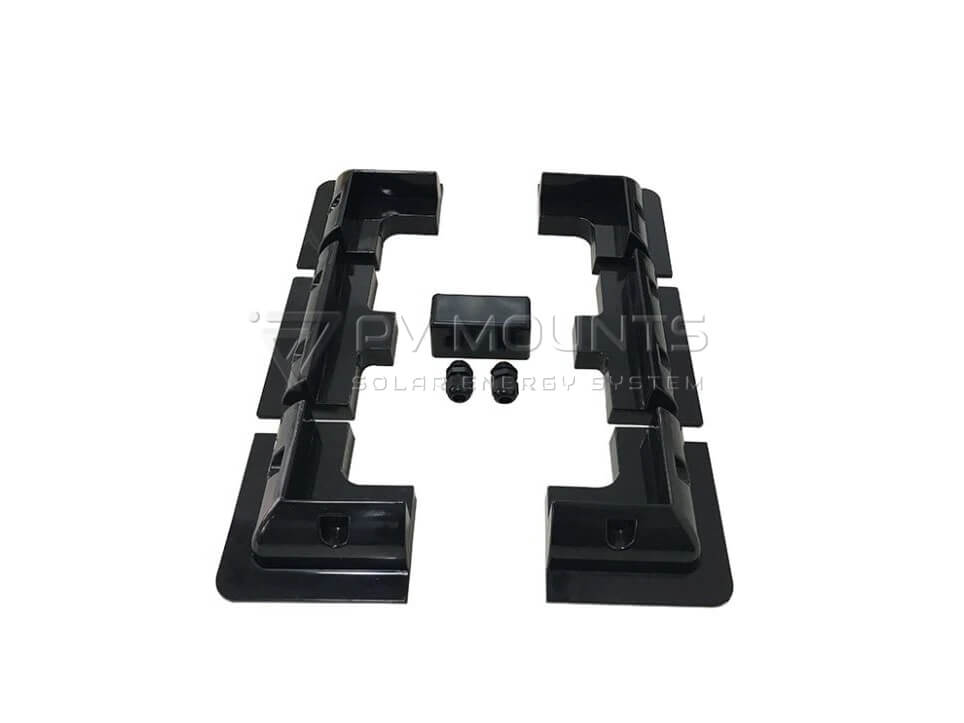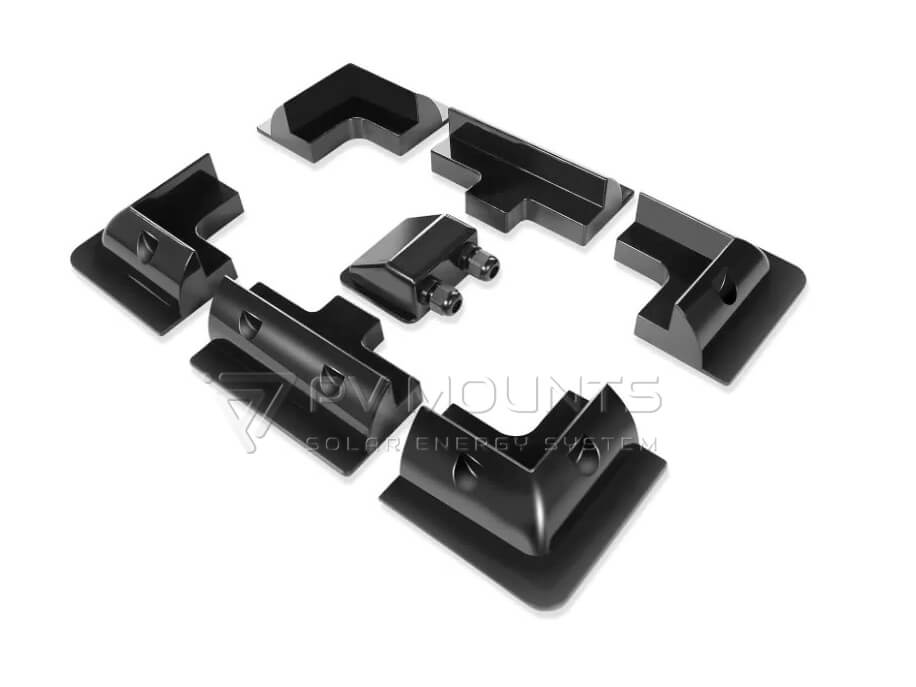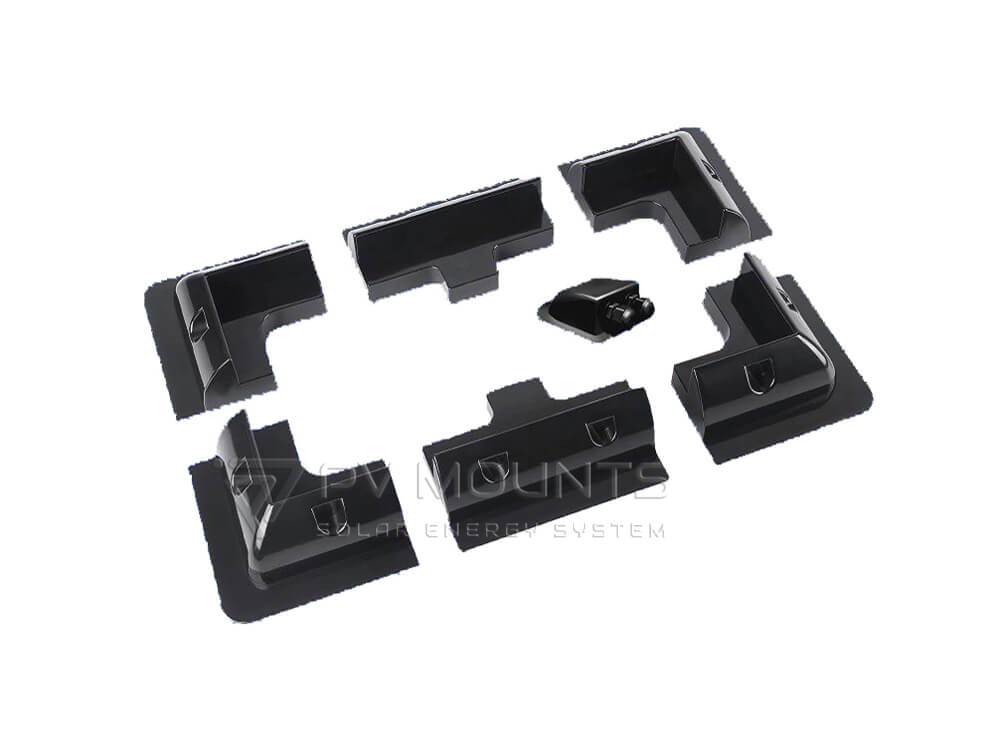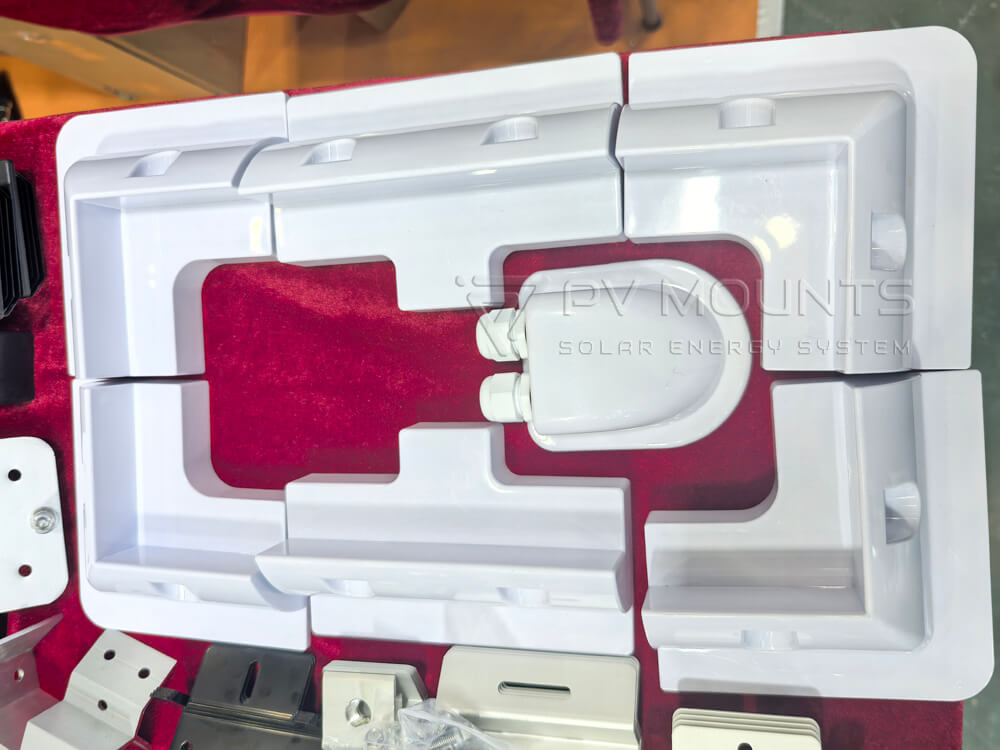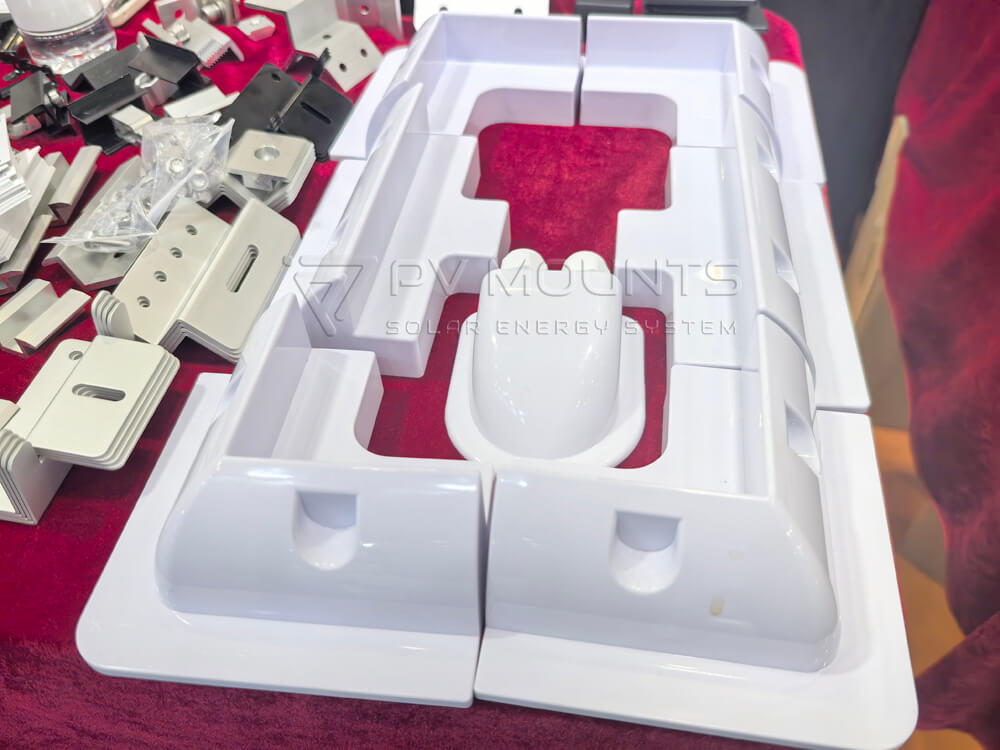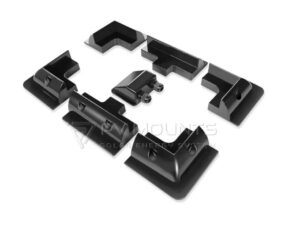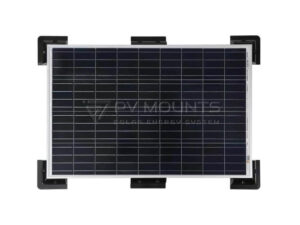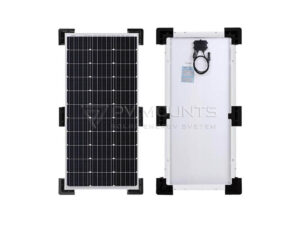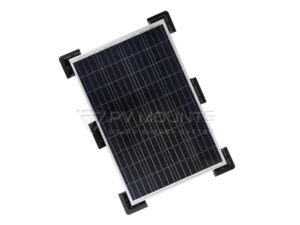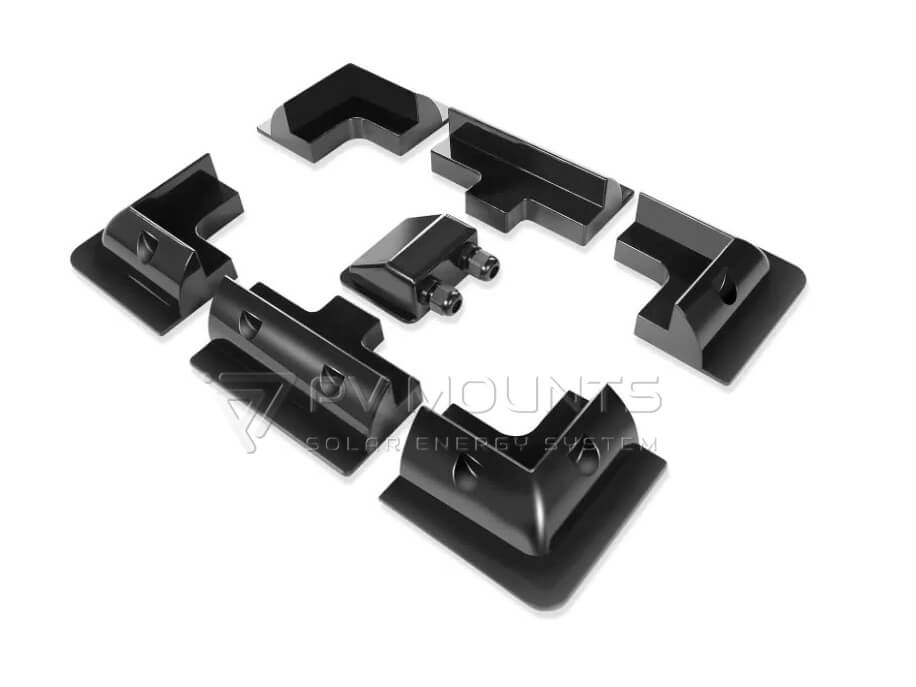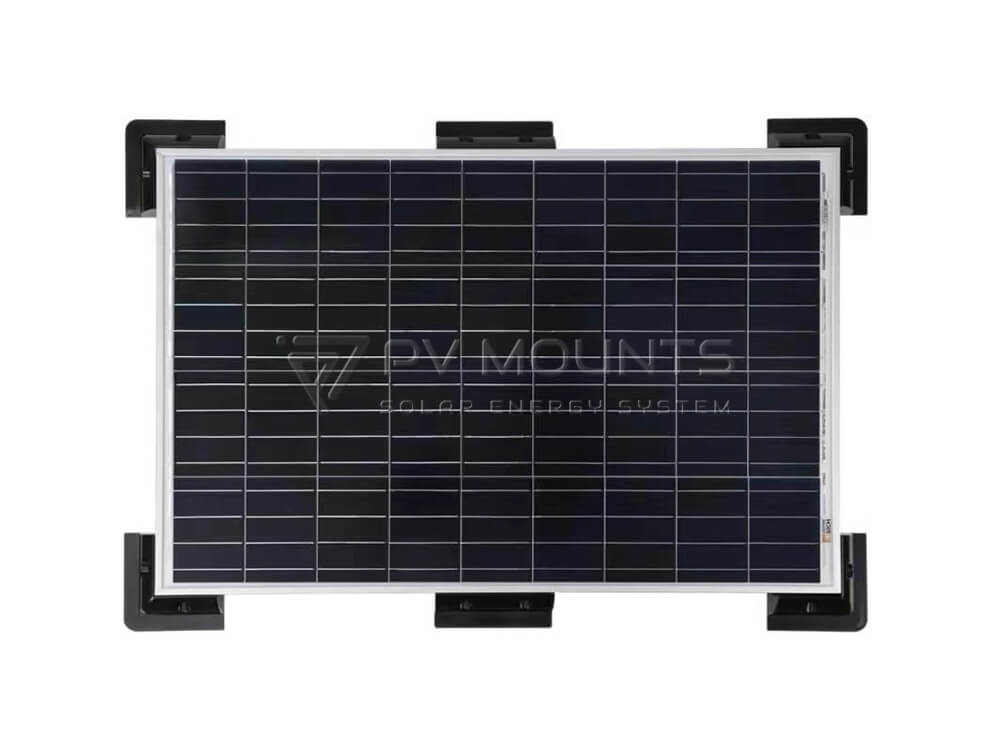
Solar ABS Brackets Kits with Cable Entry Gland for RV Mount PVM-ABS

ABS Solar Mount for RV,Caravans,Vehicles & Camper Vans | Drill-Free Solar Panel Brackets PVM-ABS

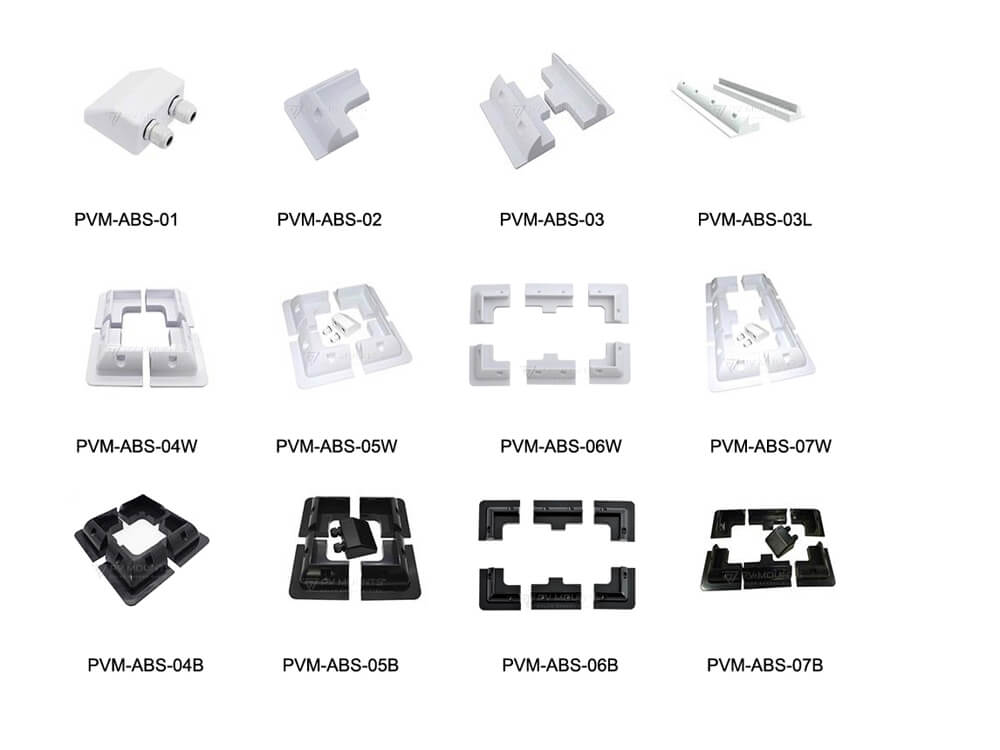
available in 1 pc,4pc,5pc,6pc and 7 pc per kits.


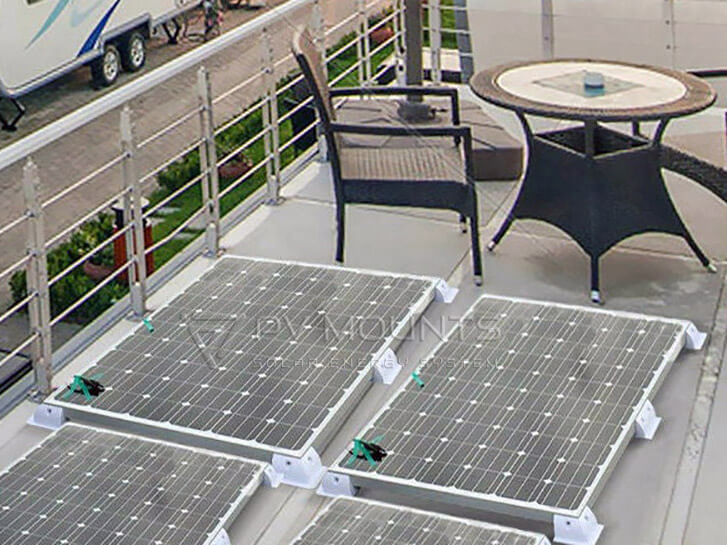
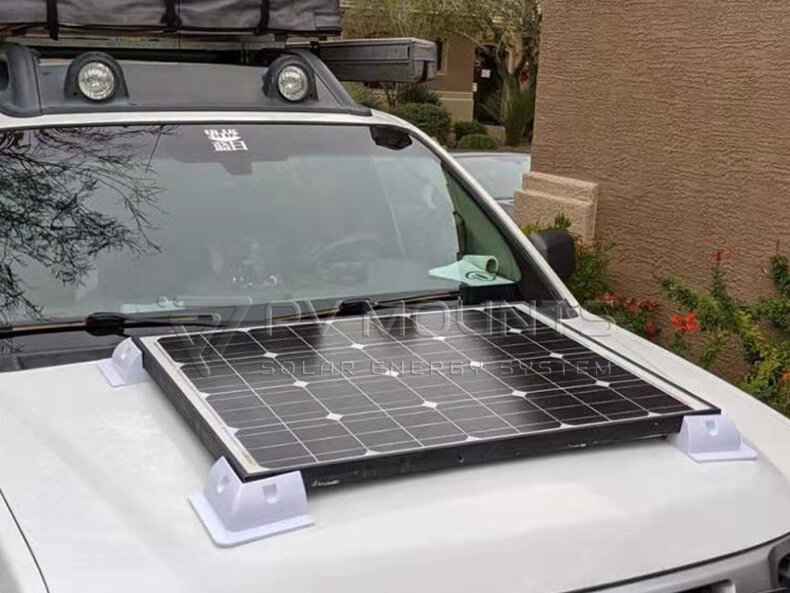
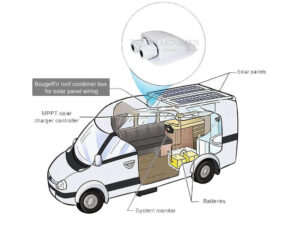
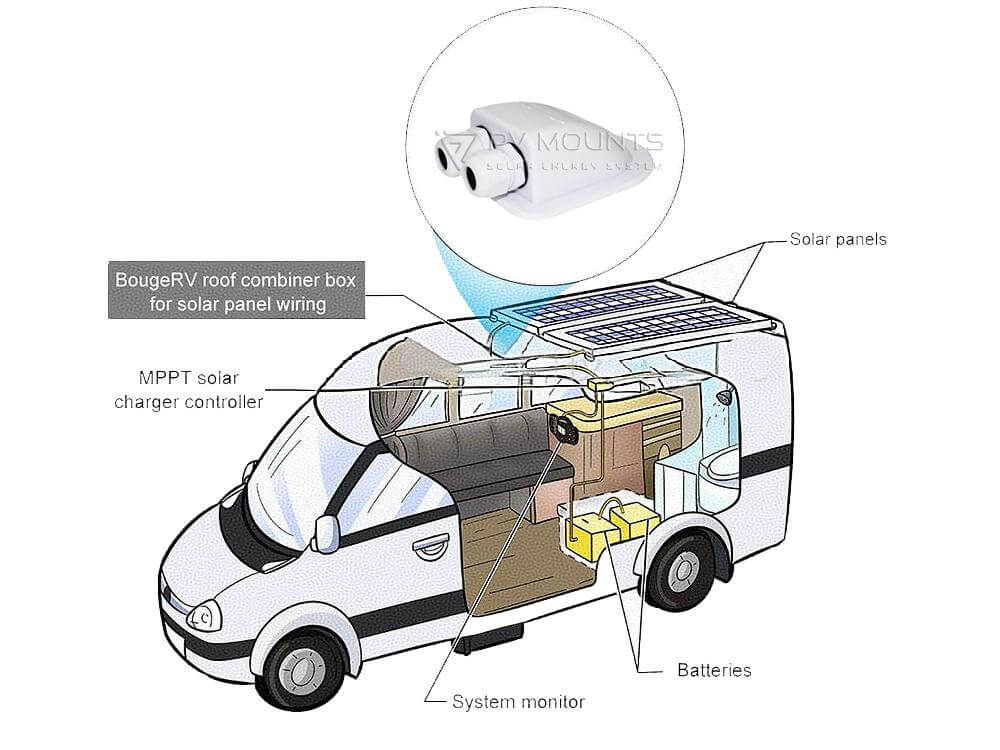
ABS solar mounting brackets are designed for secure and easy solar panel installation on RV, boats, camper, caravan, marine and flat roofs.

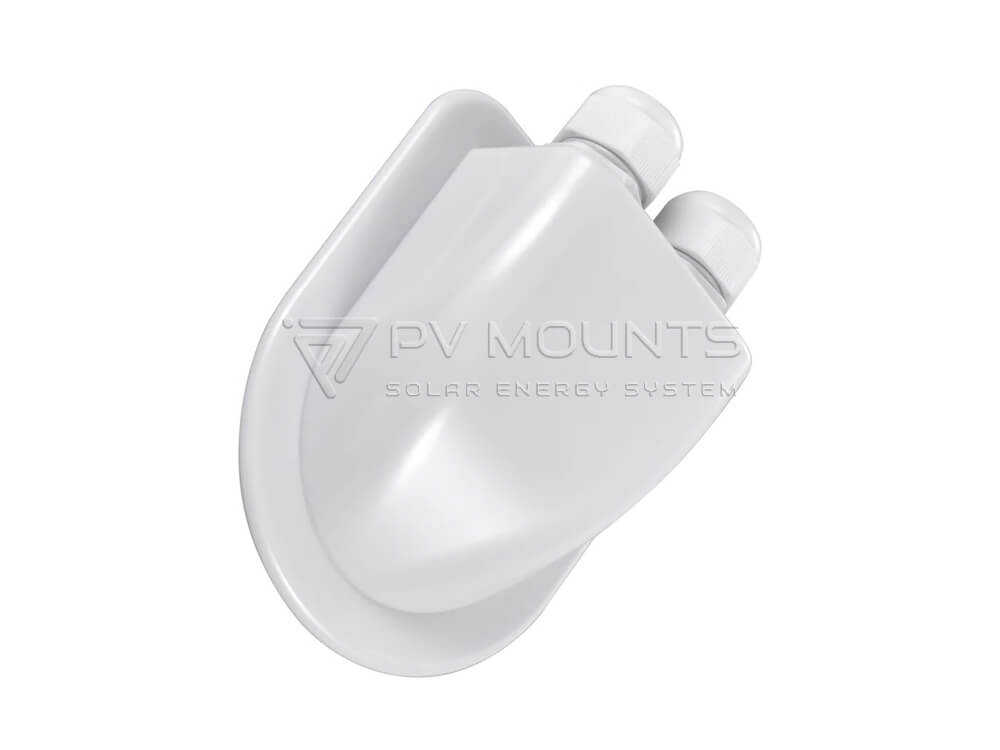
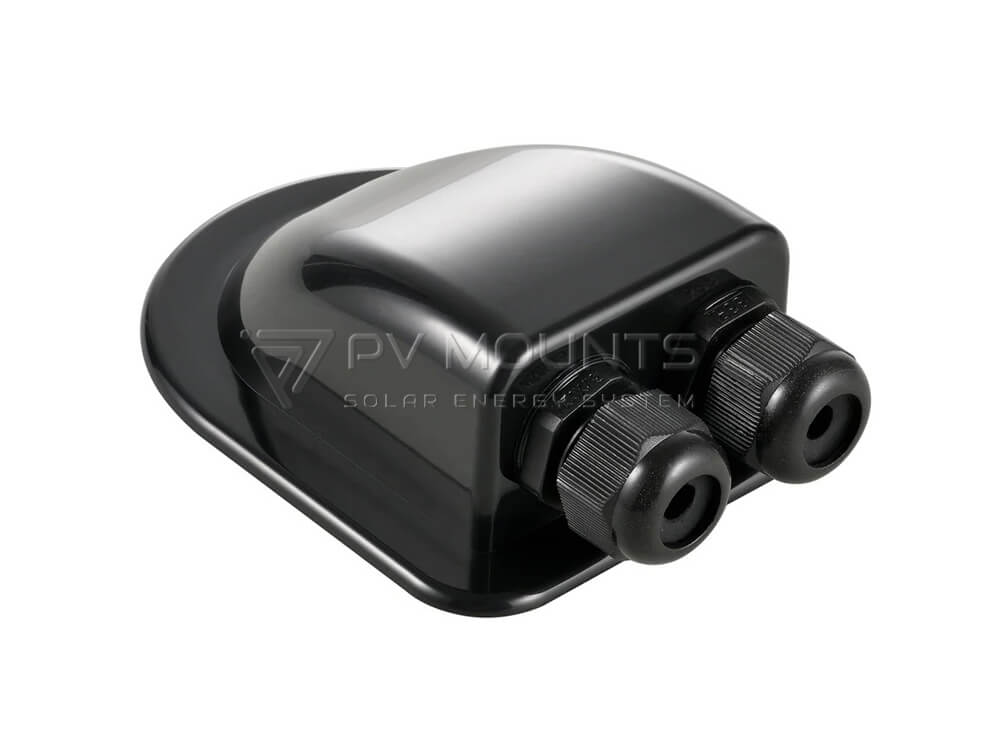
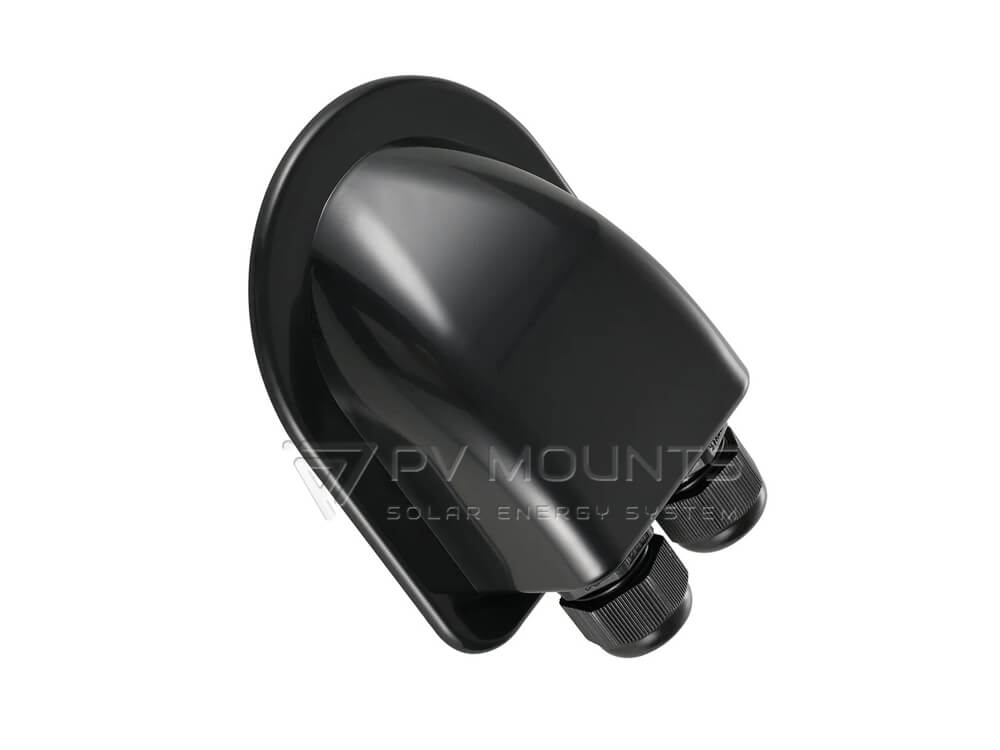
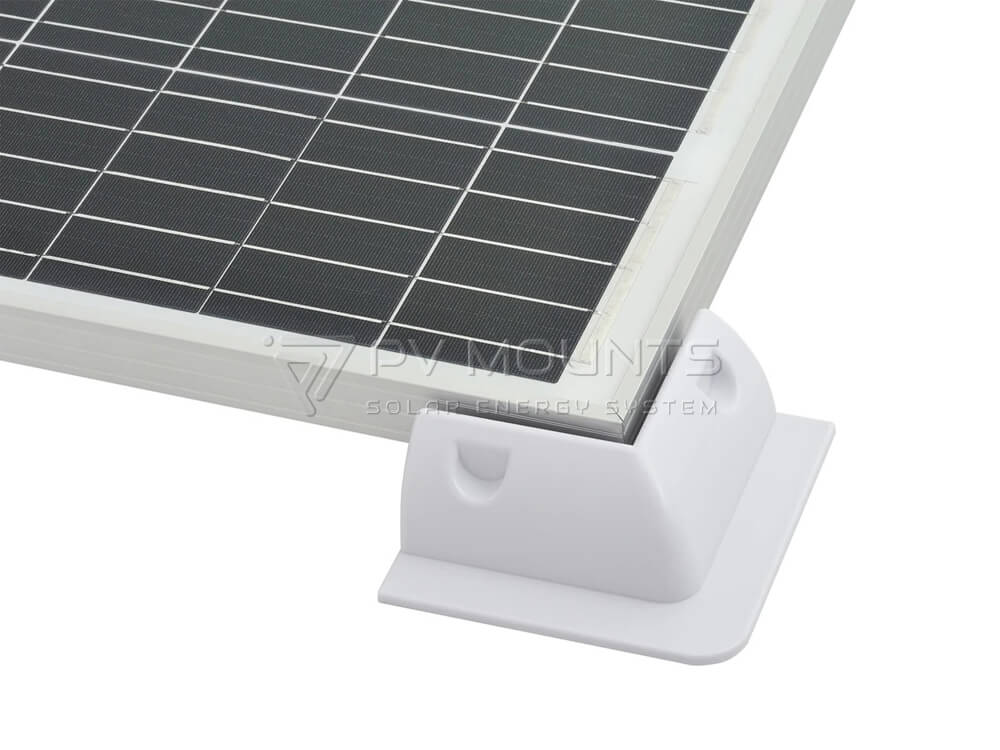
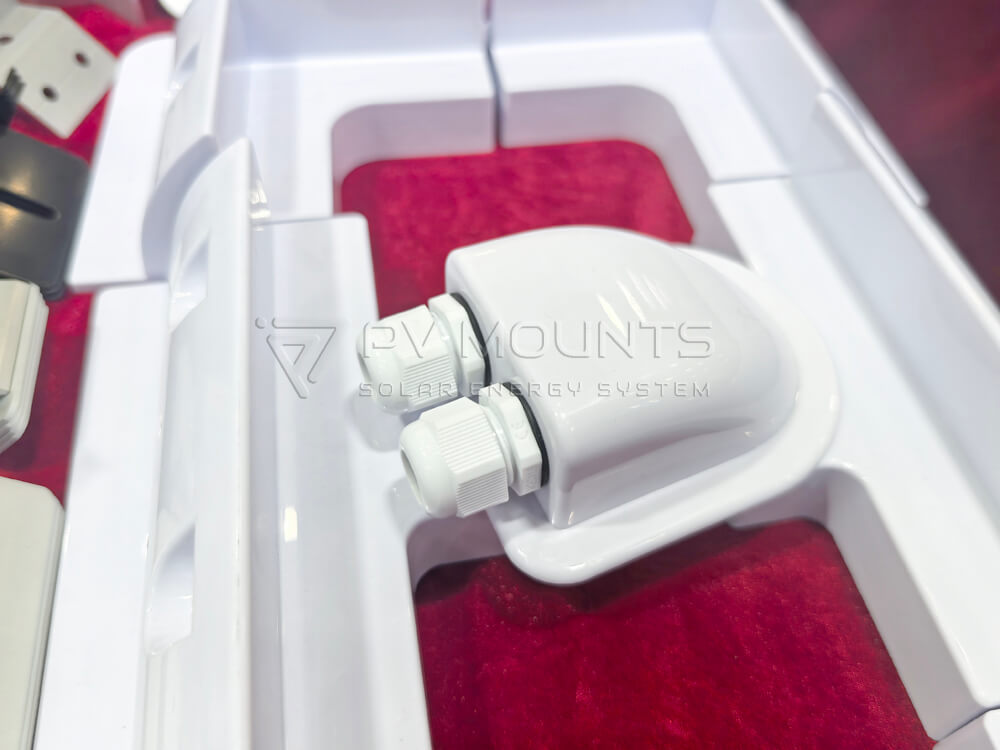
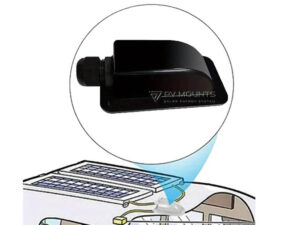
This kit includes UV-resistant ABS corner brackets and a waterproof cable entry gland—ideal for protecting panel edges, reducing wind drag, and allowing clean cable routing through roofs. Made from eco-friendly materials, available in black or white, with strong adhesion and built-in ventilation to support panel performance.

Installing solar panels on RV roofs often requires a mounting solution that is lightweight, waterproof and easy to install without damaging the roof surface.

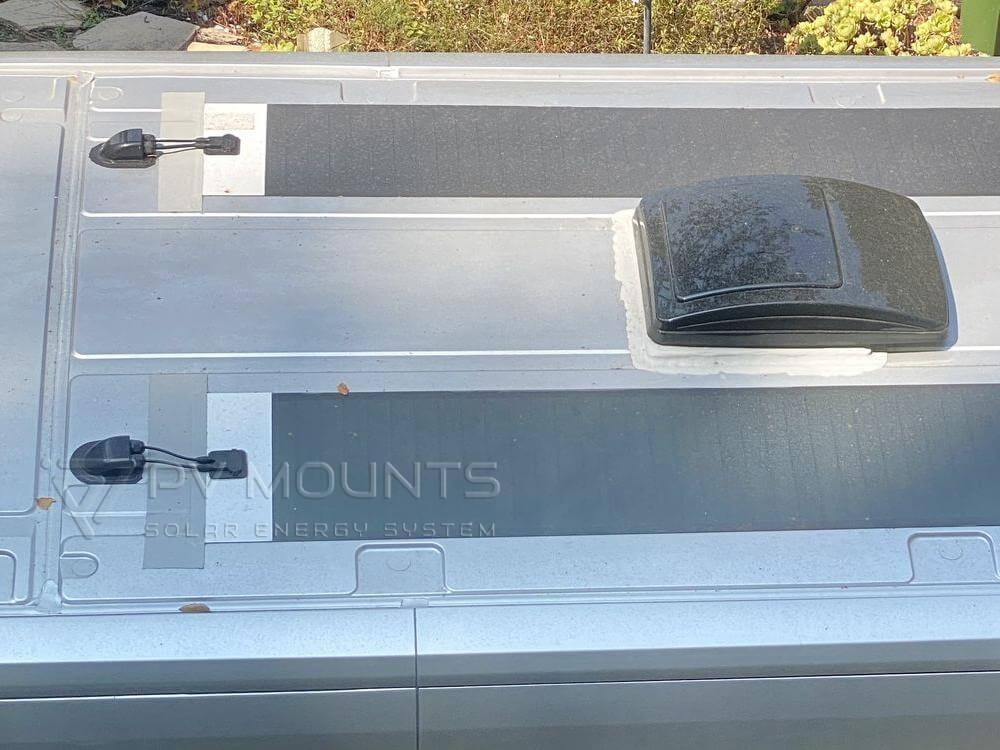
Our drill-free design helps reduce roof leakage risk while providing strong support for solar panels during highway driving and outdoor use.

Item No.:PVM-ABS
Shipping Port:XIAMEN
MaterialABS Plastic
ColorWhite and Black
Certifications for Solar Pv Cable Clips PVM-CC-03​

Share to

Product nameMaterialQuantity
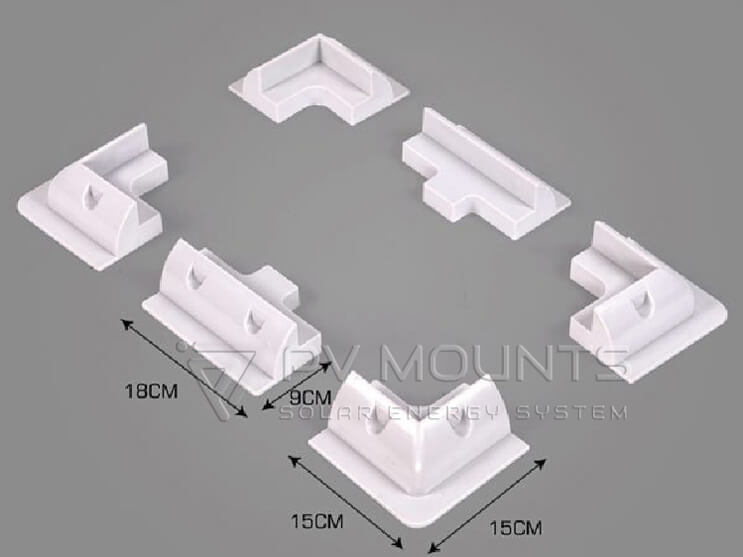
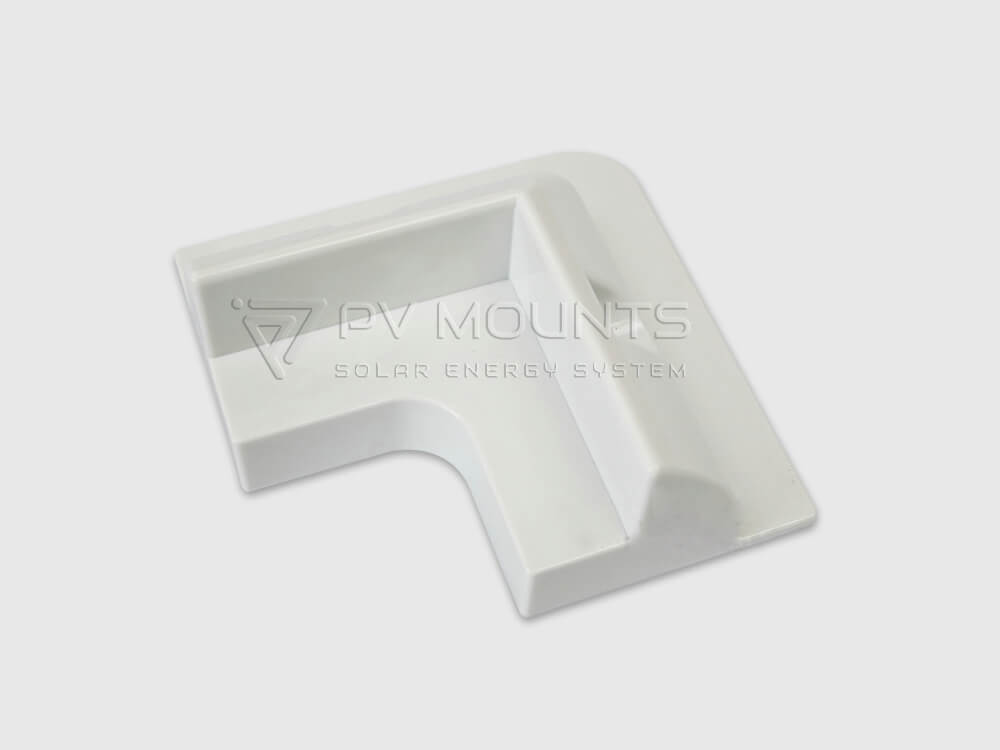
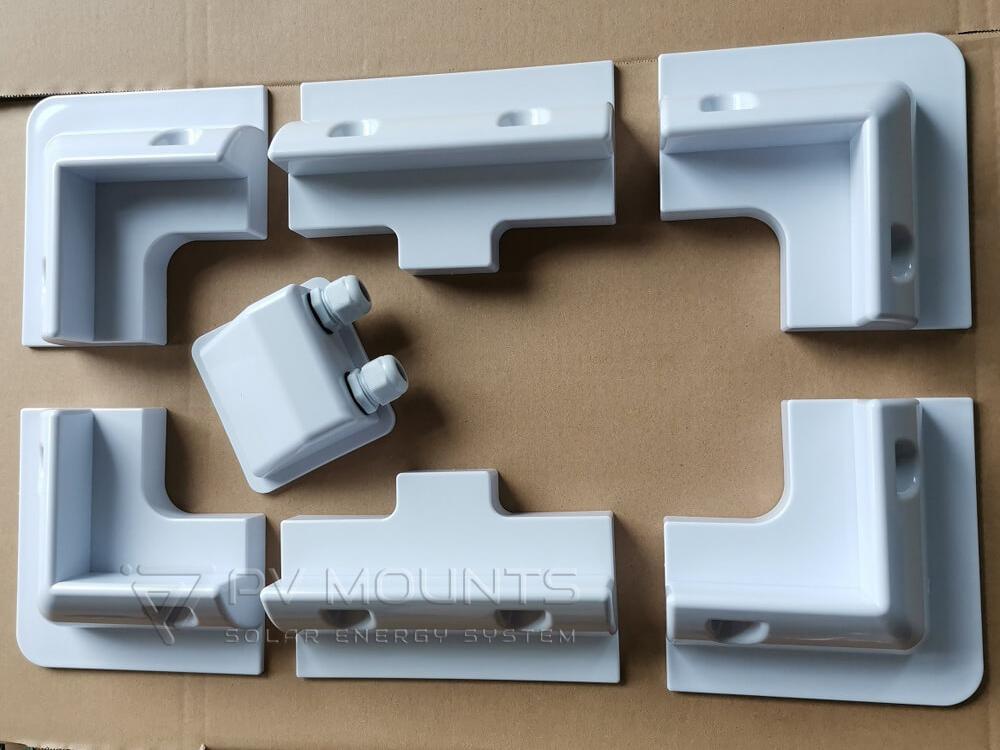
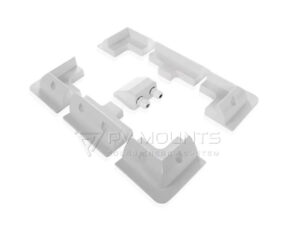
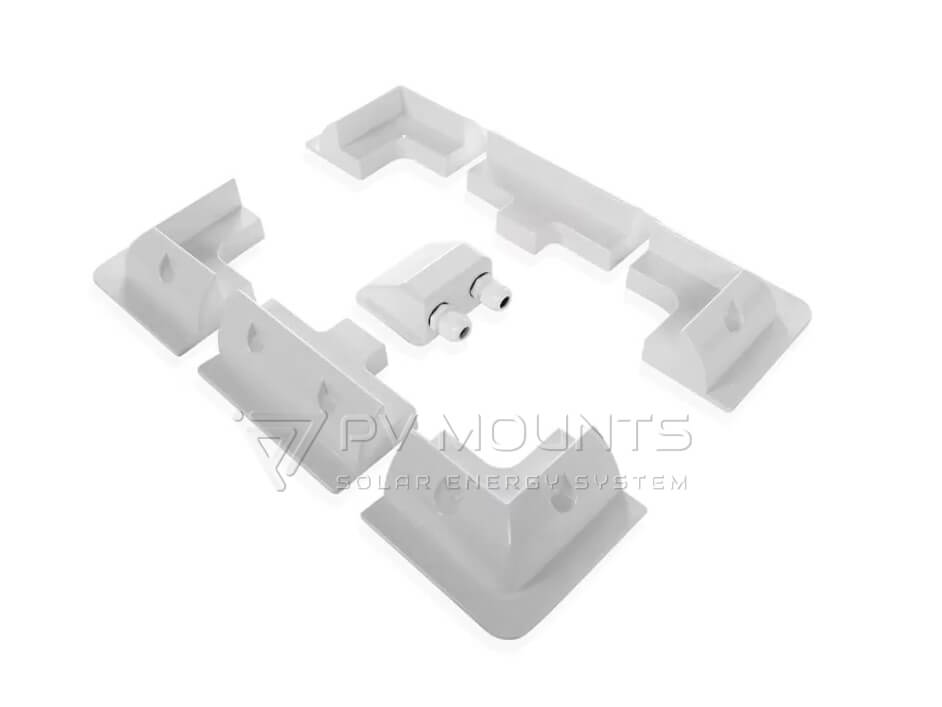
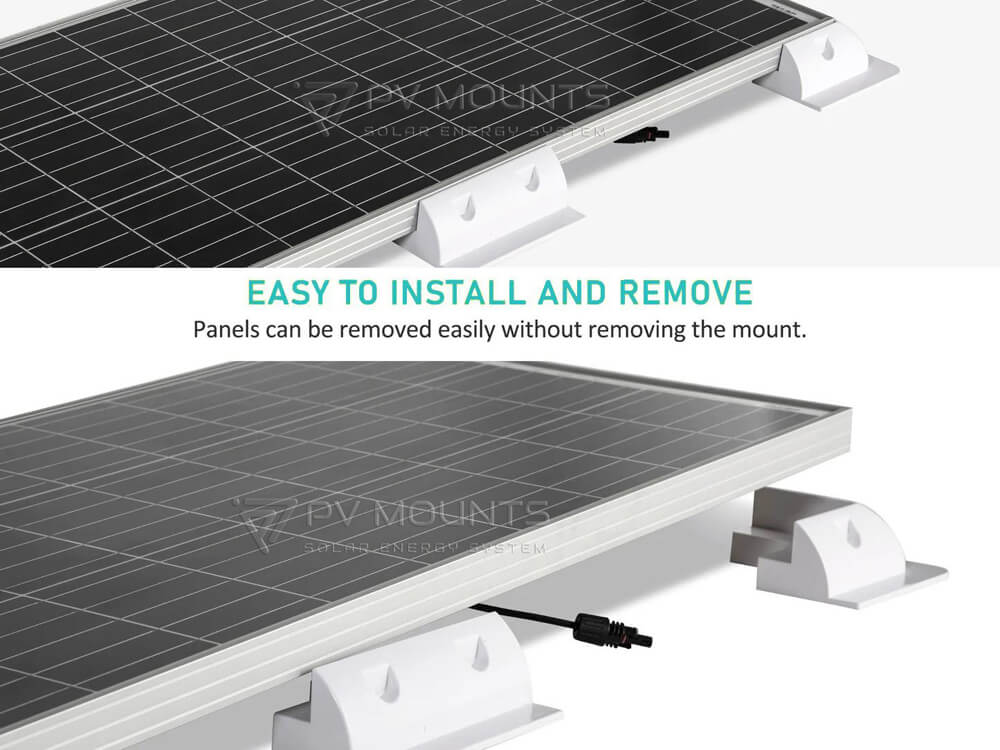
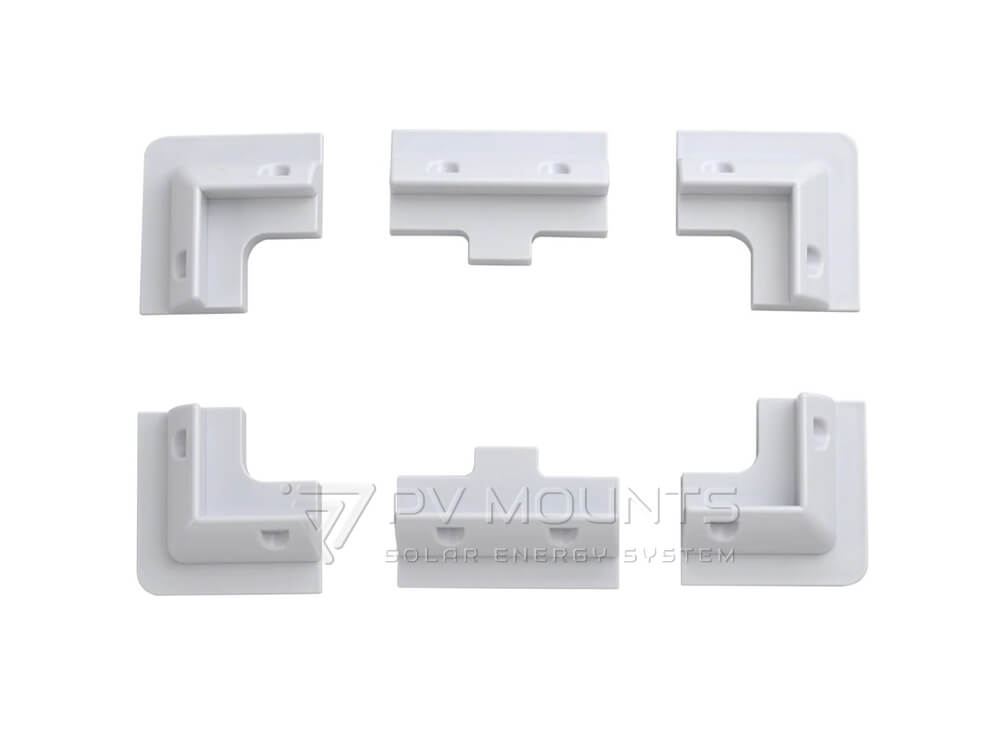
Corner MountABS4
Side MountABS2
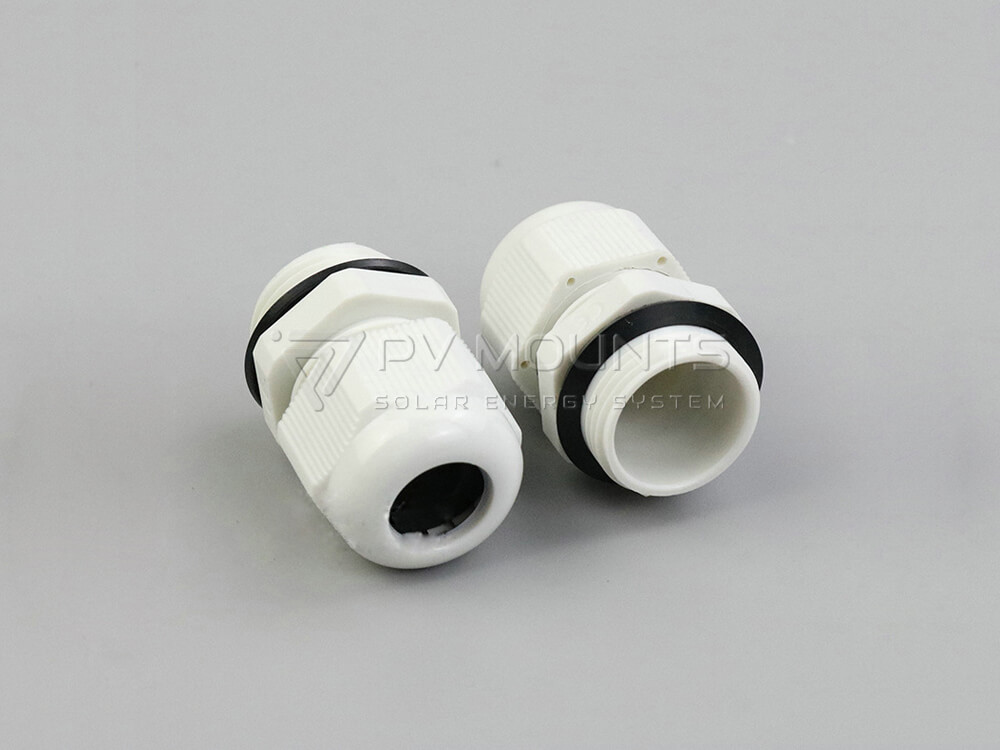
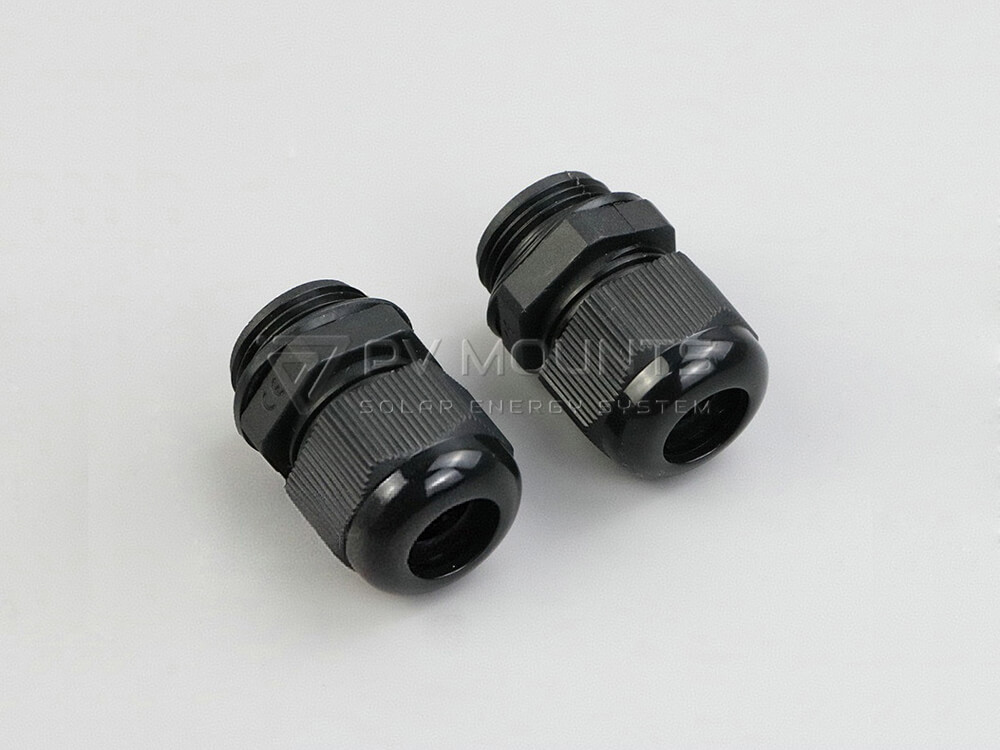
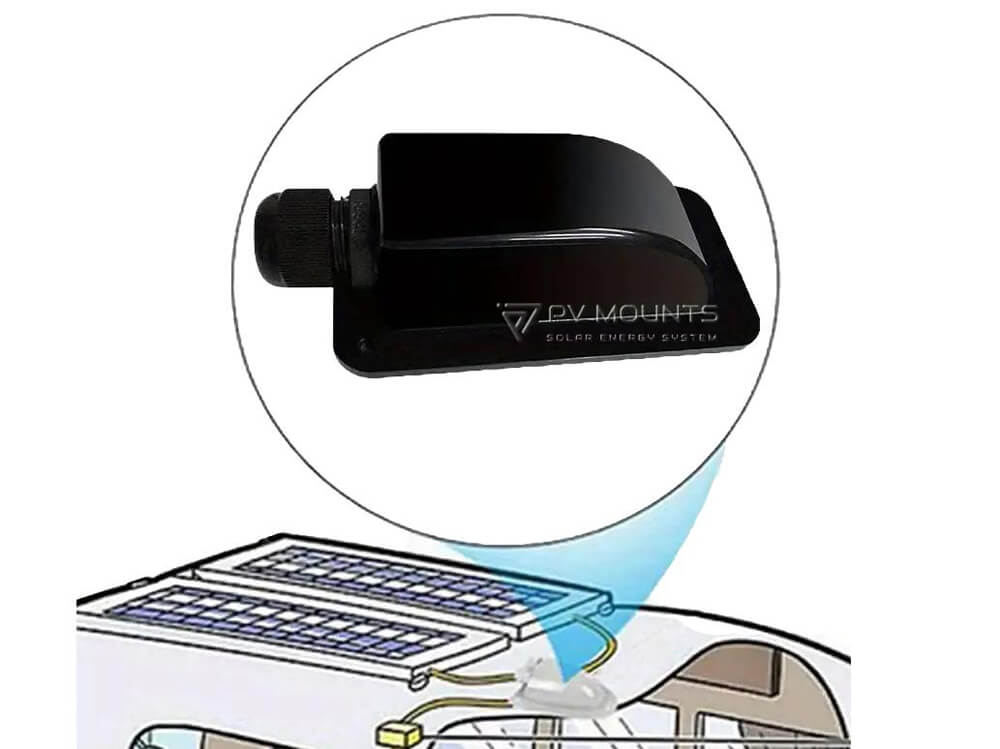
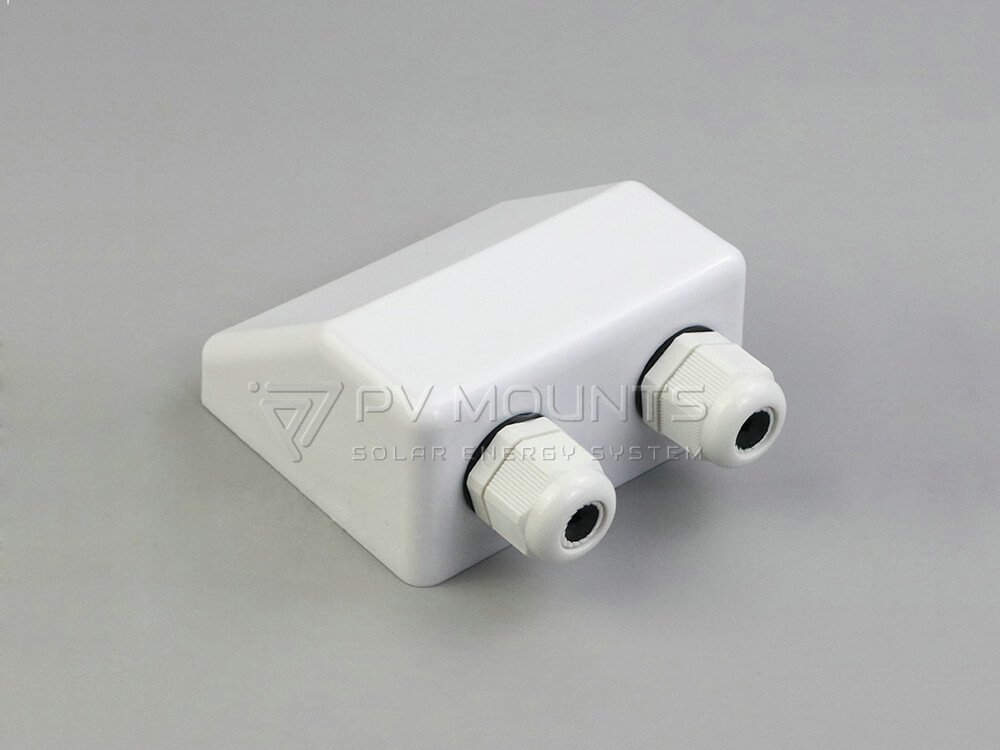
Cable Entry GlandABS1

Note: Adhesive tape/glue not included.

Recommended Adhesive: Sikaflex 252 or similar.

🔑 Key Features & Benefits

  • Widely Application: Compatible with all popular solar panels in the market. Corner and side mount are designated for virtually any aluminum framed solar panels.

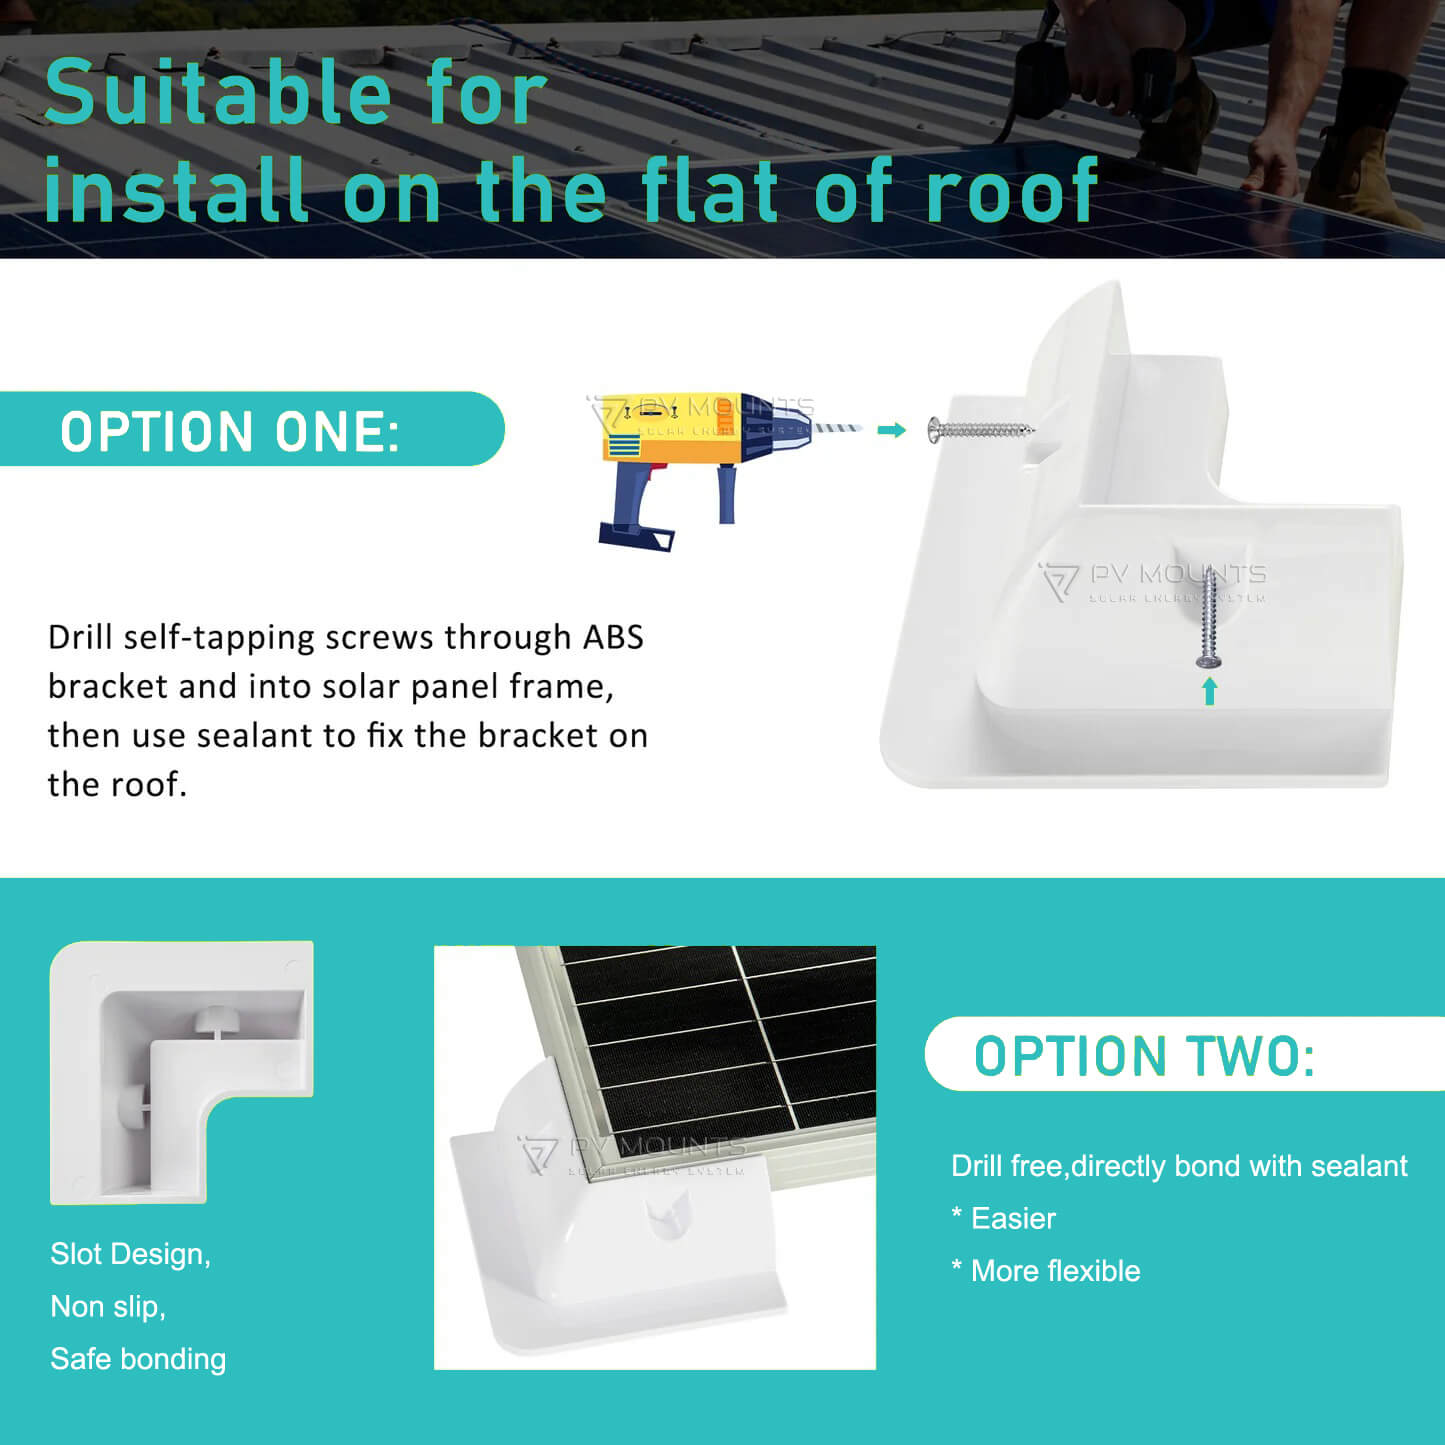
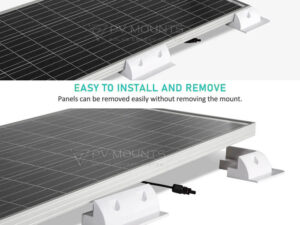
  • Drill free : 7 pcs mounts count be easily glued on with sikaflex 252

  • Durable: 100% UV-resistant and recyclable ABS plastic mount

  • Best suitable for flat roofs of aluminum, wood, or GRP material.

  • Easier and more flexible installation.

Technical Parameter
Wind load:Max 60m/s
Snow load:Max 1.4KN/m
Solar panel typeFramed
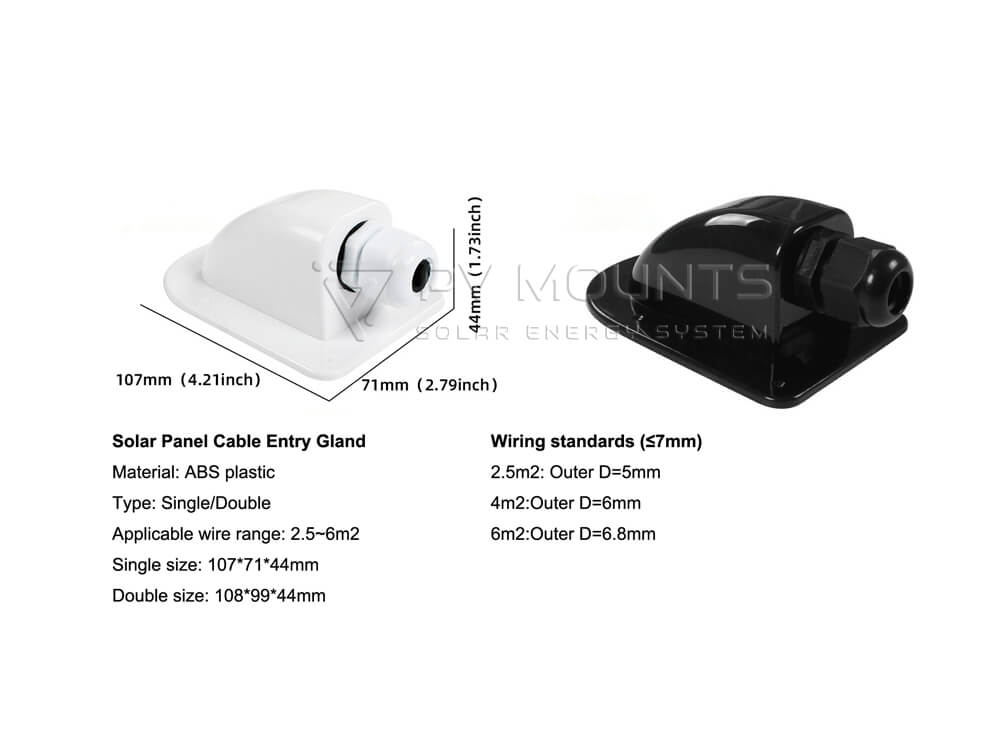
Cable Gland Diameter Range:6mm – 12mm
ApplicationRV,Vehicles,Caravans,Motorhomes,Boats,Flat roof, Outbuilding etc
Warranty:5 Year
After-sales ServiceYes
StandardAS/NZS 1170.2/JIS C 8955:2017/ISO9001/UL1565/DIN 1055


abs plastic mount for RVS boat roof (2)

ABS Solar Mount vs Aluminum Z Bracket

ABS MountAluminum Z Bracket
Drill-free installationRequires screws
Better for curved RV roofsBetter for flat surfaces
LightweightStronger load capacity
Cleaner appearanceMore industrial

ABS Solar Mount Avilable kits:

abs plastic mount for RVS boat roof (4)abs plastic mount for RVS boat roof (4)

abs plastic mount for RVS boat roof (3)1

Looking for a reliable ABS bracket mount on RVs for your solar installation project?
Contact us today to get samples, datasheets, and  quotation for bulk order and customized solutions.

Keywords: 

Solar ABS plastic mount for RVs boat drawing (4)

Solar ABS plastic mount for RVs boat drawing (8)

Solar ABS plastic mount for RVs boat drawing (10)

🔧 How to Install Drill-Free ABS Solar Panel Mounting Kit for RVs, Boats & Flat Roofs

Solar Panel ABS Corner Bracekt Mounting Brackets Kit System Installation (3)
📦 What’s Included
  • 4 × ABS Corner Brackets

  • 2 × ABS Side Brackets

  • 1 × Double Cable Entry Gland (Black or White)

  • Installation Manual (optional)

  • Note: Sikaflex 252 or another compatible adhesive is required (not included).


🛠 Tools & Materials You’ll Need

  • Sikaflex 252 adhesive (or equivalent UV/weather-resistant adhesive)

  • Cleaning cloth or alcohol wipes

  • Measuring tape or ruler

  • Marker or pencil

  • Optional: Masking tape and silicone sealant


📝 Installation Steps

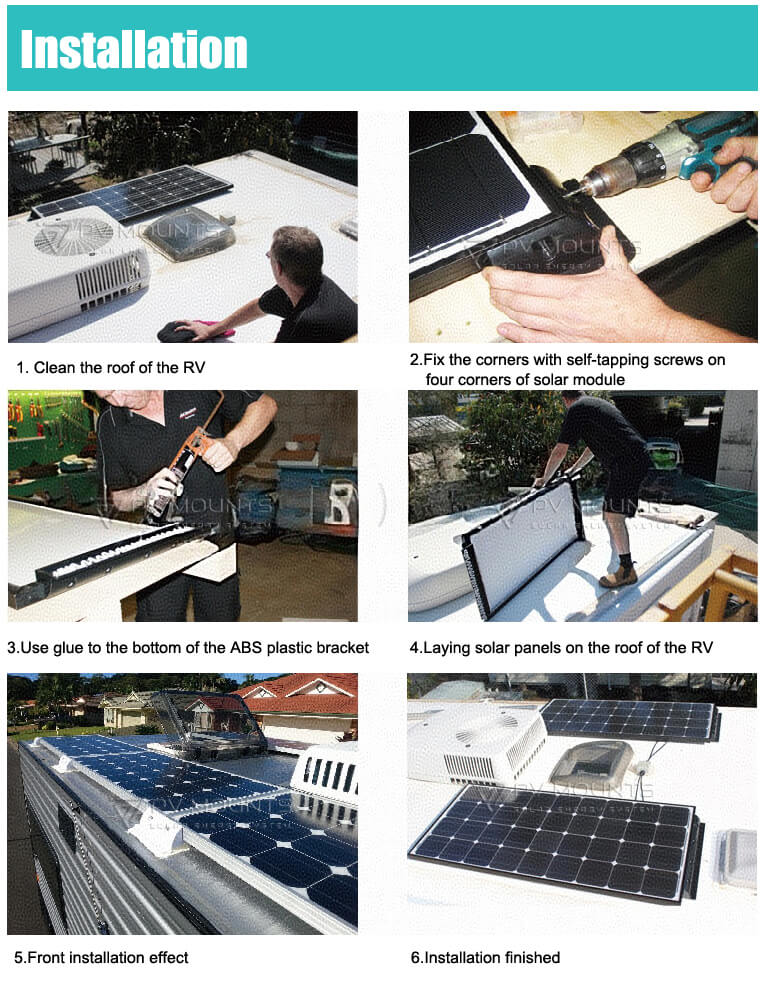
1. Choose the Mounting Location

  • Select a clean, flat surface on your RV roof, boat deck, camper, shed, or flat rooftop.

  • Ensure there is enough space for both the solar panel and cable routing.

2. Clean the Surface

  • Wipe down the mounting area using alcohol wipes or a clean cloth to remove dust, oil, or debris.

  • Let the surface dry completely before proceeding.

3. Position the Brackets

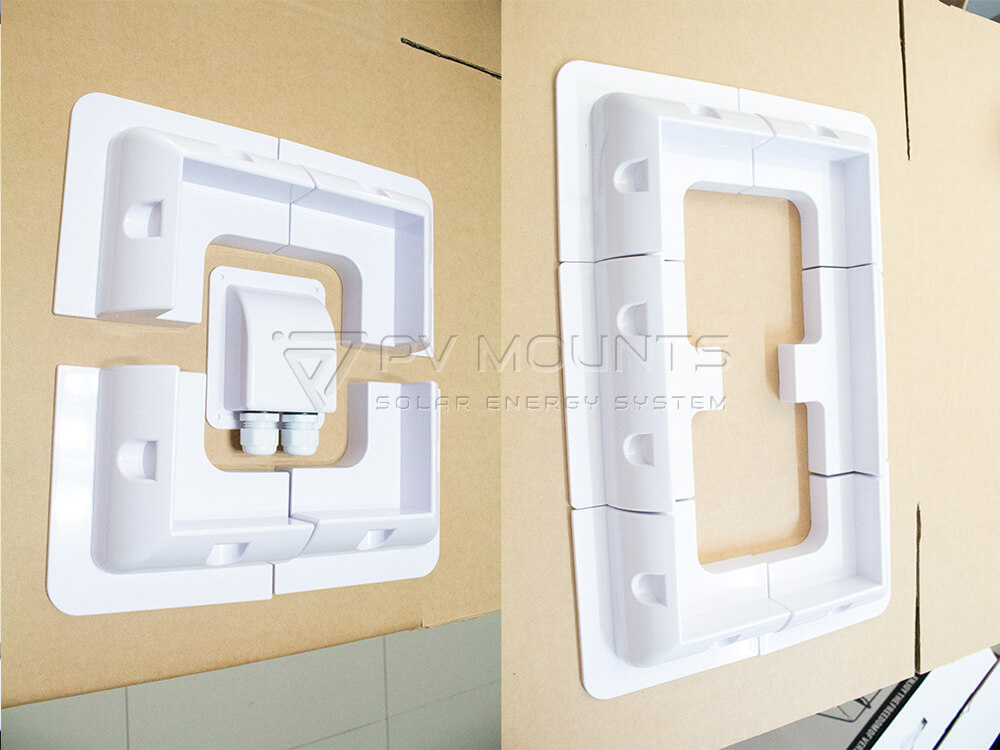
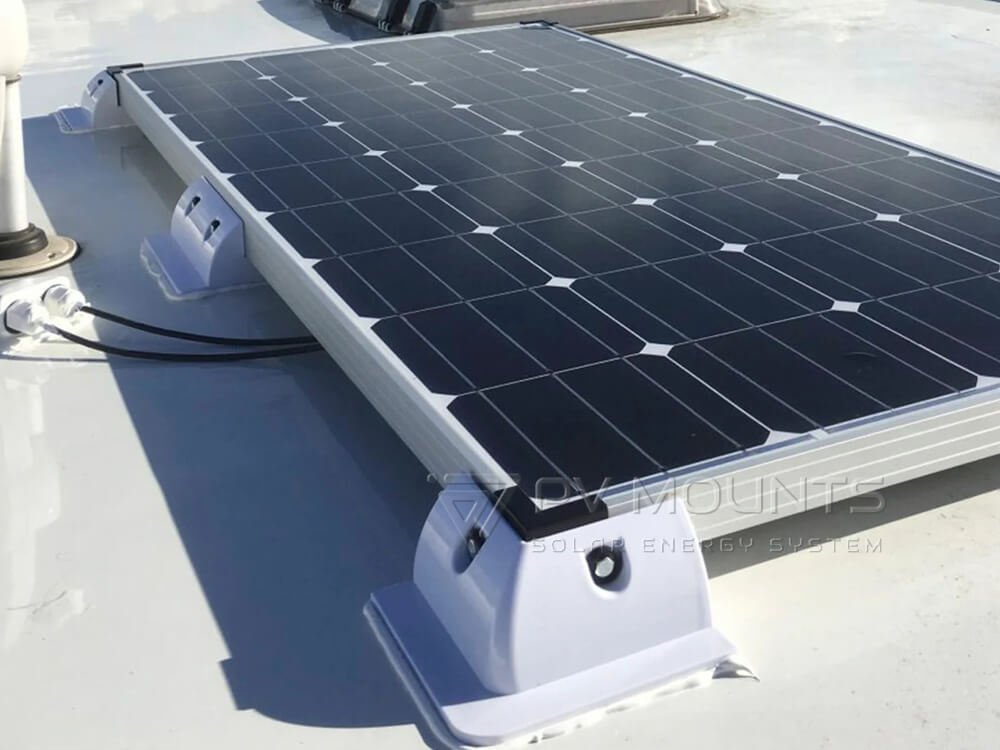
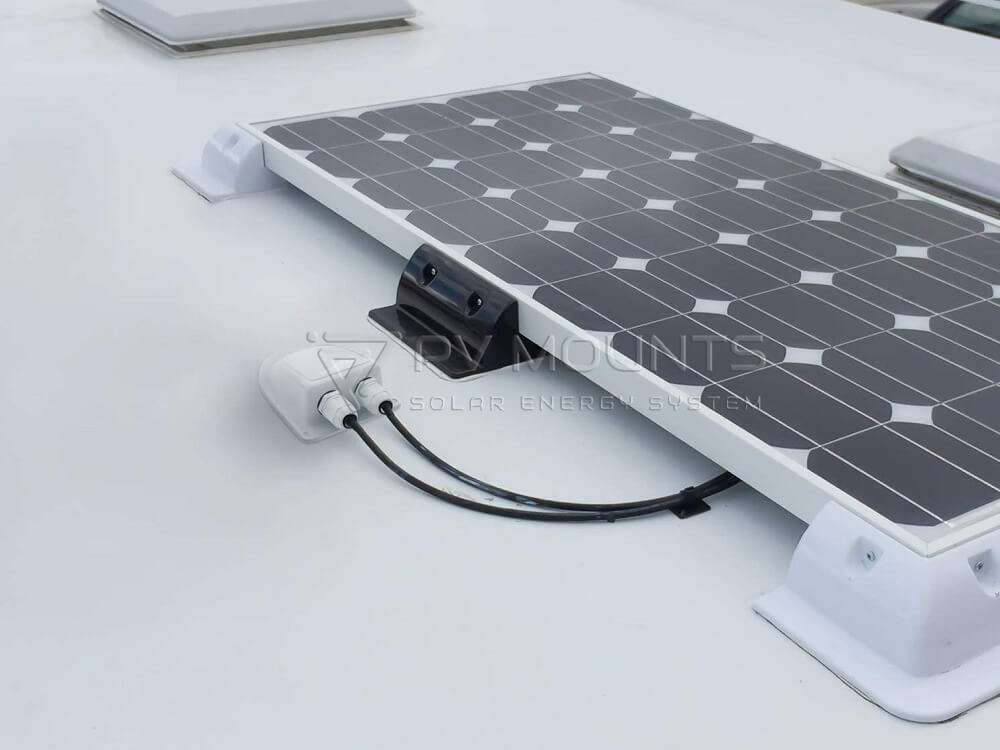
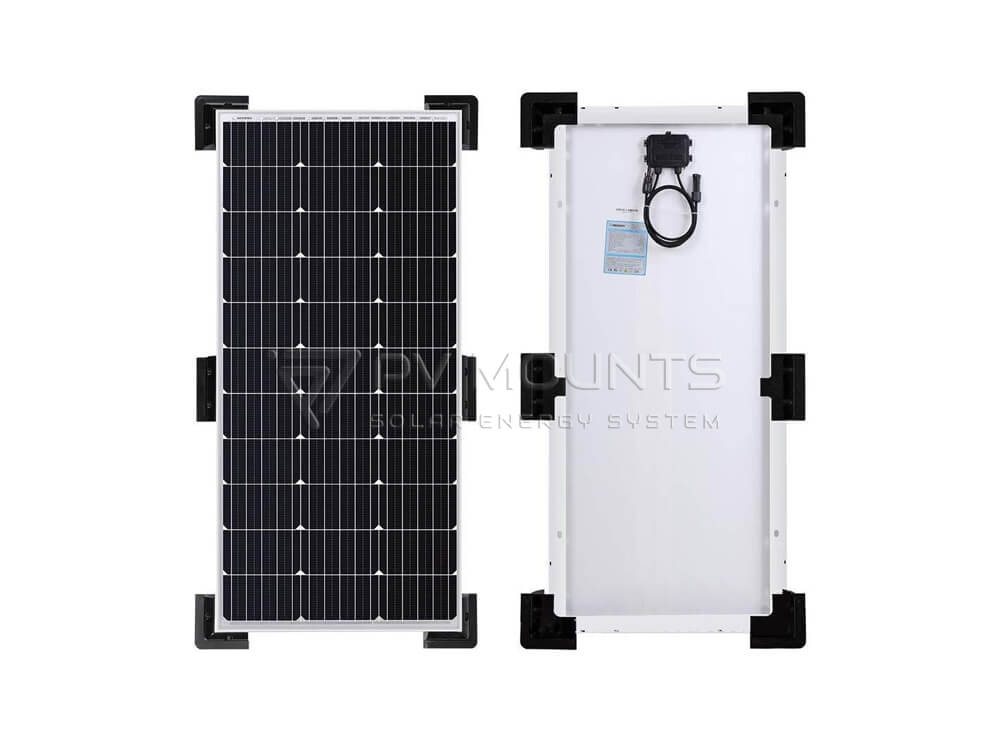
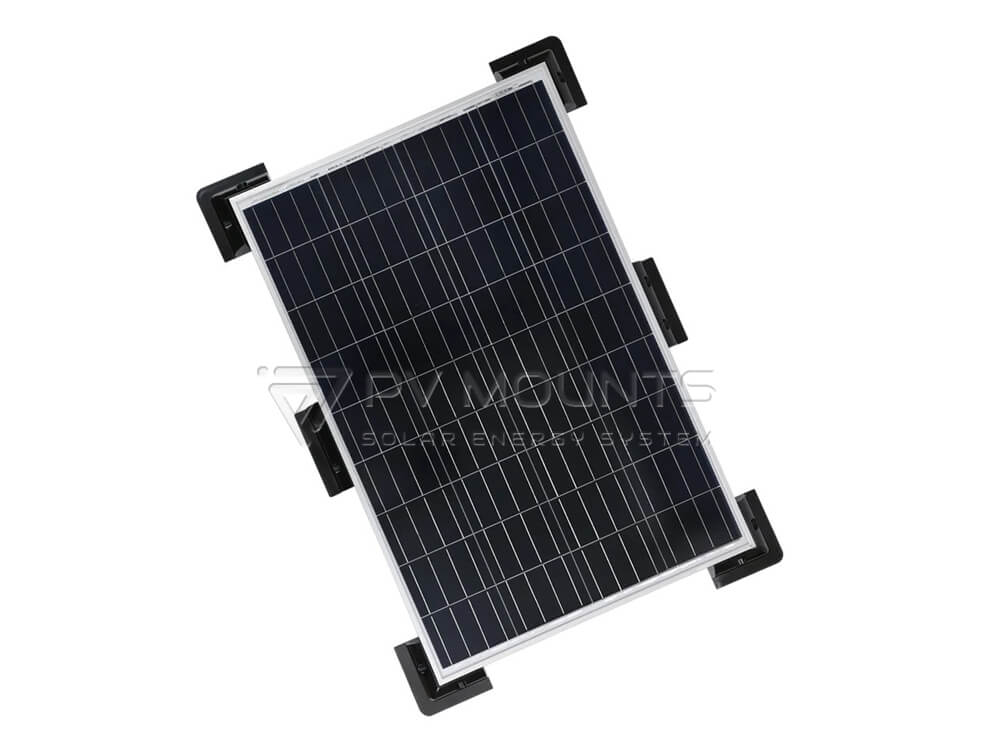
  • Place the 4 corner brackets at each corner of the solar panel frame.

  • Align the 2 side brackets (if used) midway along the panel’s length for added stability.

  • Use a pencil or marker to trace their positions.

4. Apply the Adhesive

  • Apply a generous bead of Sikaflex 252 to the base of each bracket.

  • Carefully press each bracket into place on the marked areas.

  • Optional: Use masking tape to hold the brackets in place during curing.

5. Mount the Solar Panel

  • Once the brackets are fixed, place the solar panel into the mount grooves.

  • Most panels will self-secure within the bracket slots; check for a snug fit.

  • Allow adhesive to fully cure for 24 hours before moving or traveling.

6. Install the Cable Entry Gland

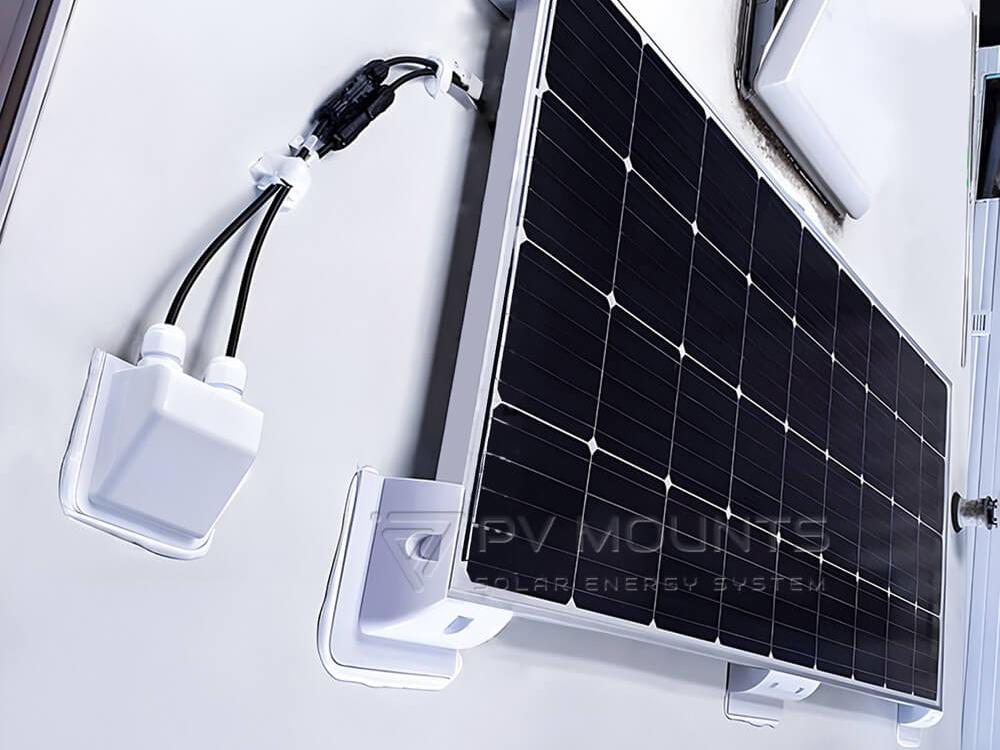
  • Choose a location close to the solar panel for routing cables inside.

  • Mark and cut holes in the roof/deck if needed (only for cable routing).

  • Insert cables into the double ABS cable entry gland, then seal it with the included waterproof grommets.

  • Apply adhesive around the gland base and press firmly into place.

  • Use silicone sealant around cable entry if extra waterproofing is needed.


Installation Tips

  • For best bonding strength, install in dry weather with temperatures above 10°C (50°F).

  • Avoid drilling unless absolutely necessary—this system is designed for drill-free mounting.

  • Routinely check the adhesive condition and cable gland tightness, especially after long trips.

One stop manufacturer specialized in solar mounting system and components for your solar mount projects.

PVMOUNTS has all kinds of solar mounting accessories designed for using on almost every roof and ground with excellent compatibility. Customized order is acceptable.

We can produce different solar panel mounted components including but not limited in:
  • Rails
  • Hooks
  • L-Feet
  • Ground Screws
  • Standing Seam Clamps
  • Mid Clamp & End Clamp
  • Earthing Lug
  • Grounding Clip
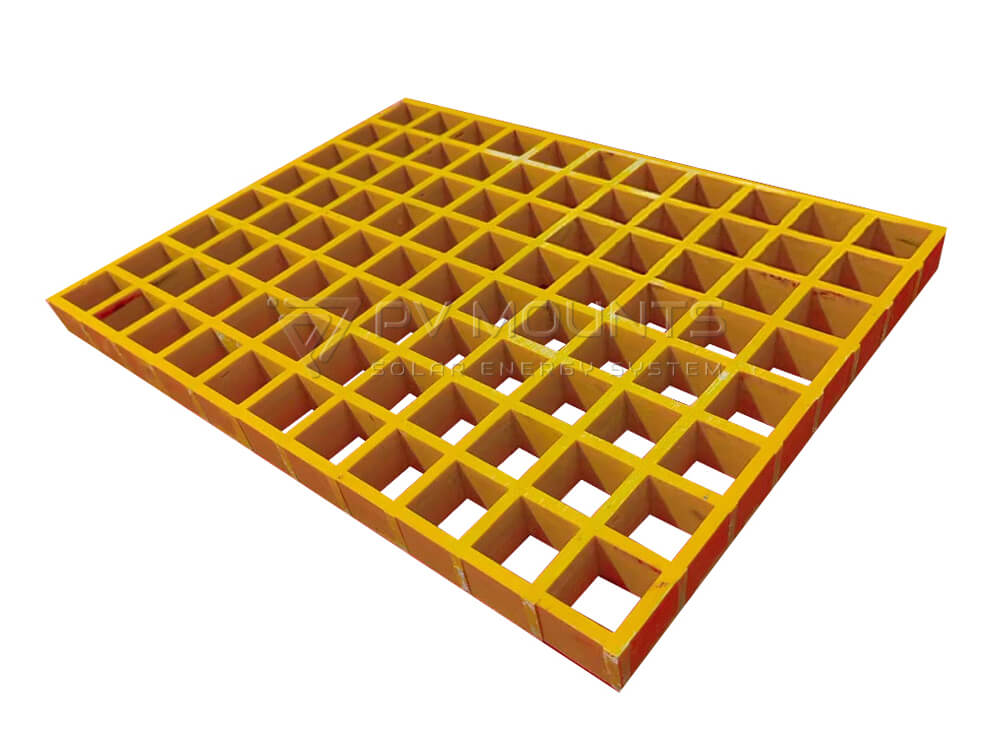
  • Solar FRP Walkway
  • ABS bracket Mount kits for RVS
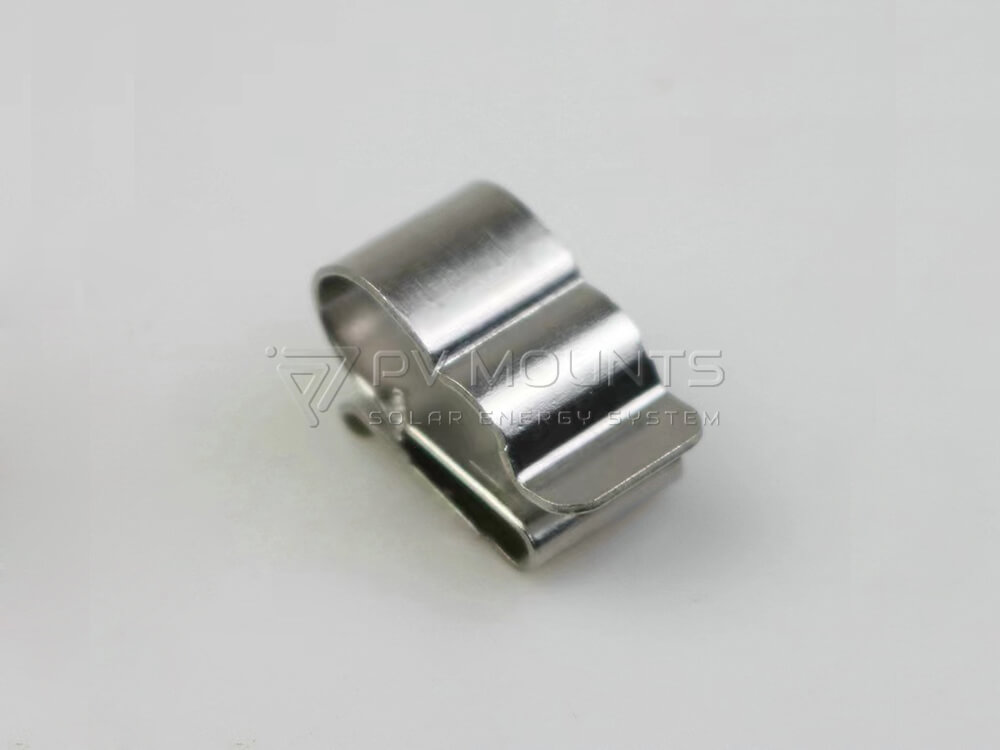
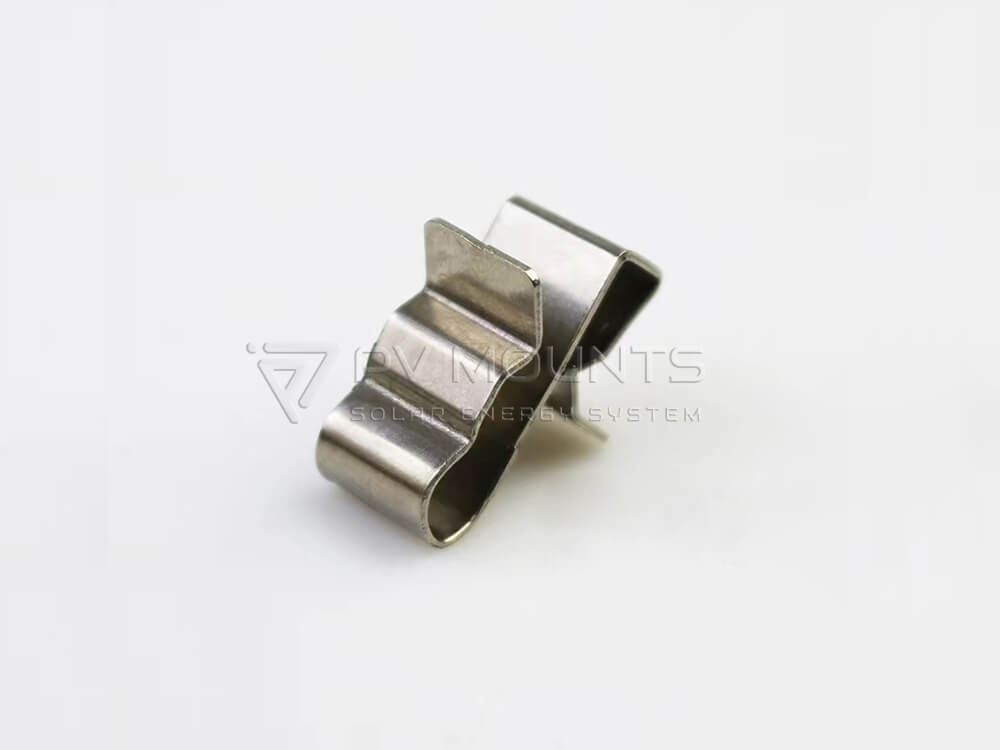
  • Cable Clip
  • and more

Cable Entry Gland

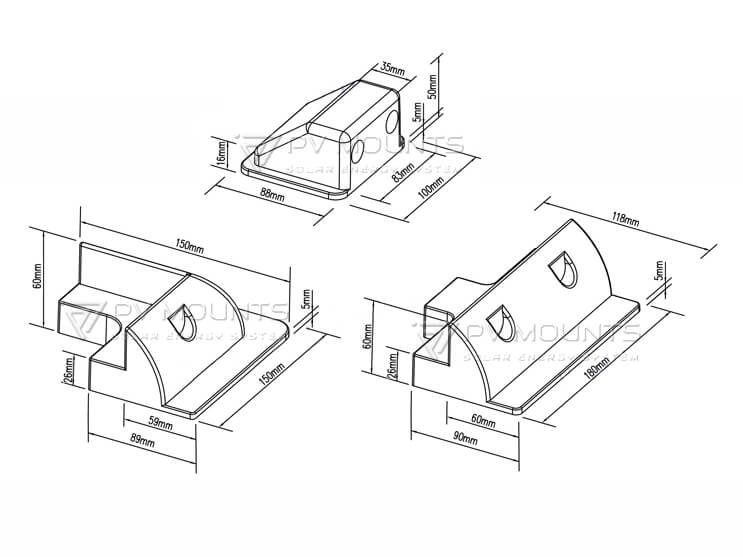
ABS Corner Mount

ABS Side Mount

4 PC ABS Bracket Kits for RVs Solar Panel Mount

5 PC ABS Bracket Kits for RVs Solar Panel Mount

6 PC ABS Bracket Kits for RVs Solar Panel Mount

7 PC ABS Bracket Kits for RVs Solar Panel Mount

Production Photo

Packing Photo

Solar Installation Photo

Solar Case Photo

FAQ about ABS solar panel mounting kit

A: Yes. ABS solar mounts are specifically designed for drill-free installation and can be securely bonded to RV roofs using high-strength adhesive sealants. Many RV owners prefer adhesive mounting because it helps reduce the risk of roof leaks caused by drilling holes.
Commonly recommended adhesives include:
  • Sikaflex 252
  • Sikaflex 221
  • 3M 5200 Marine Adhesive
  • Dekasyl MS-5

These adhesives provide strong bonding performance, weather resistance, and vibration resistance for long-term outdoor use.

For best results, the roof surface should be cleaned thoroughly before applying adhesive.

A: ABS solar mounts themselves are waterproof and suitable for outdoor environments. Since the system is commonly installed without drilling, it can help minimize water leakage risks on RV and camper roofs.

The included cable entry gland is also designed with waterproof sealing to protect solar cables from rain, moisture, and dust.

For maximum waterproof performance, it is recommended to use a proper sealant around the mounting brackets and cable gland during installation.

A: For normal products,we do not require MOQ. For customized order, MOQ is necessary.

A: High-quality ABS solar brackets are designed for long-term outdoor use and typically last 10–15 years or longer under normal environmental conditions.

UV-resistant ABS material helps protect the brackets from:

  • Sun exposure
  • Rain
  • Salt air
  • Temperature changes
  • Outdoor aging

The actual lifespan depends on climate conditions, installation quality, and adhesive performance.

A: Yes. Properly installed ABS solar mounts are designed to withstand highway wind pressure, vibration, and outdoor travel conditions commonly experienced by RVs and camper vans.

The aerodynamic design helps reduce wind resistance during driving. When combined with high-strength adhesive sealant, the mounting system can securely hold solar panels during long-distance travel.

Correct installation and proper adhesive curing time are very important before driving the vehicle.

A: The most commonly recommended adhesives for ABS solar mounts include:

  • Sikaflex 252
  • Sikaflex 221
  • 3M 5200
  • Dekasyl MS-5

These adhesive sealants are widely used in RV and marine applications because they offer:

  • Strong bonding strength
  • Waterproof sealing
  • UV resistance
  • Vibration resistance
  • Long-term outdoor durability

Always follow the adhesive manufacturer’s installation instructions and curing time recommendations.

A: Every processing charger will check the quality in priority before his duty. After the product is completed, the Q/C team will do final detailed inspection before loading.

A: Yes. ABS solar mounts are widely used on curved RV, camper, caravan, and boat roofs.

Compared with traditional aluminum brackets, ABS corner mounts can adapt more easily to slightly curved surfaces and provide a cleaner appearance after installation.

They are especially suitable for:

  • RV roofs
  • Camper vans
  • Caravans
  • Boats and yachts
  • Off-grid mobile solar systems

A: Both ABS solar mounts and aluminum brackets have their advantages depending on the installation application.

ABS Solar Mount Advantages

  • Drill-free installation possible
  • Better for curved roof surfaces
  • Lightweight and clean appearance
  • Reduced roof leakage risk
  • Easy installation for RV and camper use

Aluminum Bracket Advantages

  • Higher structural strength
  • Suitable for larger solar panels
  • Better for flat metal surfaces
  • More commonly used in permanent installations

ABS Solar Mount vs Aluminum Z Bracket

ABS MountAluminum Z Bracket
Drill-free installationRequires screws
Better for curved RV roofsBetter for flat surfaces
LightweightStronger load capacity
Cleaner appearanceMore industrial

Which One Should You Choose?

ABS solar mounts are usually preferred for RV, camper, caravan, and marine solar installations where waterproof performance and simple installation are important.

Aluminum brackets are often chosen for fixed rooftop systems or installations requiring higher mechanical strength.

Payment TermT/TSmall order100% T/T in advance
EXW
DAP
FOB30% T/T in advance, 70% balance paid before shipment.
CNF30% T/T in advance, balance paid against copy of B/L
CIF
Delivery MethodBy express, By air, By Sea or By train

Yes. We can print your logo on box.

A: Easy to go, Send email to us, our sales will contact you with details and guide you.

Step 1. Confirm PI with signed and stamped.Aarrange 30% deposit and send bank slip paper.Then we prepare material and make production plan in advance.
Step 2. After we get your 30% advance payment, order is under proceeding.Every details will keep you updated.Including producing,packing,loading and so on. 
Step 4. You can arrange shiping by yourself or us. If we arrange the shipment, we will send the freight information by air or sea and book it after your confirmation.
Step 5. Balance will be made by your side against B/L copy
Step 6. Telex Release will be arranged and full set of documents will be sent for customs clearance after we received your balance。
Step 7. Give us feedback after you checking quality. 
 
With our efforts and your support, PV Mounts have great confidence that we will have a nice start and long-term easy comfortable cooperation relationship.

Related Products

GET A QUOTE

How We Can Help

en_GBEnglish

GEA QUOTE NOW

Fill out the form below, and we will be in touch shortly.