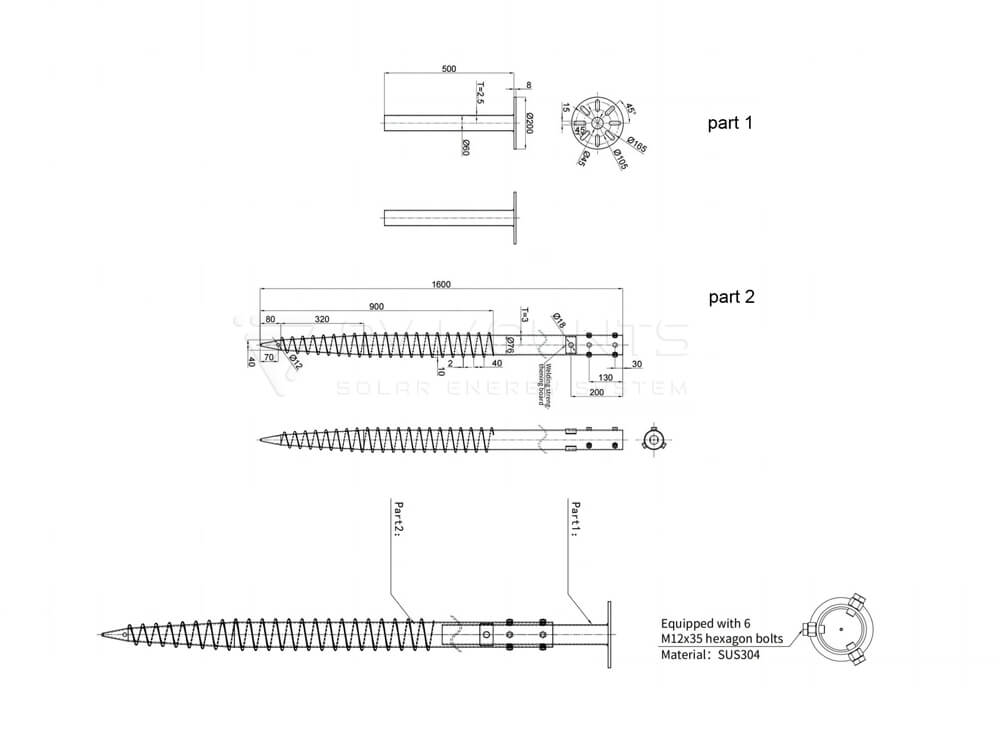
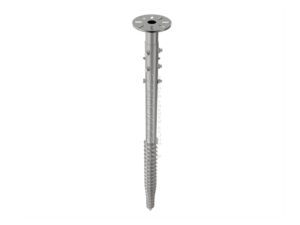
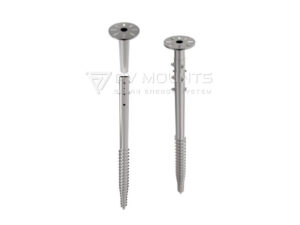
Key Features:
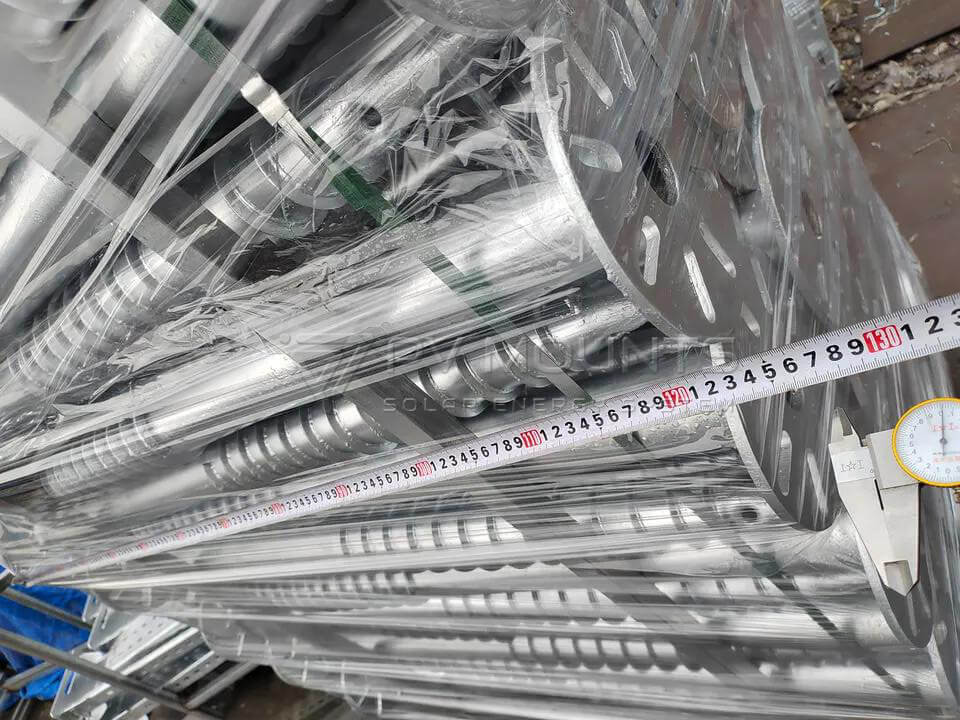
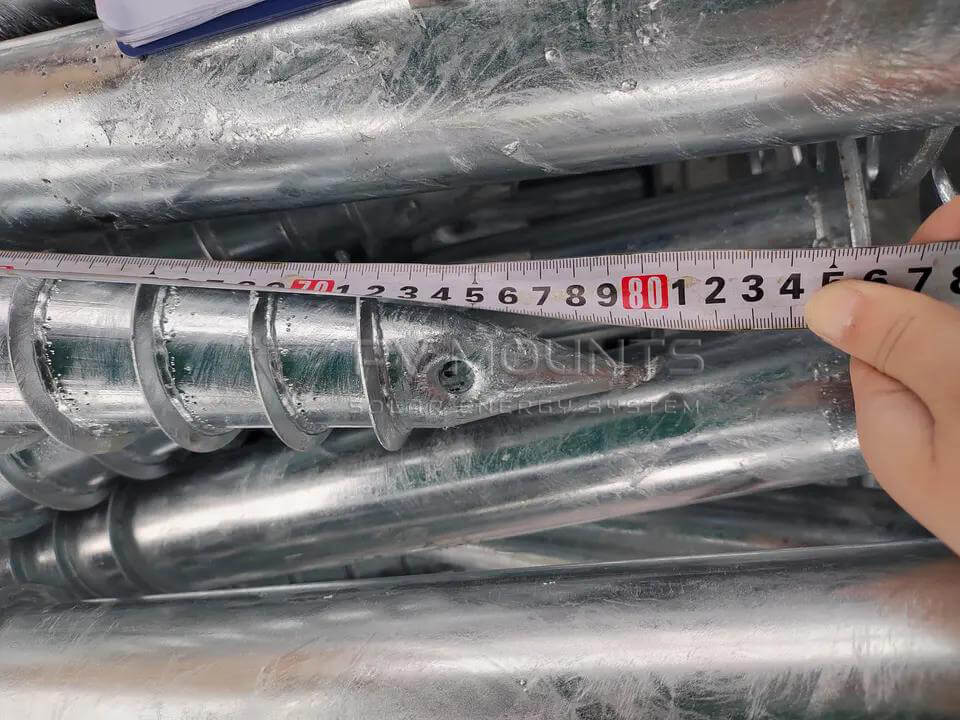
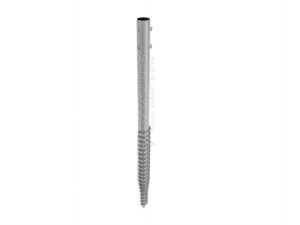
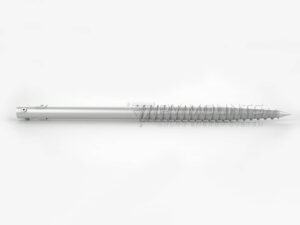
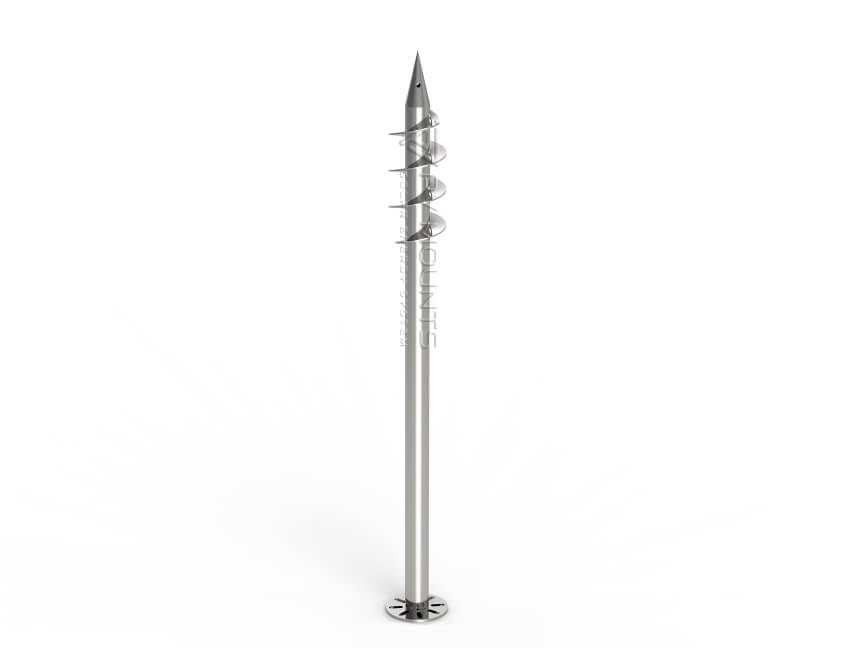
- Versatile Length Options: Choose from a variety of screw lengths ranging from 600 mm to 3500 mm, ensuring compatibility with any project size.
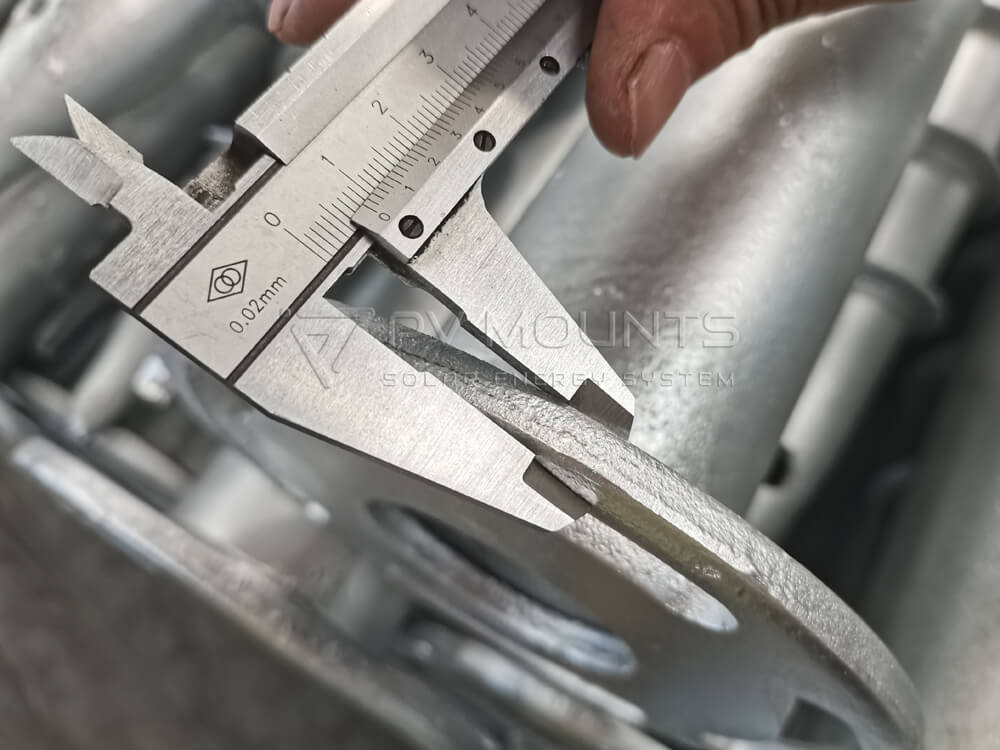
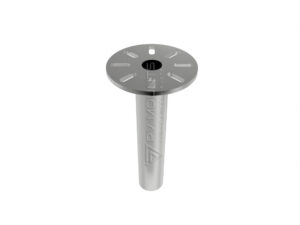
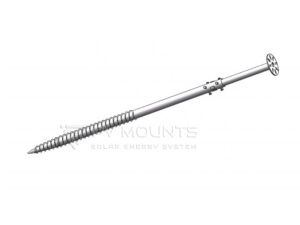
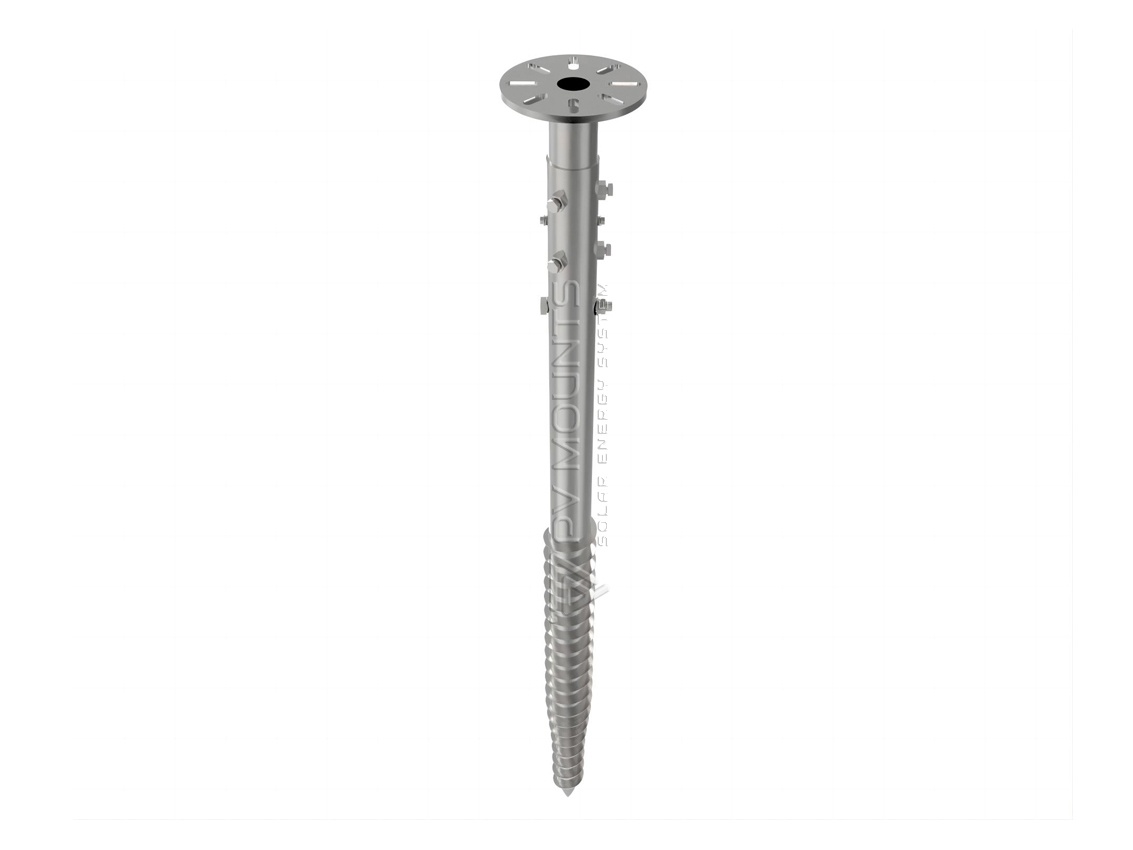
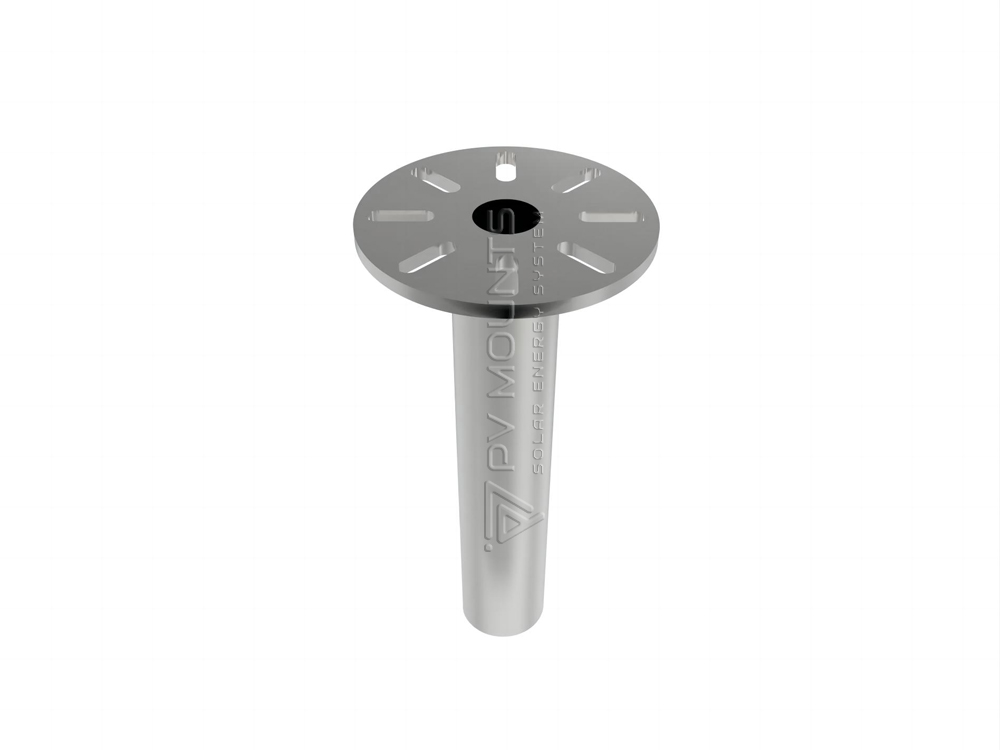
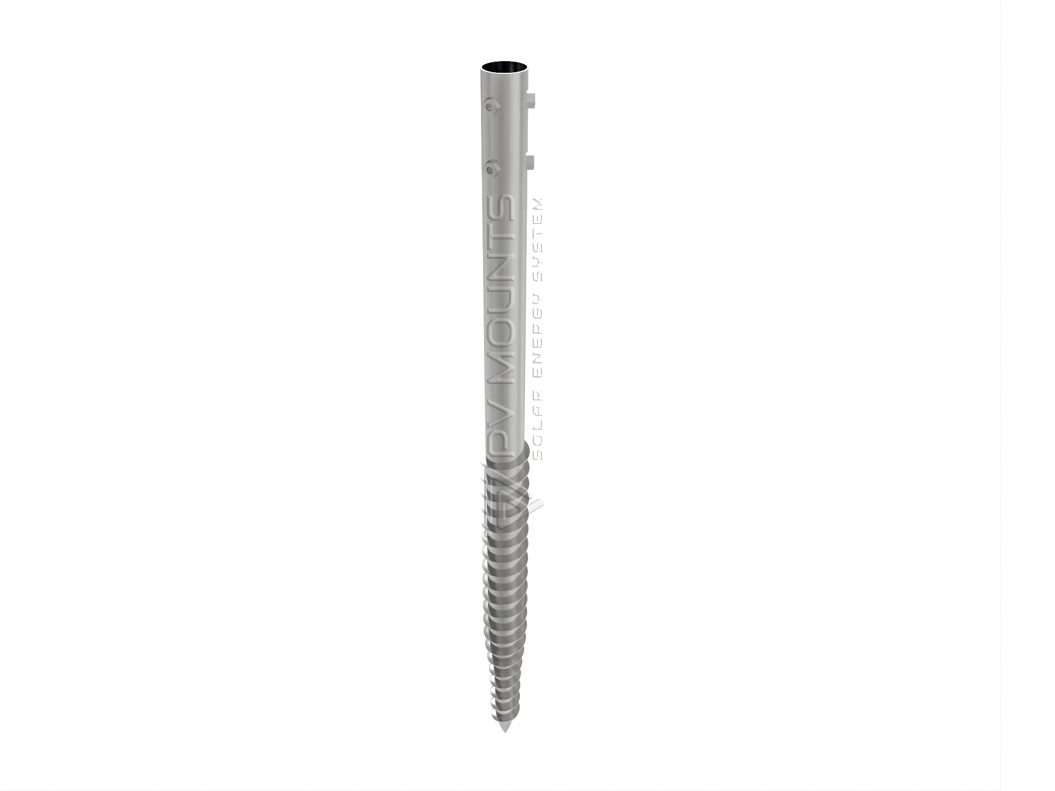
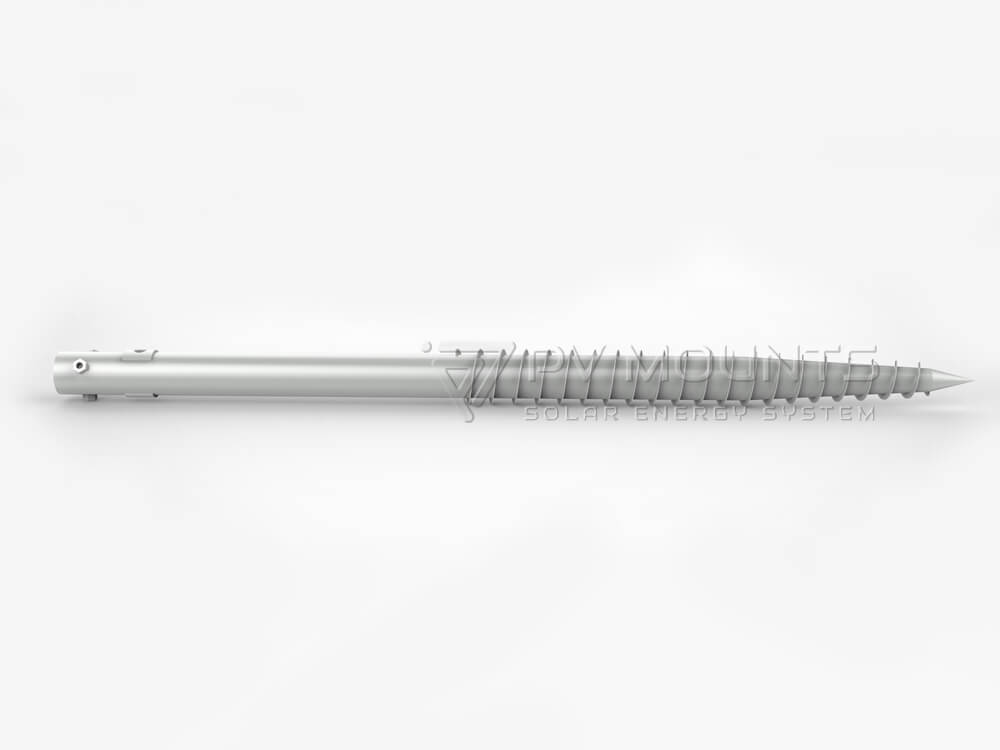
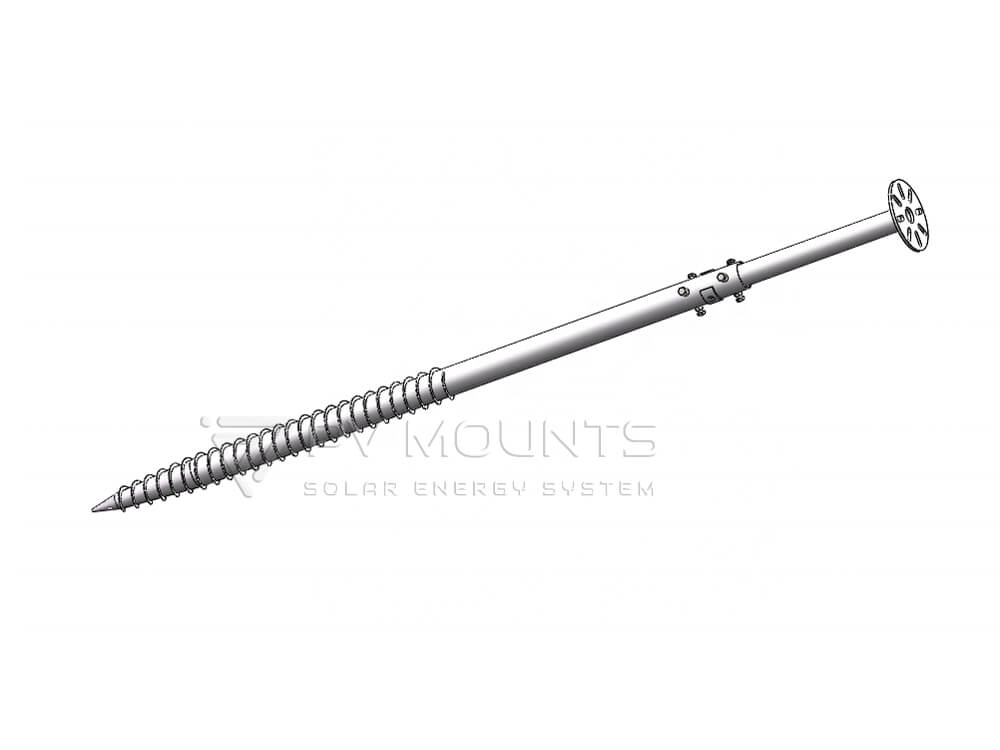
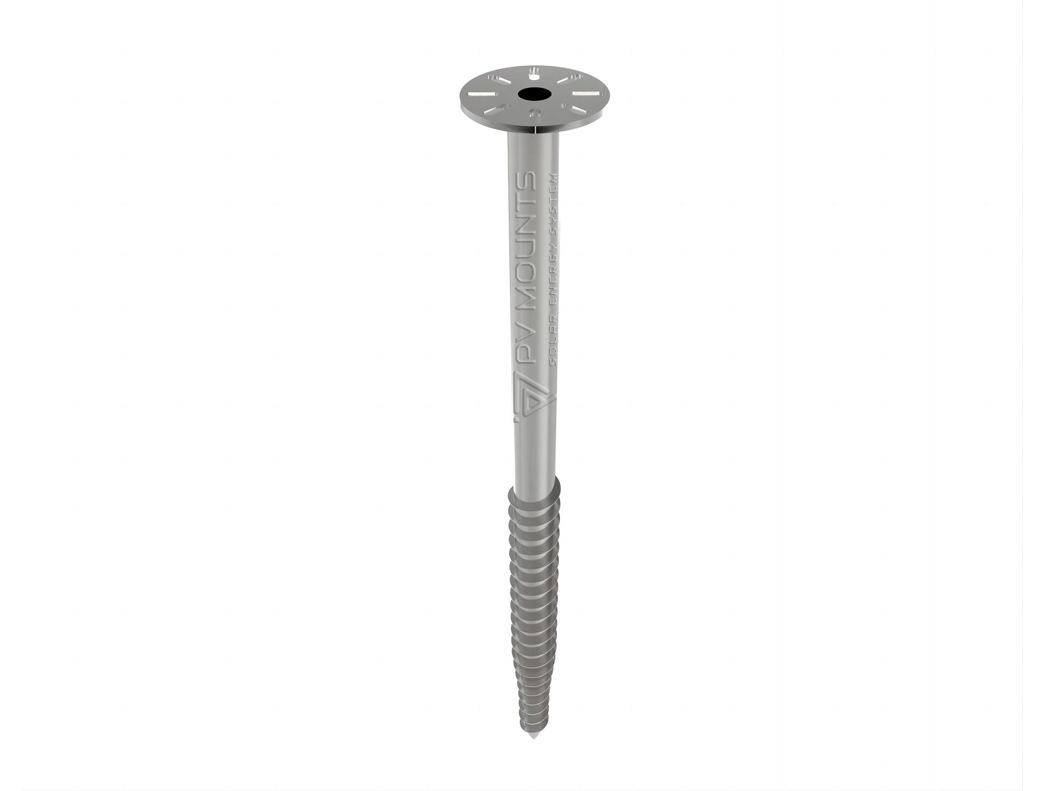
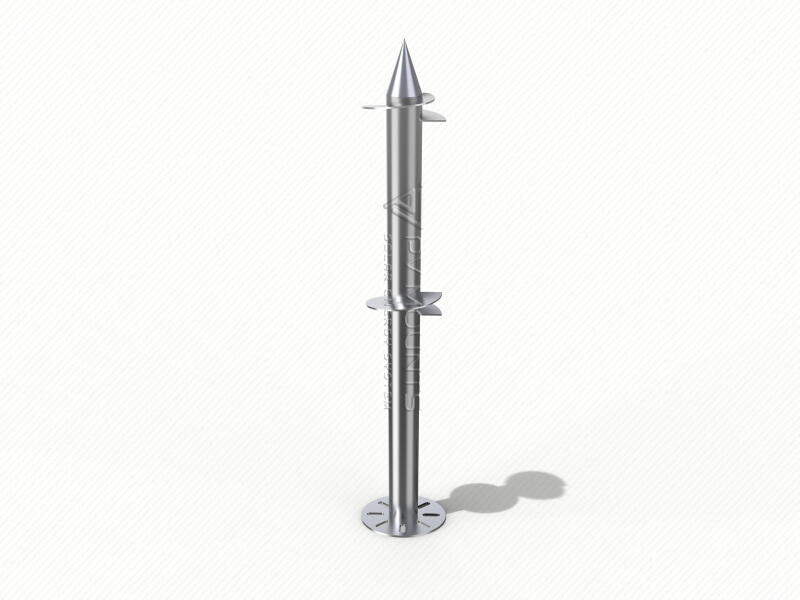
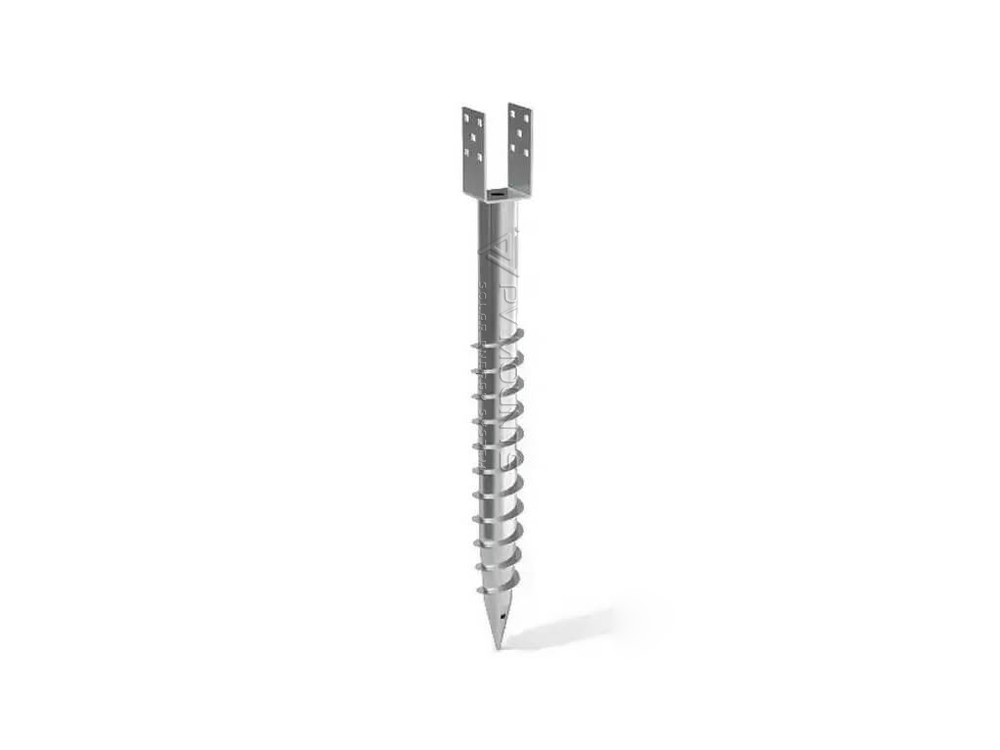
- Adjustable Flange Technology: Unique none-fixed flange allows for fine height adjustments, providing a perfectly horizontal base for solar panels.
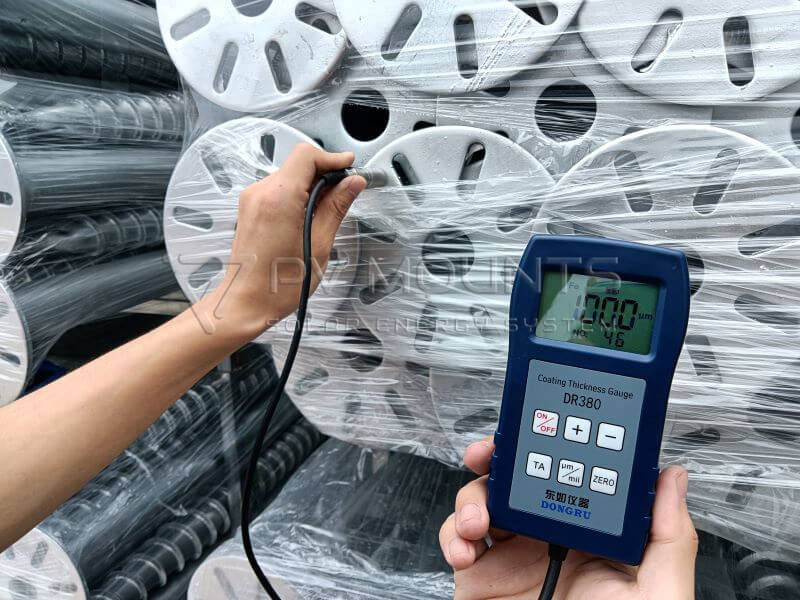
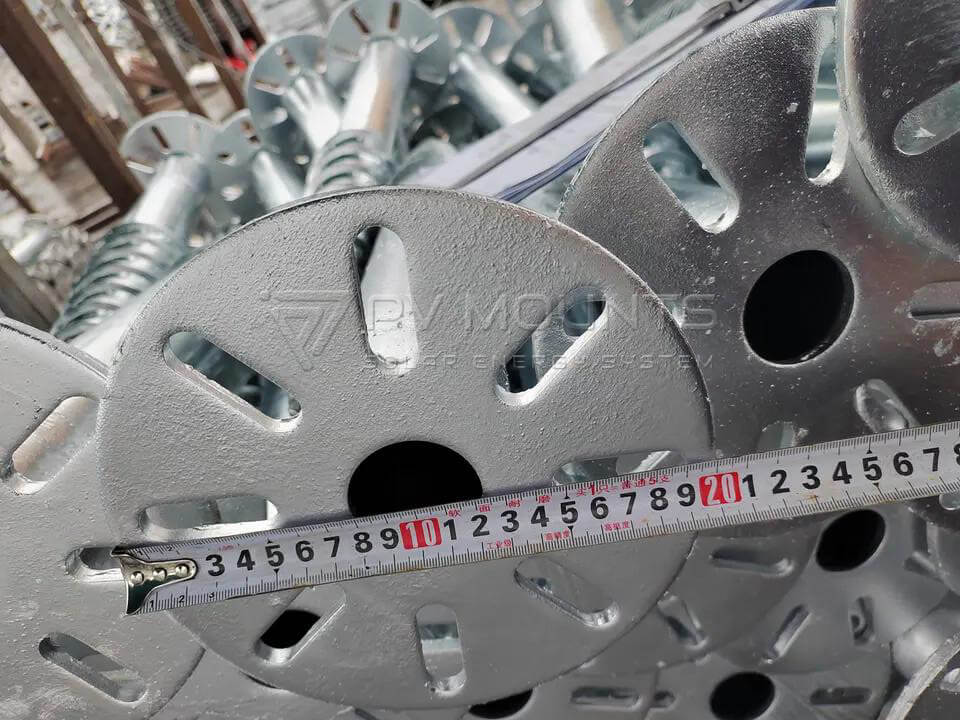
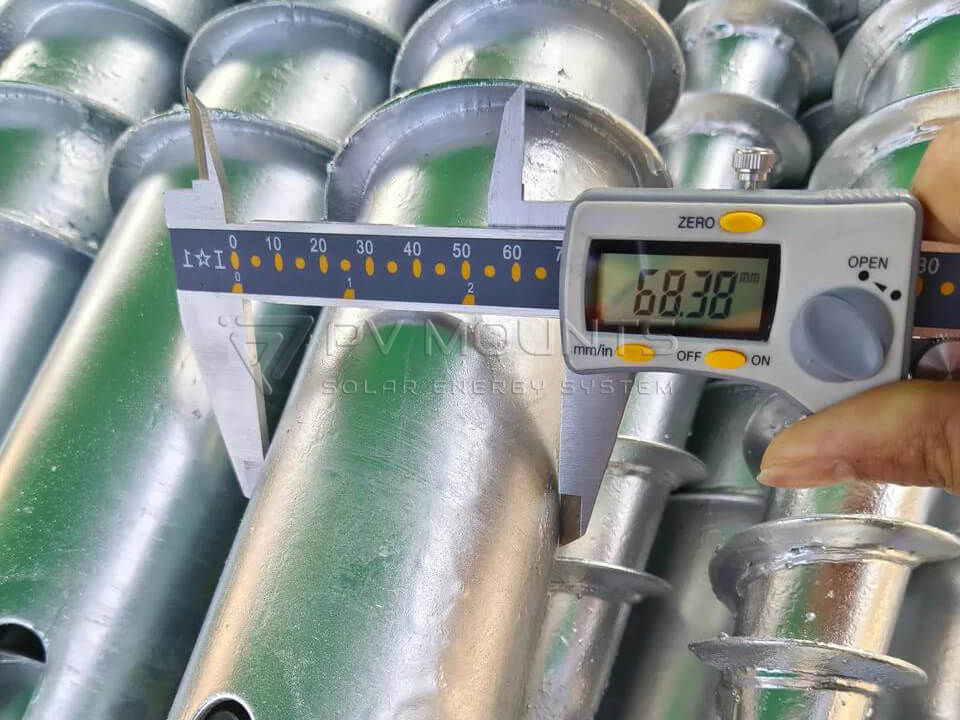
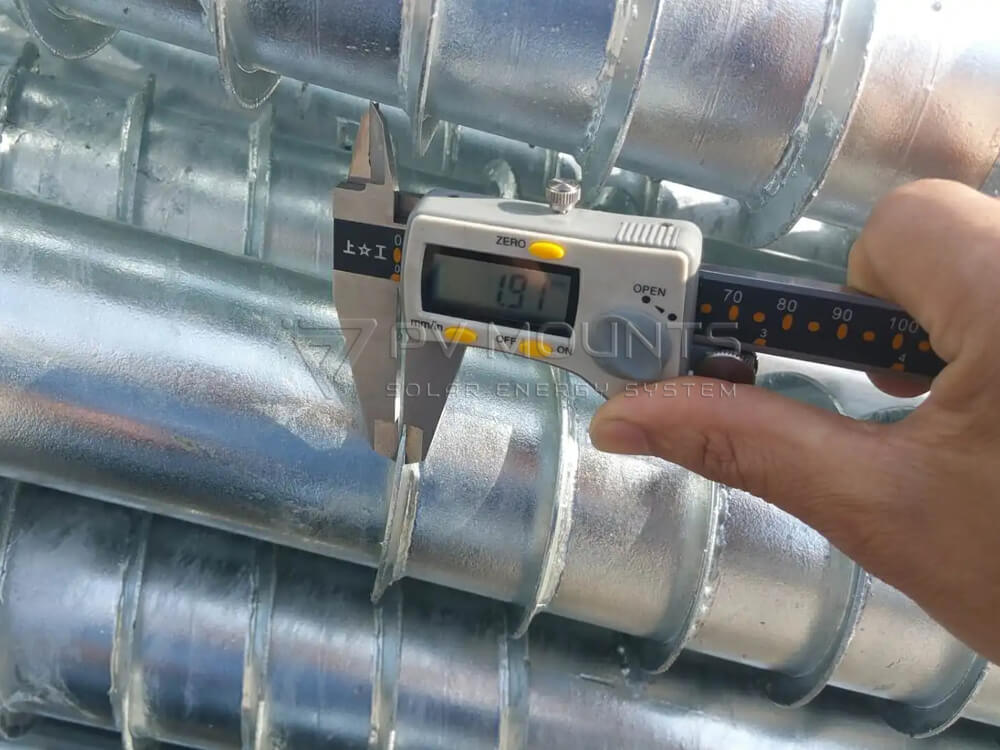
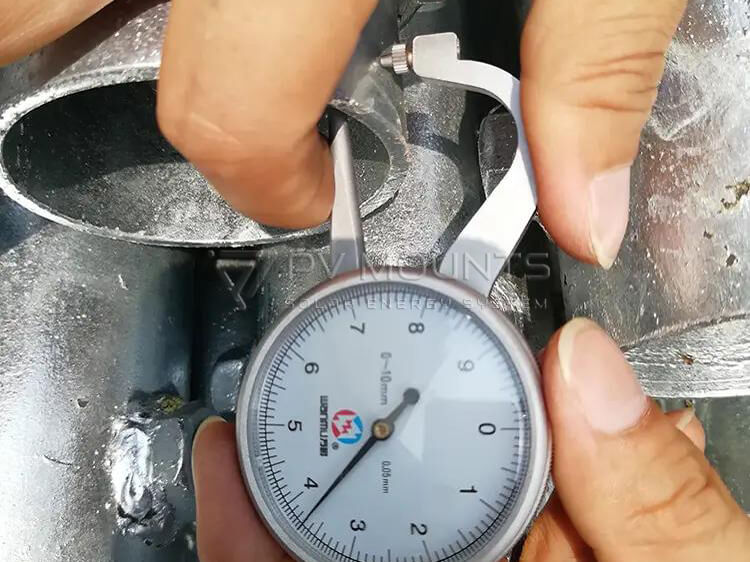
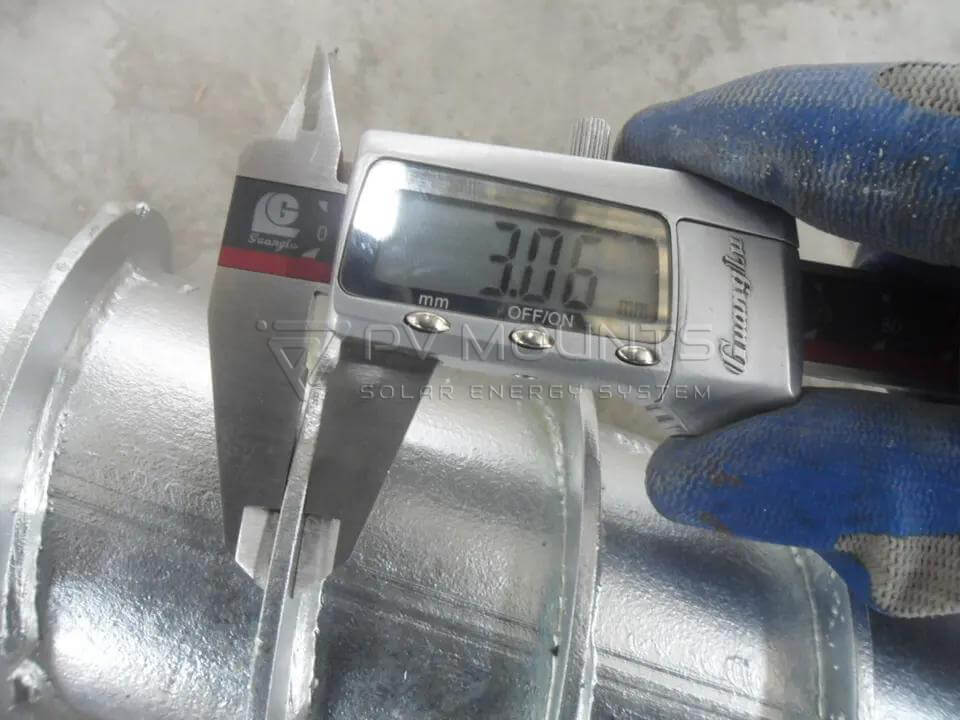
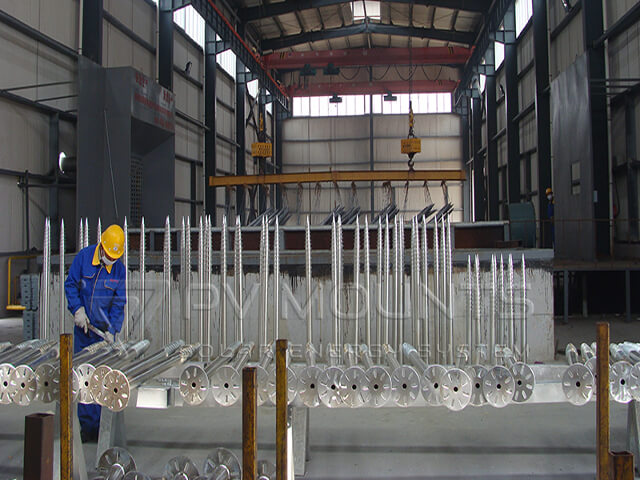
- Material Excellence: Constructed from Q235 standard carbon steel and finished with hot-dipped galvanization for superior corrosion resistance and longevity exceeding 15 years.
- Installation Simplicity: Designed for easy and quick setup, reducing labor time and enhancing installation efficiency.
Benefits:
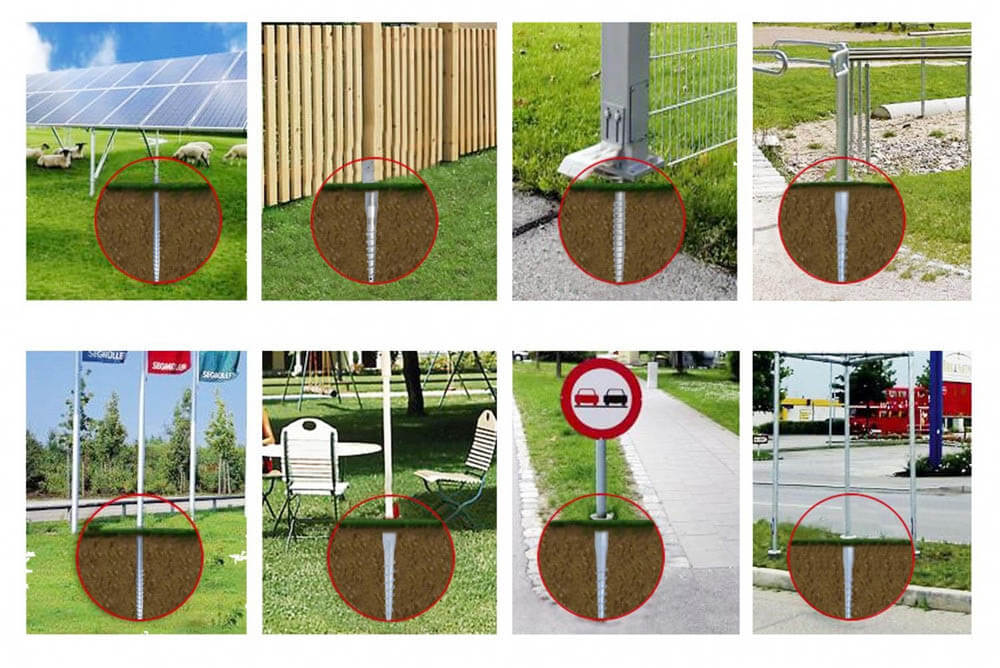
- All-Terrain Compatibility: Engineered to anchor securely in various soil types including sandy, soft soil, and mountainous conditions.
- Reusable and Sustainable: Not only built to last, but also easy to disassemble and reuse, supporting sustainable construction practices.
- Cost-Effective: Offers significant savings on installation and maintenance, making it an ideal choice for wholesalers and B2B customers seeking both quality and value.
Harness the power of PV Mounts’ expertise to ensure your solar panels stand strong regardless of the setting. Ideal for dynamic environments, the Adjustable Solar Ground Screw Pile PVM-GS-04B is your go-to choice for a dependable, versatile, and durable solar foundation.

We offer installation guide to our customer with instructions and image as well as videos. Some of the component kits are well pre-assembled for your quick and easy installation for your projects.
Installing adjustable ground screws for solar mounting involves several steps. Here’s a general guide for the installation process:
1. Site Preparation
- Choose the Installation Site: Select a flat area where the solar panels will be mounted. Ensure the ground is suitable for the installation of ground screws (soft soil, sandy, or desert terrain works best).
- Mark the Locations: Use measuring tools to mark the positions where the ground screws will be installed. These positions should align with the required layout for the solar panels.
2. Tools and Materials Needed
- Adjustable ground screws with flanges
- Wrench or impact driver
- Measuring tape
- Leveling tool (e.g., laser level or spirit level)
- Steel flange and mounting nuts (if necessary)
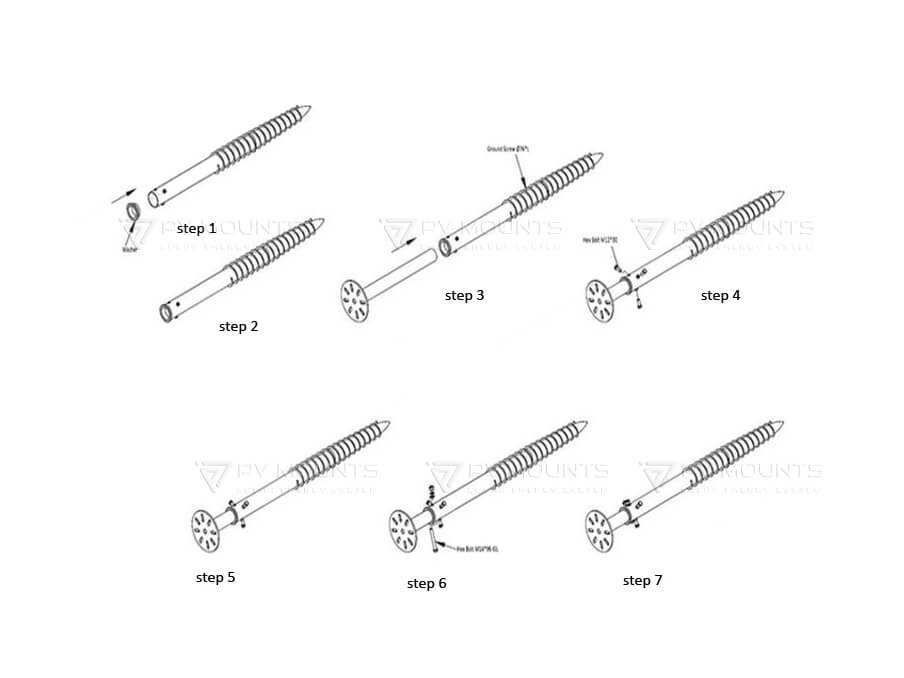
3. Install Ground Screws
- Align the First Screw: Position the first ground screw at the marked location.
- Insert the Screw: Use an impact driver or a manual wrench to drive the ground screw into the ground. Ensure it goes deep enough for a strong foundation (usually to a depth of 600-3500 mm depending on the screw size).
- Adjust the Height: The key feature of the adjustable ground screws is the ability to fine-tune the height. Loosen the flange and adjust the height of the screw according to the solar panel mounting requirements.
- Fix the Flange: Once the desired height is achieved, tighten the three nuts to firmly secure the flange to the screw pole.
4. Check for Horizontal Alignment
- Use a Level: After securing the flange, check that the ground screw is perfectly level. This ensures that all other screws will align correctly and that the solar panels will be installed on a flat, stable surface.
- Adjust if Necessary: If needed, make further adjustments to the height of the screw or use different flange sizes to ensure perfect alignment.
5. Repeat for Other Ground Screws
- Install Additional Screws: Repeat the process for the remaining ground screws, ensuring all screws are level and evenly spaced according to the solar panel installation layout.
- Double-Check Alignment: Continuously verify that all screws are aligned horizontally, adjusting as necessary.
6. Mount the Solar Panels
- Once the ground screws are properly installed and secured, proceed with mounting the solar panels onto the ground screws using appropriate brackets and mounting hardware.
7. Final Inspection
- Check Stability: After all screws are installed, double-check each screw’s stability and ensure the entire system is secure.
- Final Leveling: Confirm the solar panel foundation is stable, leveled, and ready for panel installation.
By following these steps, the adjustable ground screw installation will provide a stable and reliable foundation for your solar panel mounting system.
PV Mounts is a one-stop manufacturer for solar mounting system. We can produce different solar panel mounted components including:
- Rails
- Hooks
- L-Feet
- Ground Screws
- Standing Seam Clamps
- Mid Clamp & End Clamp
- Earthing Lug
- Grounding Clip
- Cable Clip
- and more