Key Features:
1. High Load-Bearing Capacity
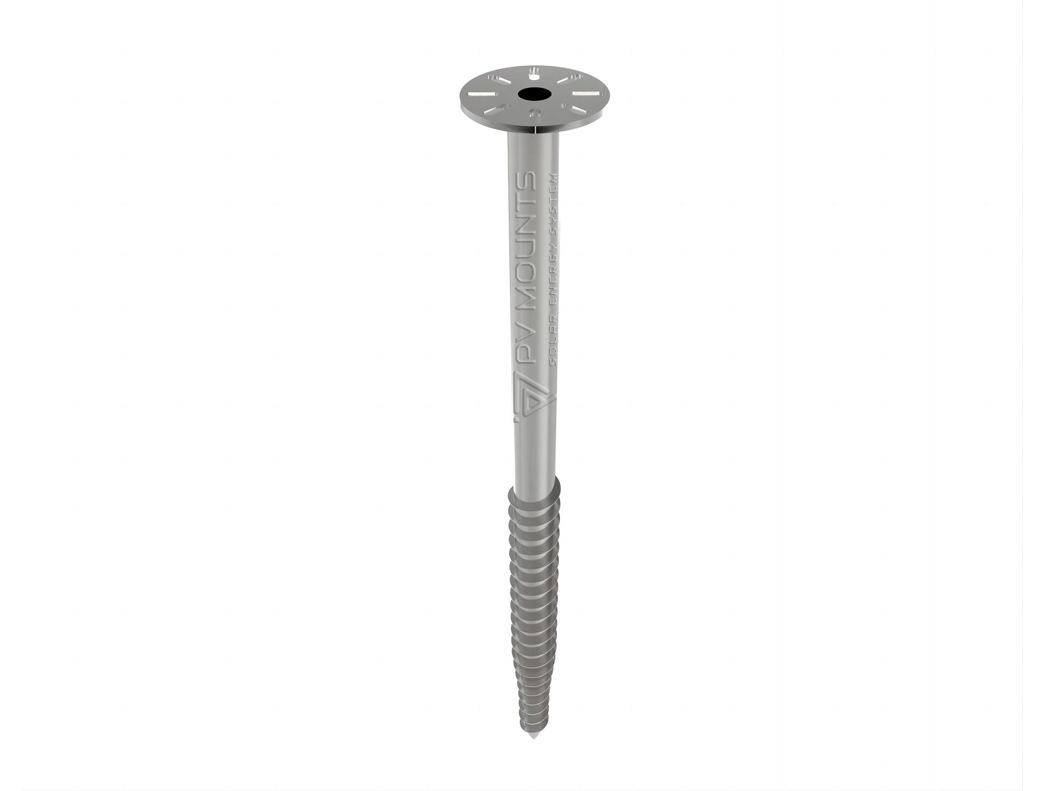
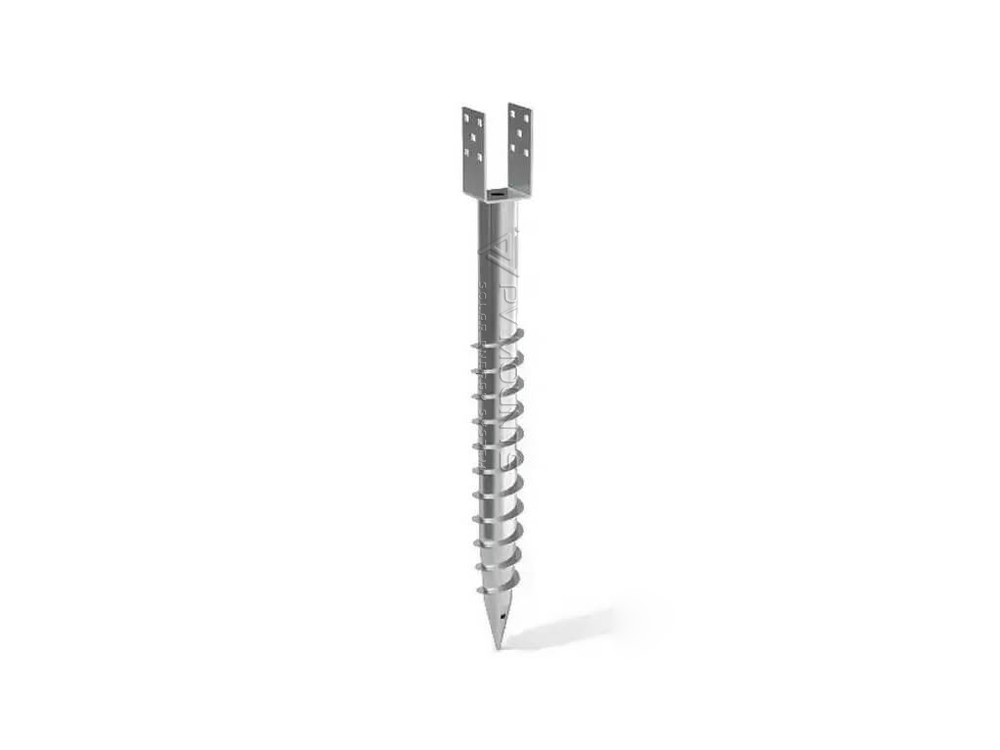
- The flange head distributes weight efficiently, ensuring strong and stable support for the solar structure.
- Suitable for various soil conditions, including clay, sand, and rocky terrains.
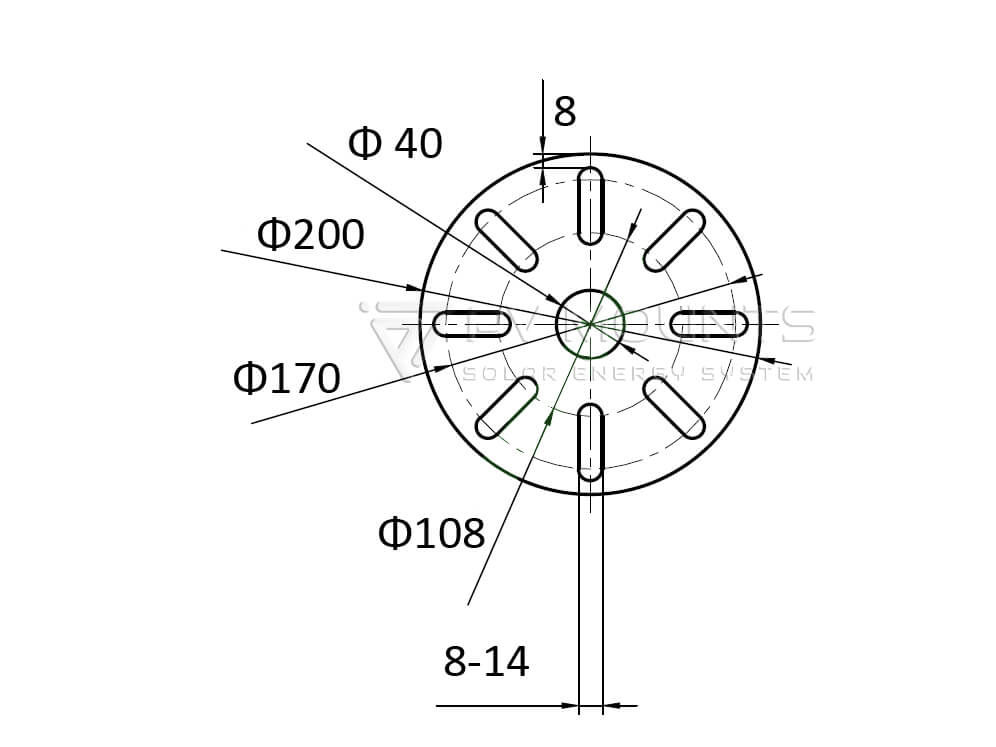
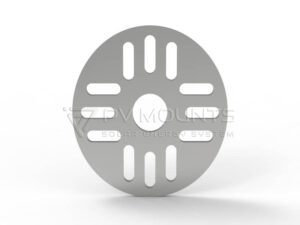
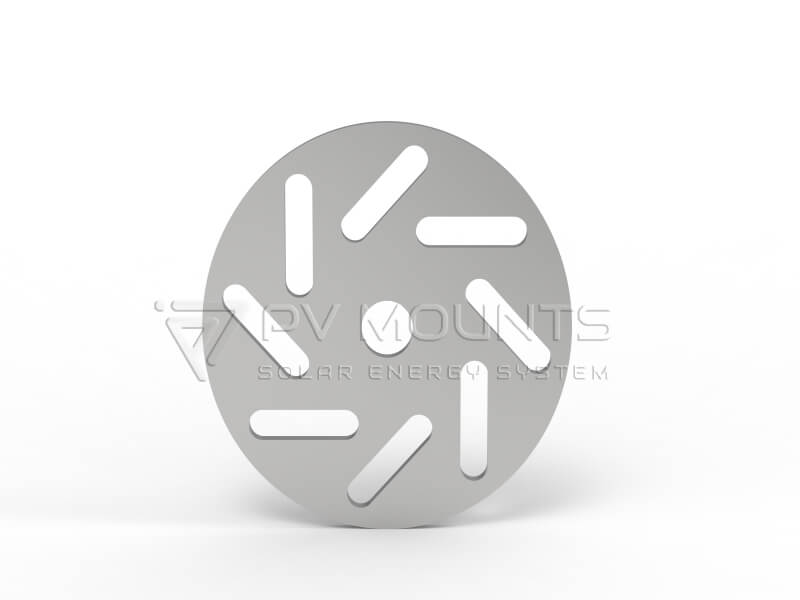
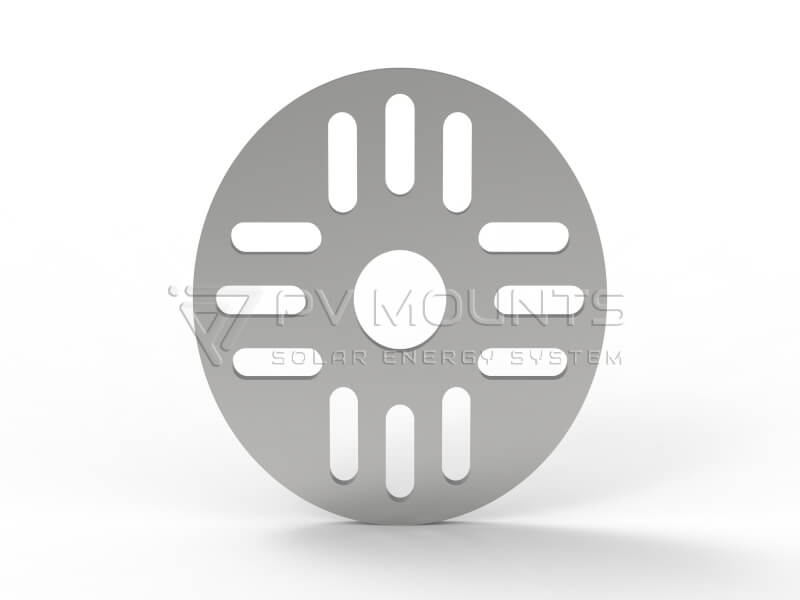
2. Pre-Drilled Flange for Easy Installation
- Designed with pre-drilled holes to allow easy bolting of solar racking or mounting brackets.
- Compatible with different connection types for a secure and fast installation.
3. Durable and Corrosion-Resistant Material
- Made from hot-dip galvanized steel (Q235/Q355) to prevent rust and corrosion.
- Long lifespan, ensuring durability in harsh outdoor environments.
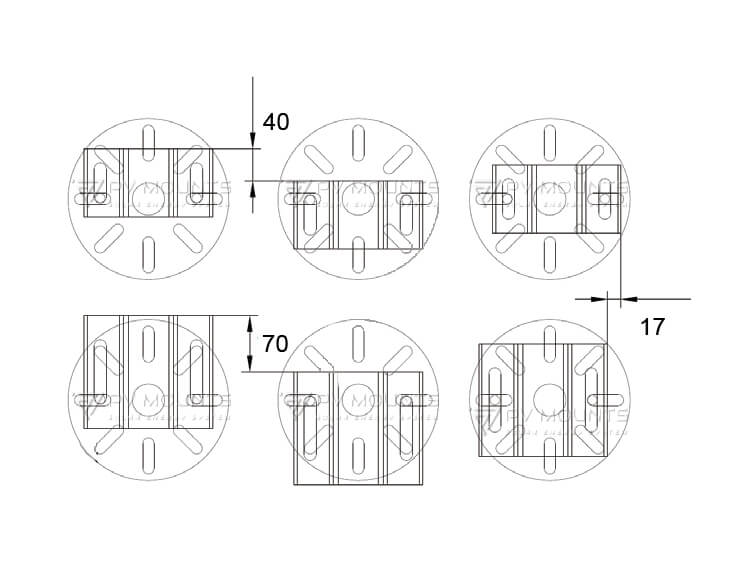
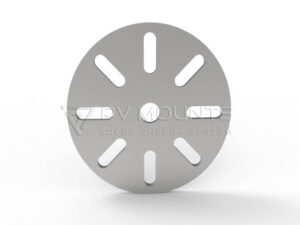
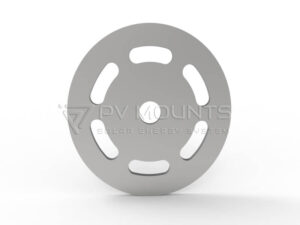
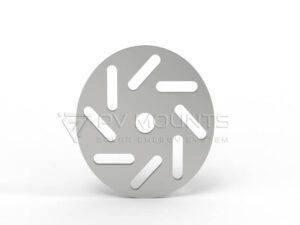
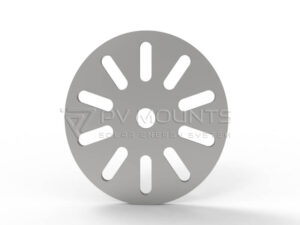
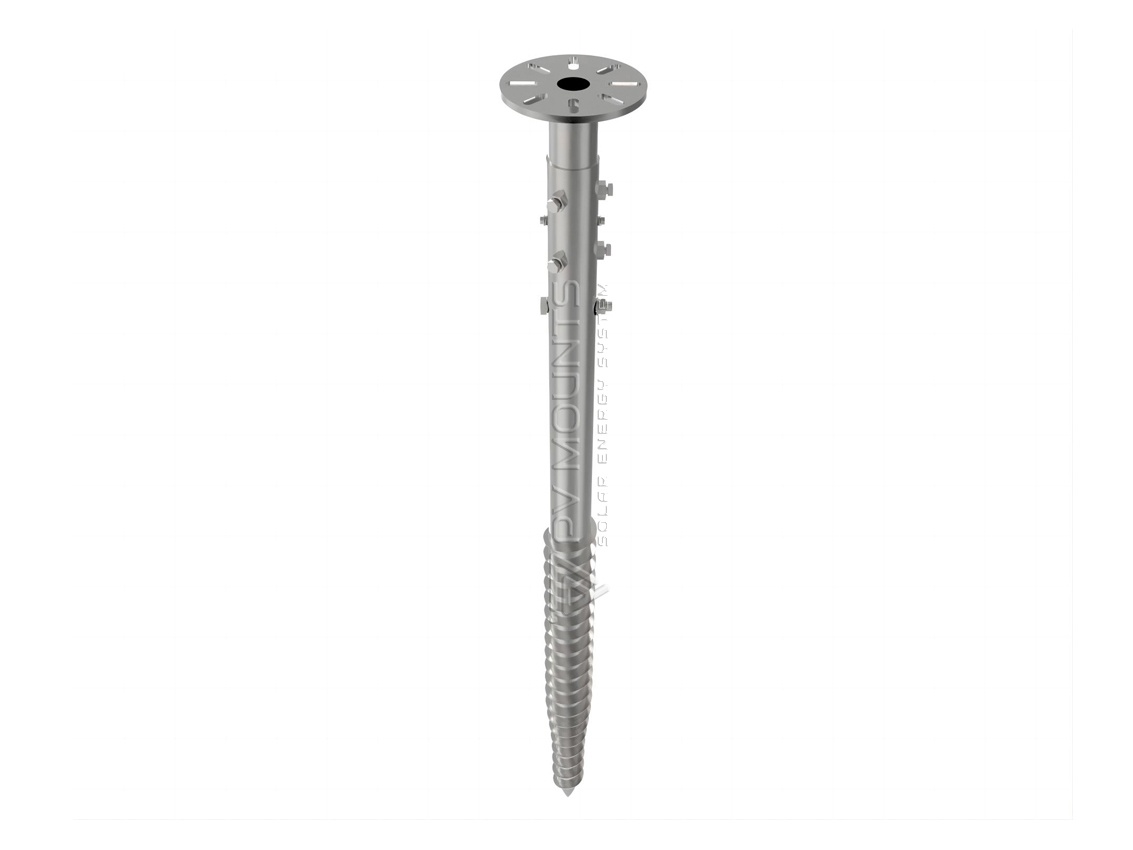
4. Versatile Flange Head Design
- Available in various shapes (round, square, or custom-designed).
- Can accommodate different mounting structures like C-channel, L-foot brackets, and rails.
5. Fast and Eco-Friendly Installation
- Eliminates the need for concrete foundations, reducing labor and material costs.
- Minimal ground disturbance, making it environmentally friendly.
- Can be easily removed and reused for temporary or relocatable solar projects.
6. Strong Anti-Tilt and Anti-Pullout Performance
- The secure flange connection prevents tilting or movement, even in strong wind and seismic conditions.
- Provides long-term structural integrity for solar panel arrays.
Would you like recommendations on specific dimensions or custom flange head designs for your projects?
Available Options:

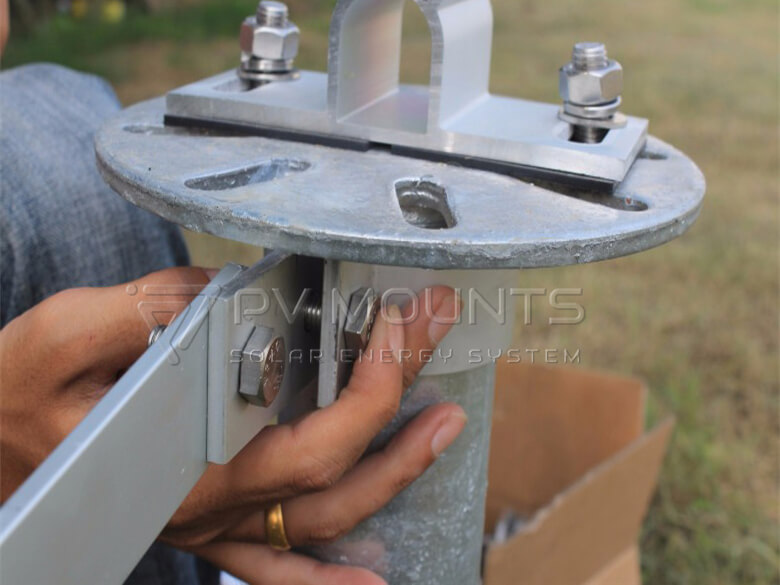
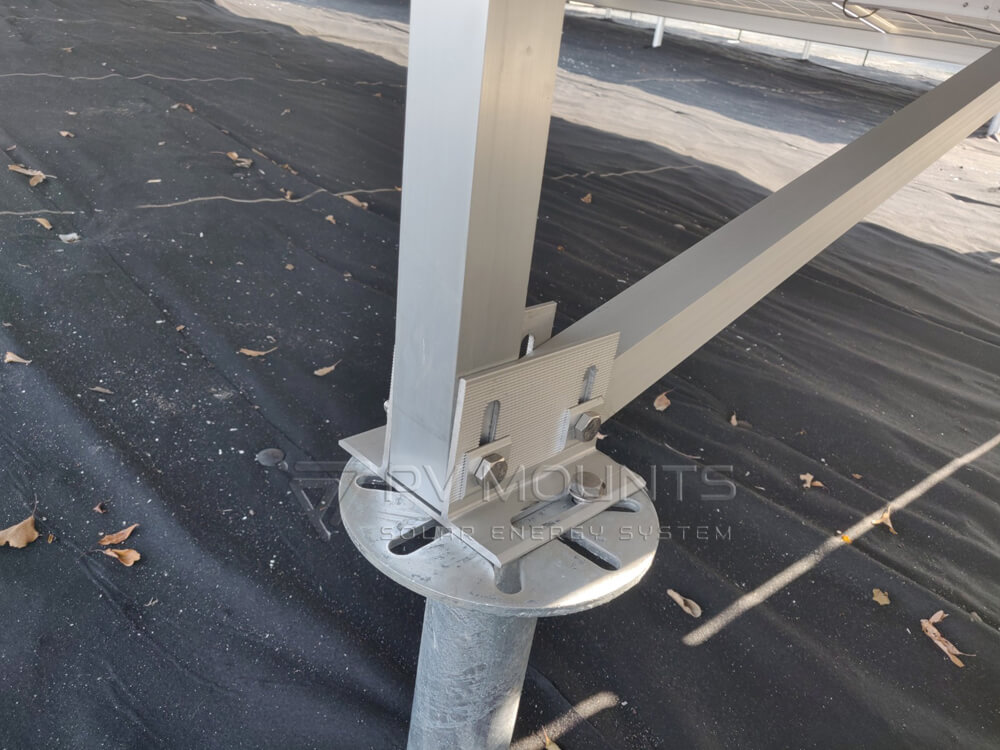
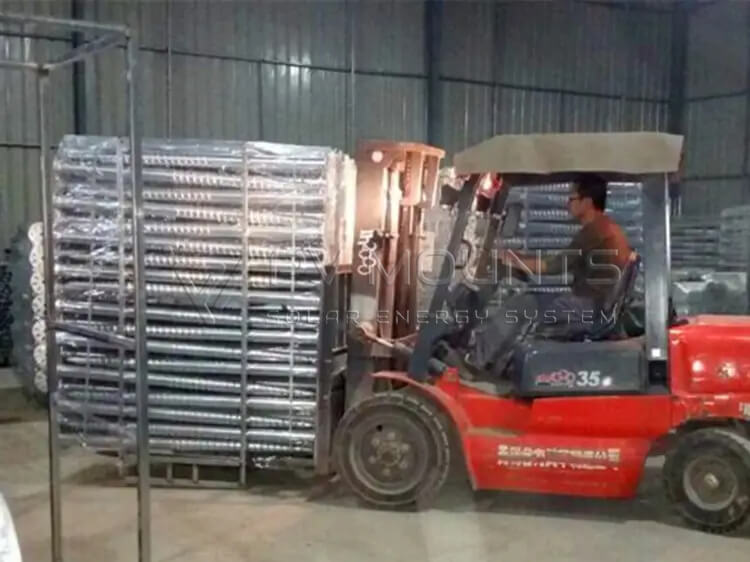
Production Photo: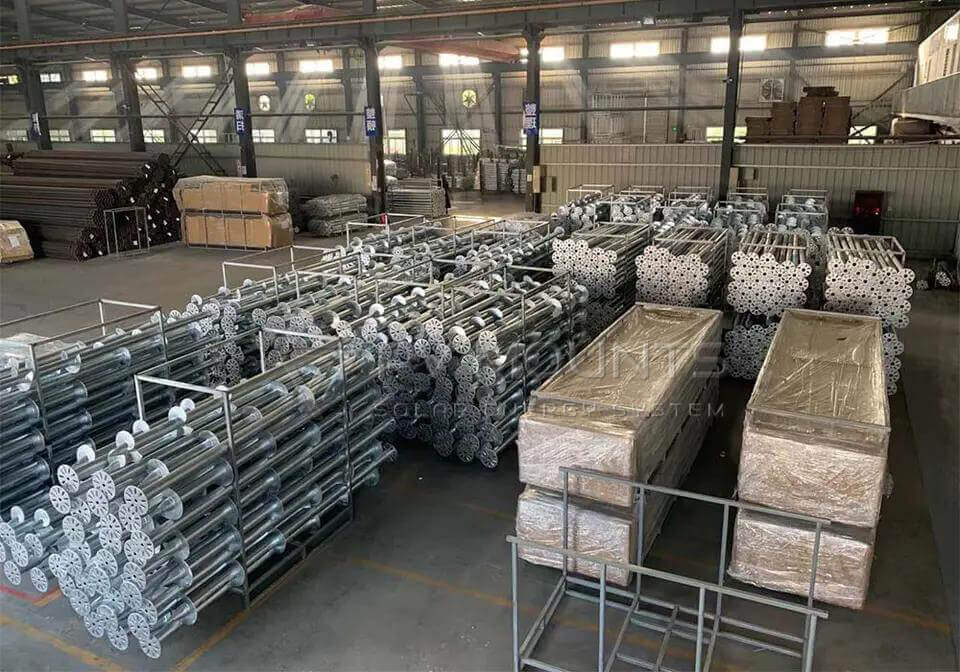


How to Install Flange Head Screw Piles for a Solar Mounting System
Installing flange head screw piles is a fast and efficient process that provides a stable foundation for solar panel mounting structures. Follow these steps for proper installation:
🛠️ Step 1: Site Preparation
1️⃣ Survey the Installation Area
- Mark the locations where the screw piles will be installed based on the solar mounting system design.
- Ensure proper spacing and alignment for the racking system.
2️⃣ Soil Inspection
- Check the soil type to determine if pre-drilling is needed (for rocky or compacted soil).
- Ensure the ground conditions can support the load requirements of the solar array.
🔩 Step 2: Ground Screw Pile Installation
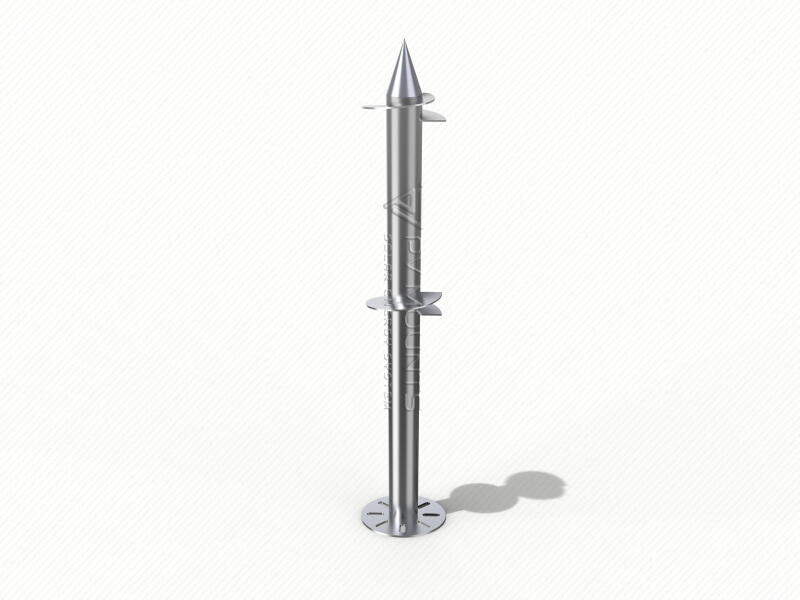
3️⃣ Position the Screw Pile
- Place the flange head screw pile at the marked location.
- Ensure it is vertically aligned before driving it into the ground.
4️⃣ Drive the Screw Pile into the Ground
- Use a hydraulic pile driver or manual installation tool to rotate the screw pile into the soil.
- Continue drilling until the desired depth and torque resistance are reached.
5️⃣ Check Alignment and Leveling
- Use a spirit level or laser level to ensure the pile is perfectly vertical.
- Adjust if necessary before final tightening.
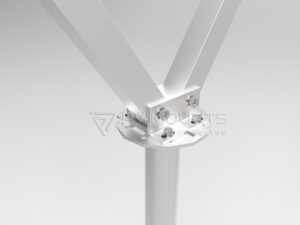
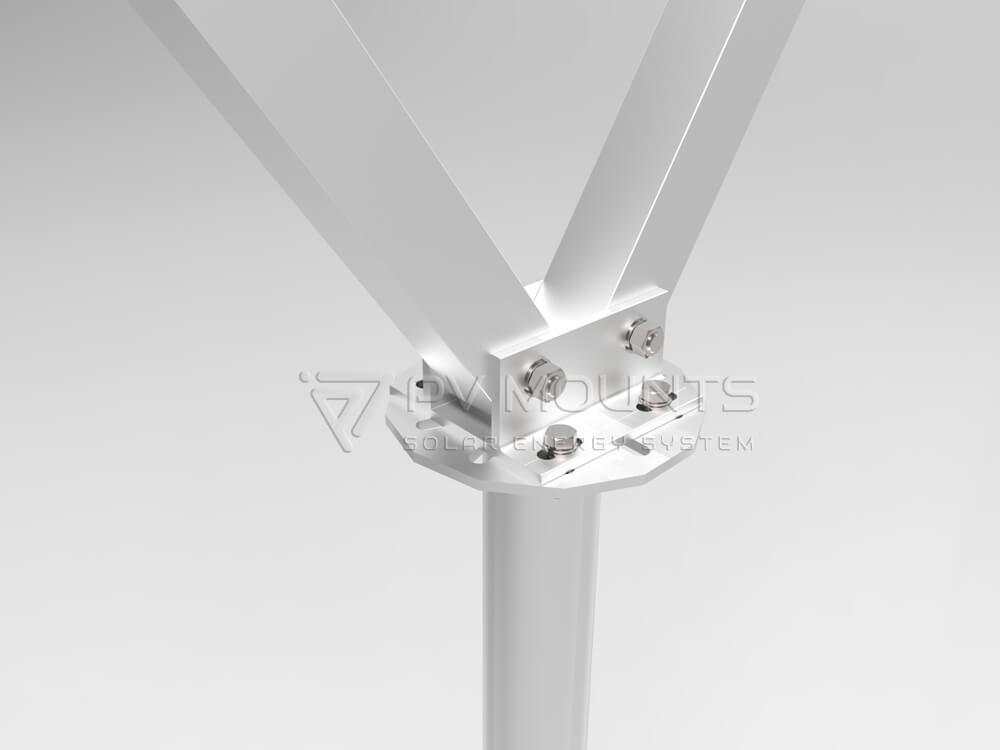
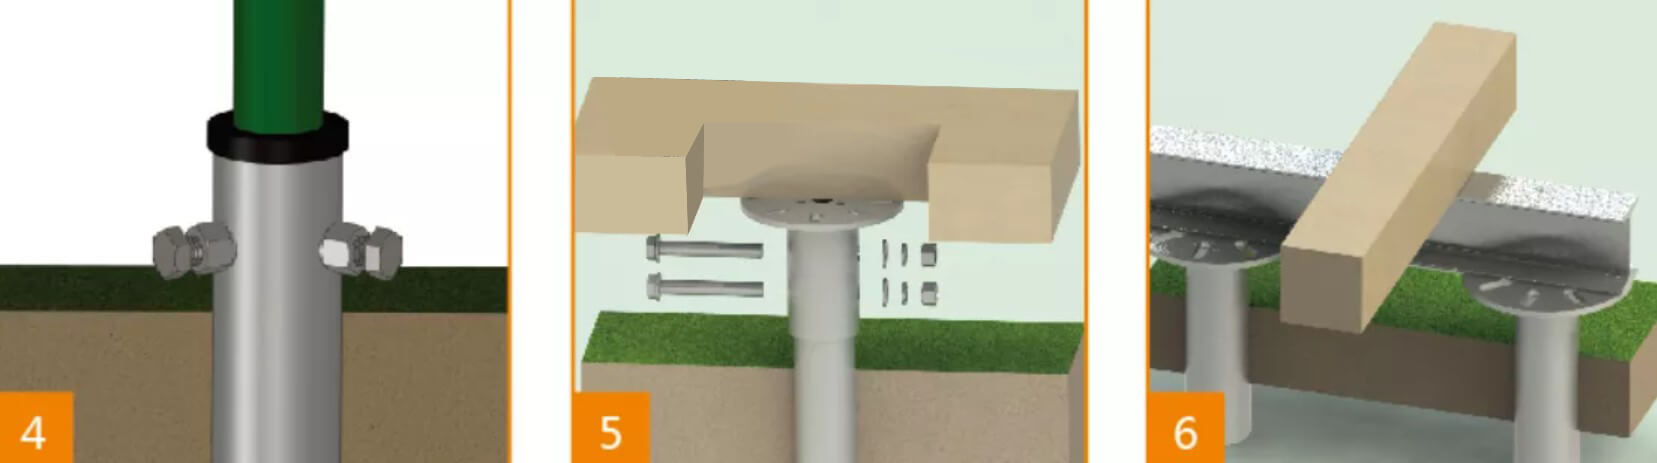
🔗 Step 3: Flange Connection & Mounting
6️⃣ Attach the Mounting Structure
- Align the pre-drilled holes on the flange plate with the mounting brackets.
- Secure them using high-strength bolts and washers.
7️⃣ Tighten and Secure Connections
- Use a torque wrench to ensure all bolts are tightly secured to prevent movement.
- Verify that the structure is firm and level before proceeding.
✅ Step 4: Final Inspection & Load Testing
8️⃣ Inspect the Installation
- Check that all piles are properly installed, aligned, and secured.
- Perform a load test if required to verify stability.
9️⃣ Proceed with Solar Panel Installation
- Once the foundation is ready, proceed with installing the solar racking system and PV panels.
🔥 Advantages of Using Flange Head Screw Piles for Solar Mounting
✔ Fast Installation – No need for concrete curing, reducing labor time.
✔ Eco-Friendly – Minimal ground disturbance and reusable foundation.
✔ High Stability – Strong resistance against wind and seismic forces.
✔ Adjustable & Versatile – Suitable for various ground conditions.
Would you like detailed specifications or mounting recommendations? 😊
PV Mounts is a one-stop manufacturer for solar mounting system. We can produce different solar panel mounted components including:
- Rails
- Hooks
- L-Feet
- Ground Screws
- Standing Seam Clamps
- Mid Clamp & End Clamp
- Earthing Lug
- Grounding Clip
- Cable Clip
- and more